Secure VPN Connection Service
Usage Instructions for Android
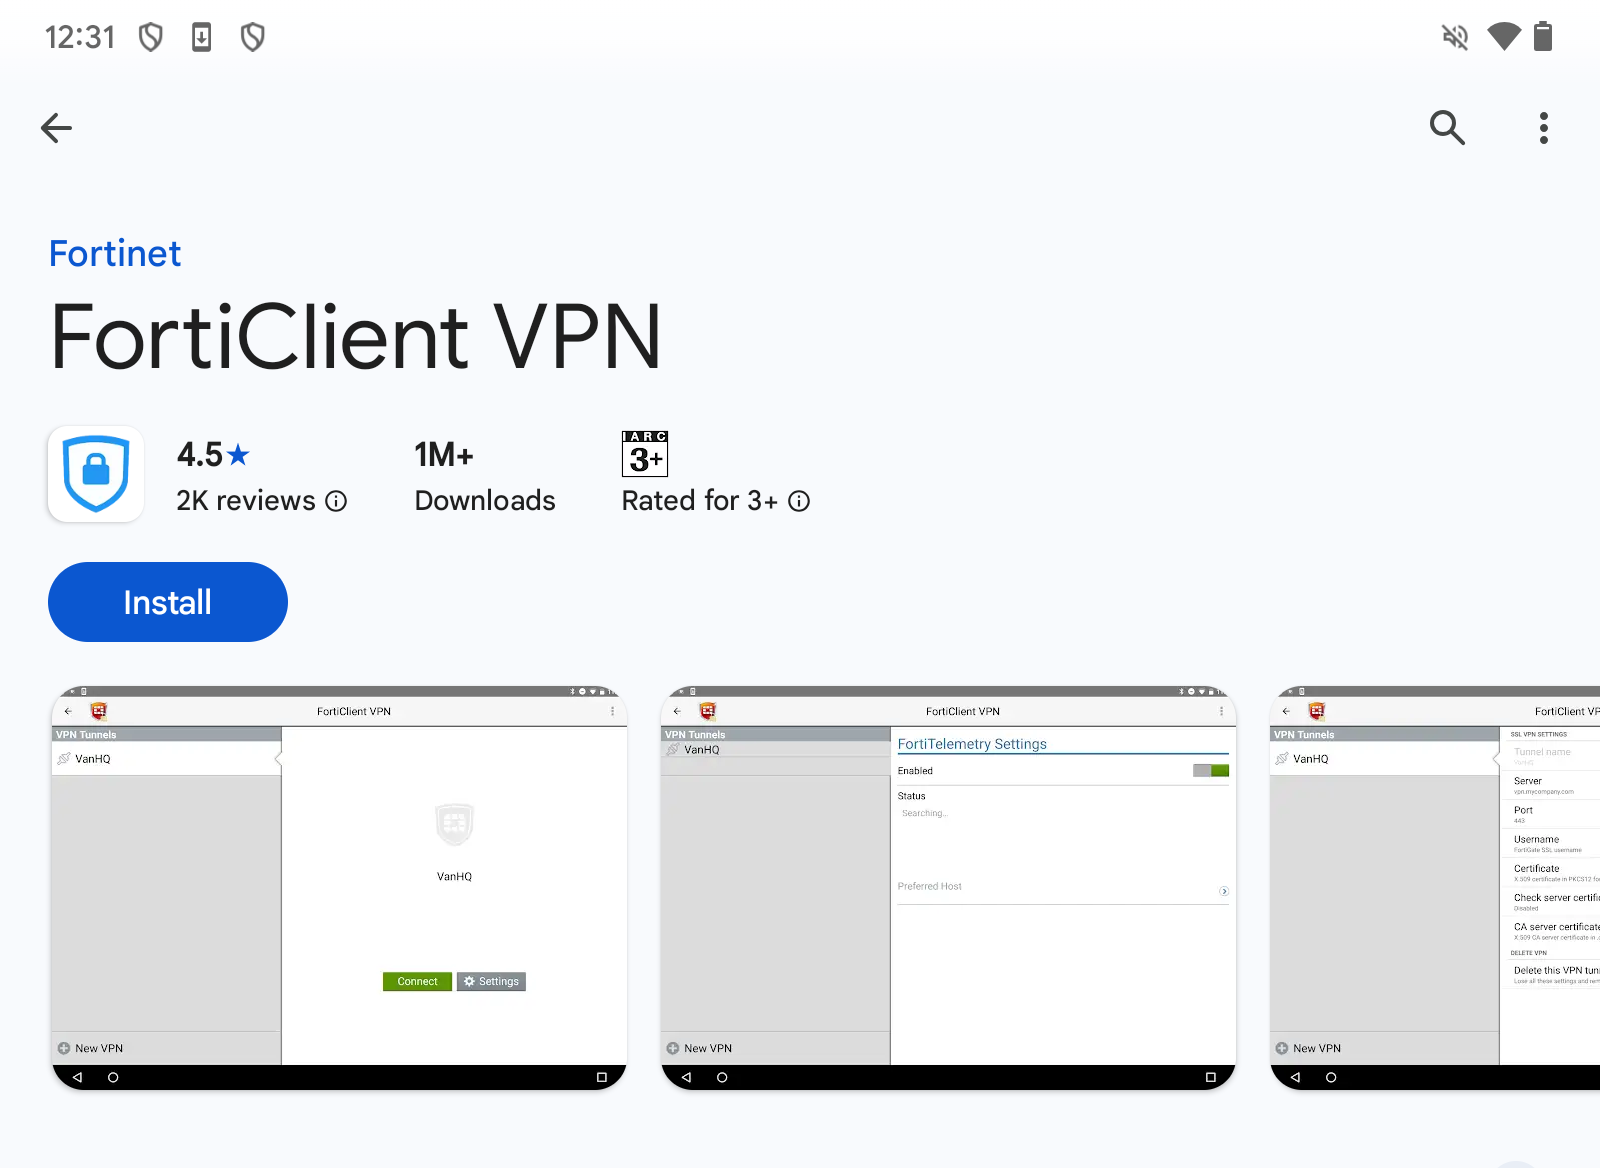
- OpenForticlient VPN. Google Play will open.
- Tap Install and install the app.
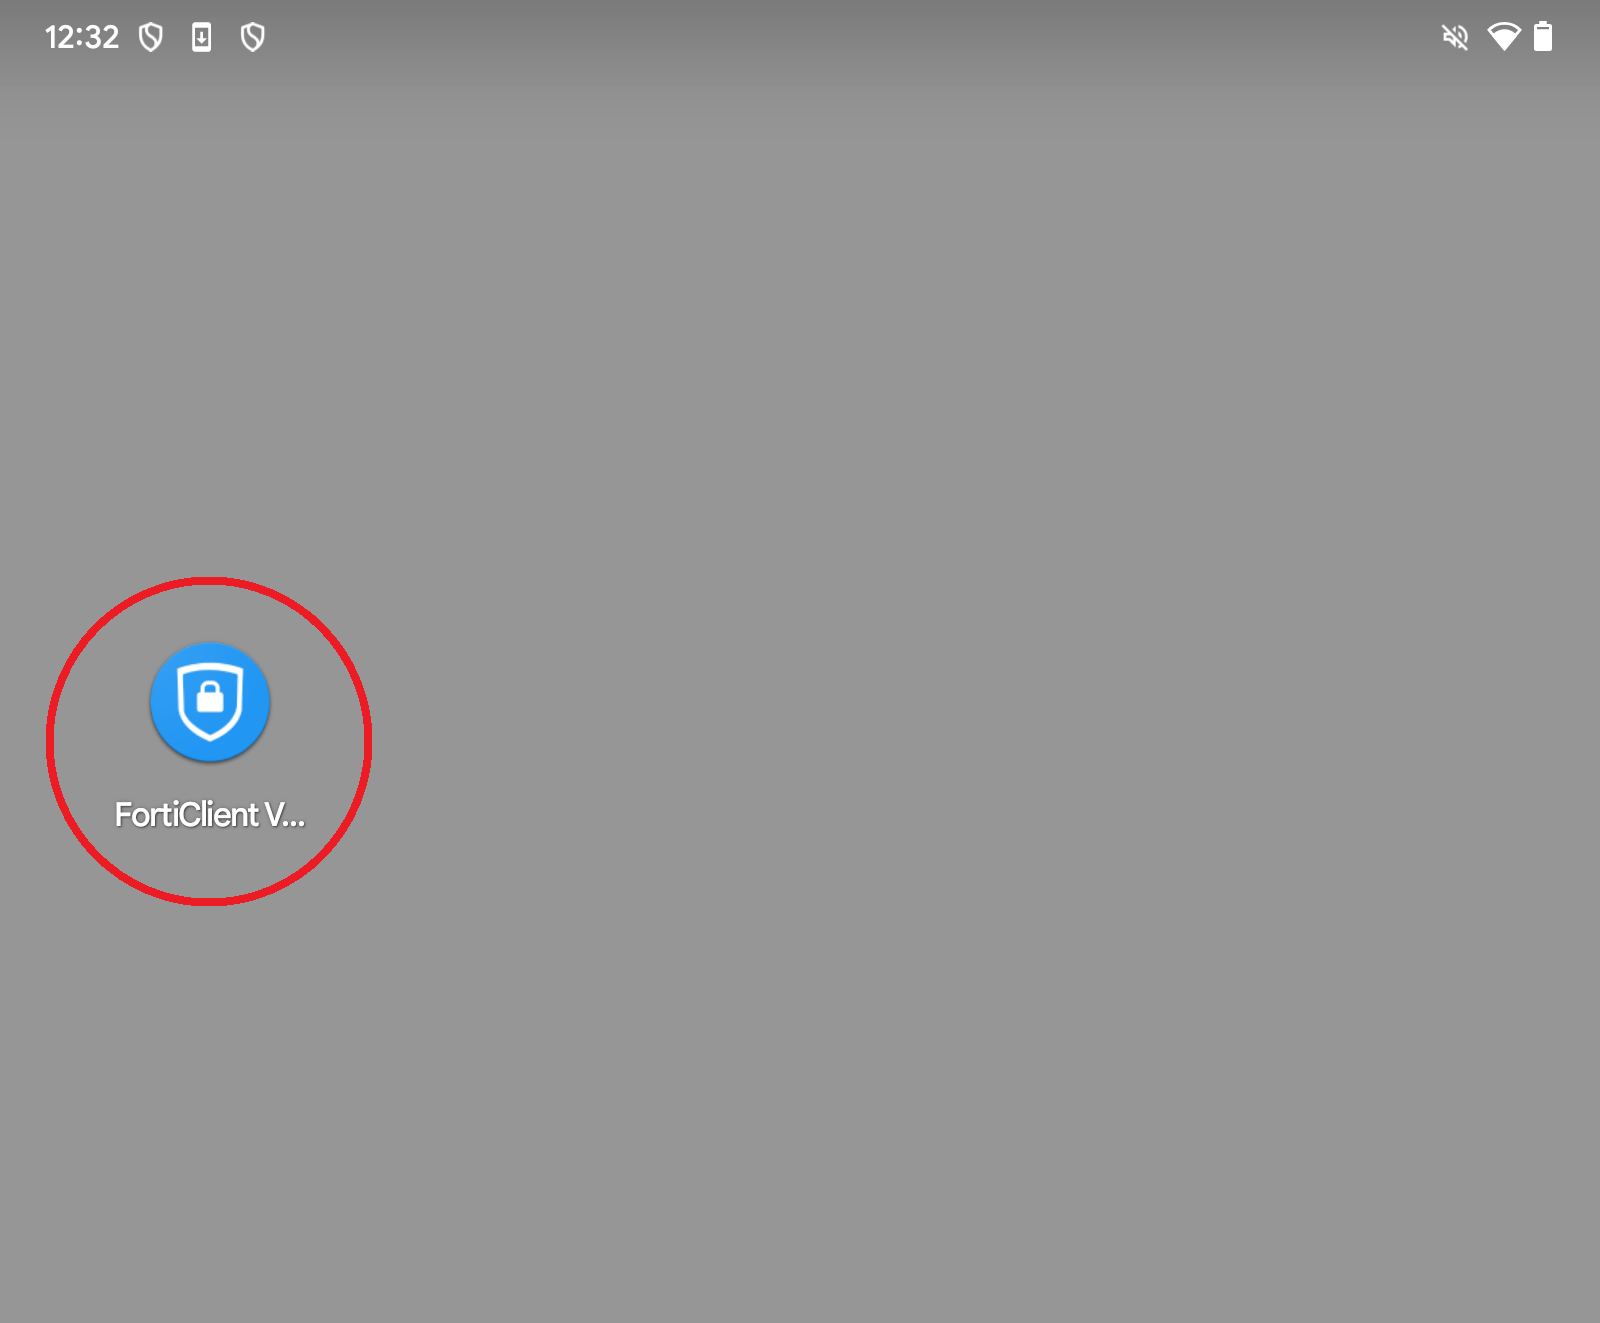
- Tap the installed app to launch it.
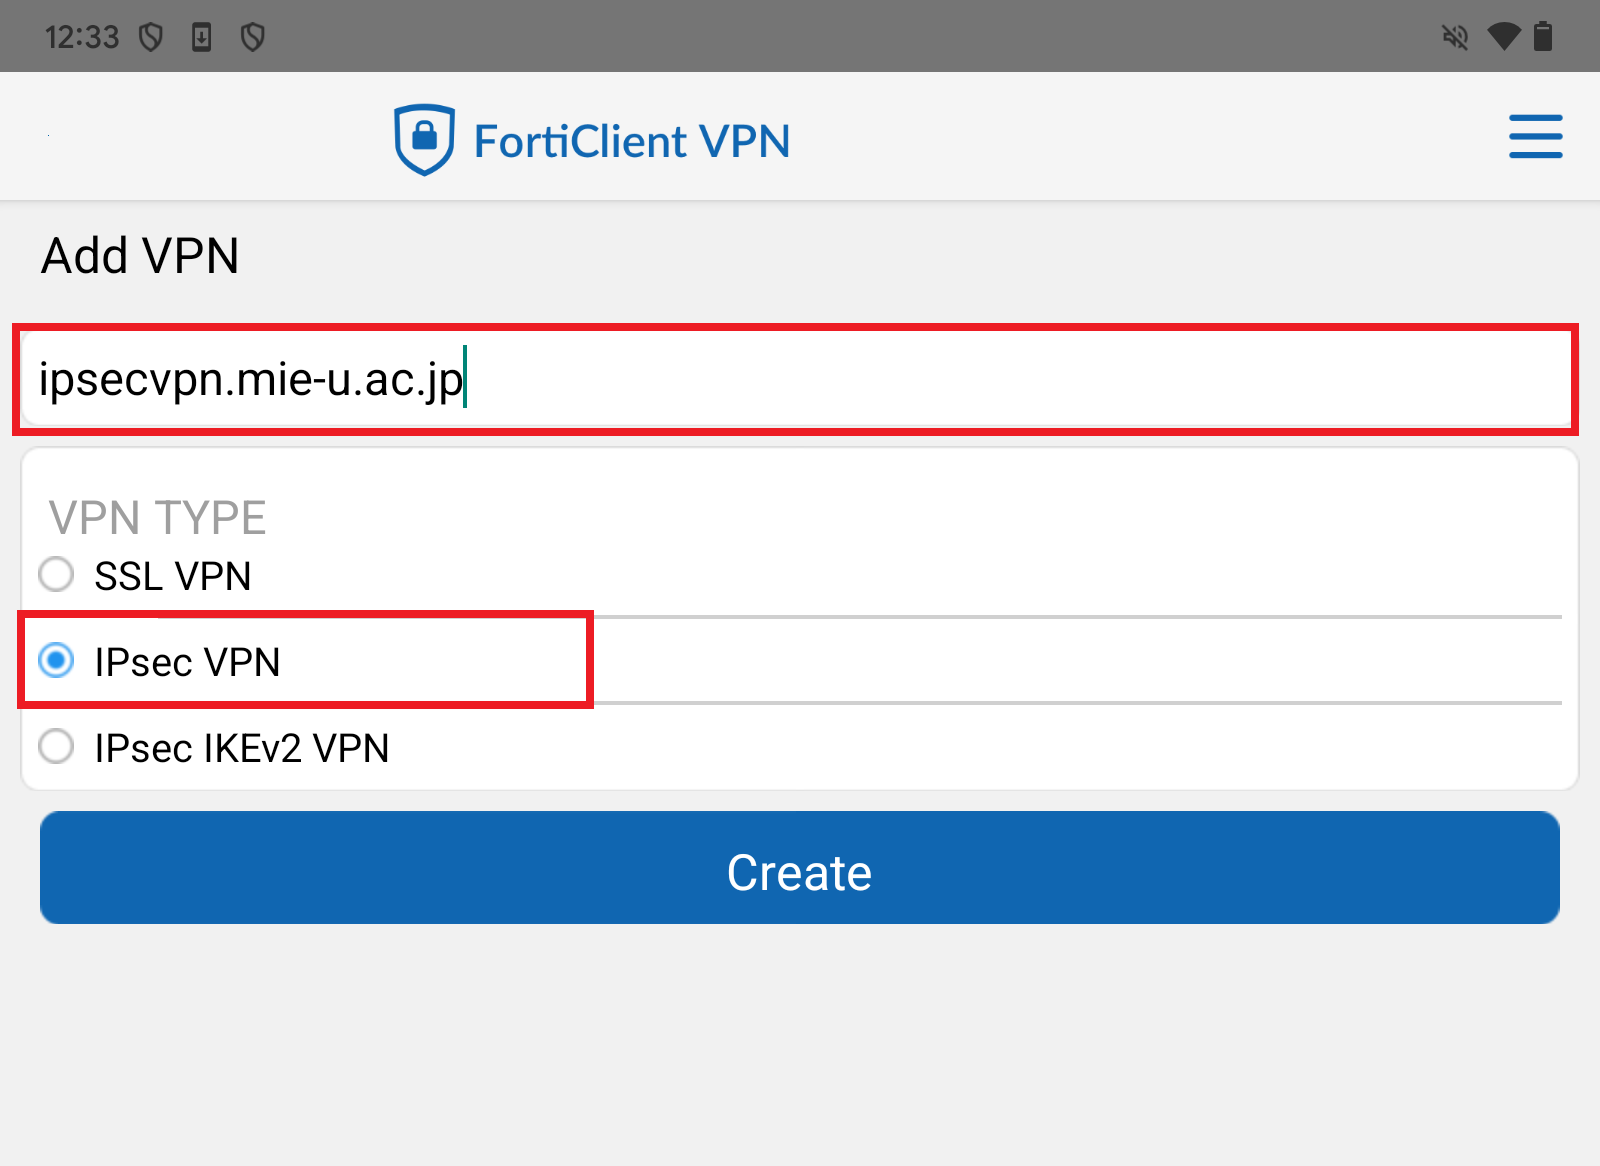
- On the Add VPN screen, enter the following information and tap "Create".
- VPN Name:ipsecvpn.mie-u.ac.jp
- VPN Type:IPsec VPN
- Next, tap “Server Settings”.
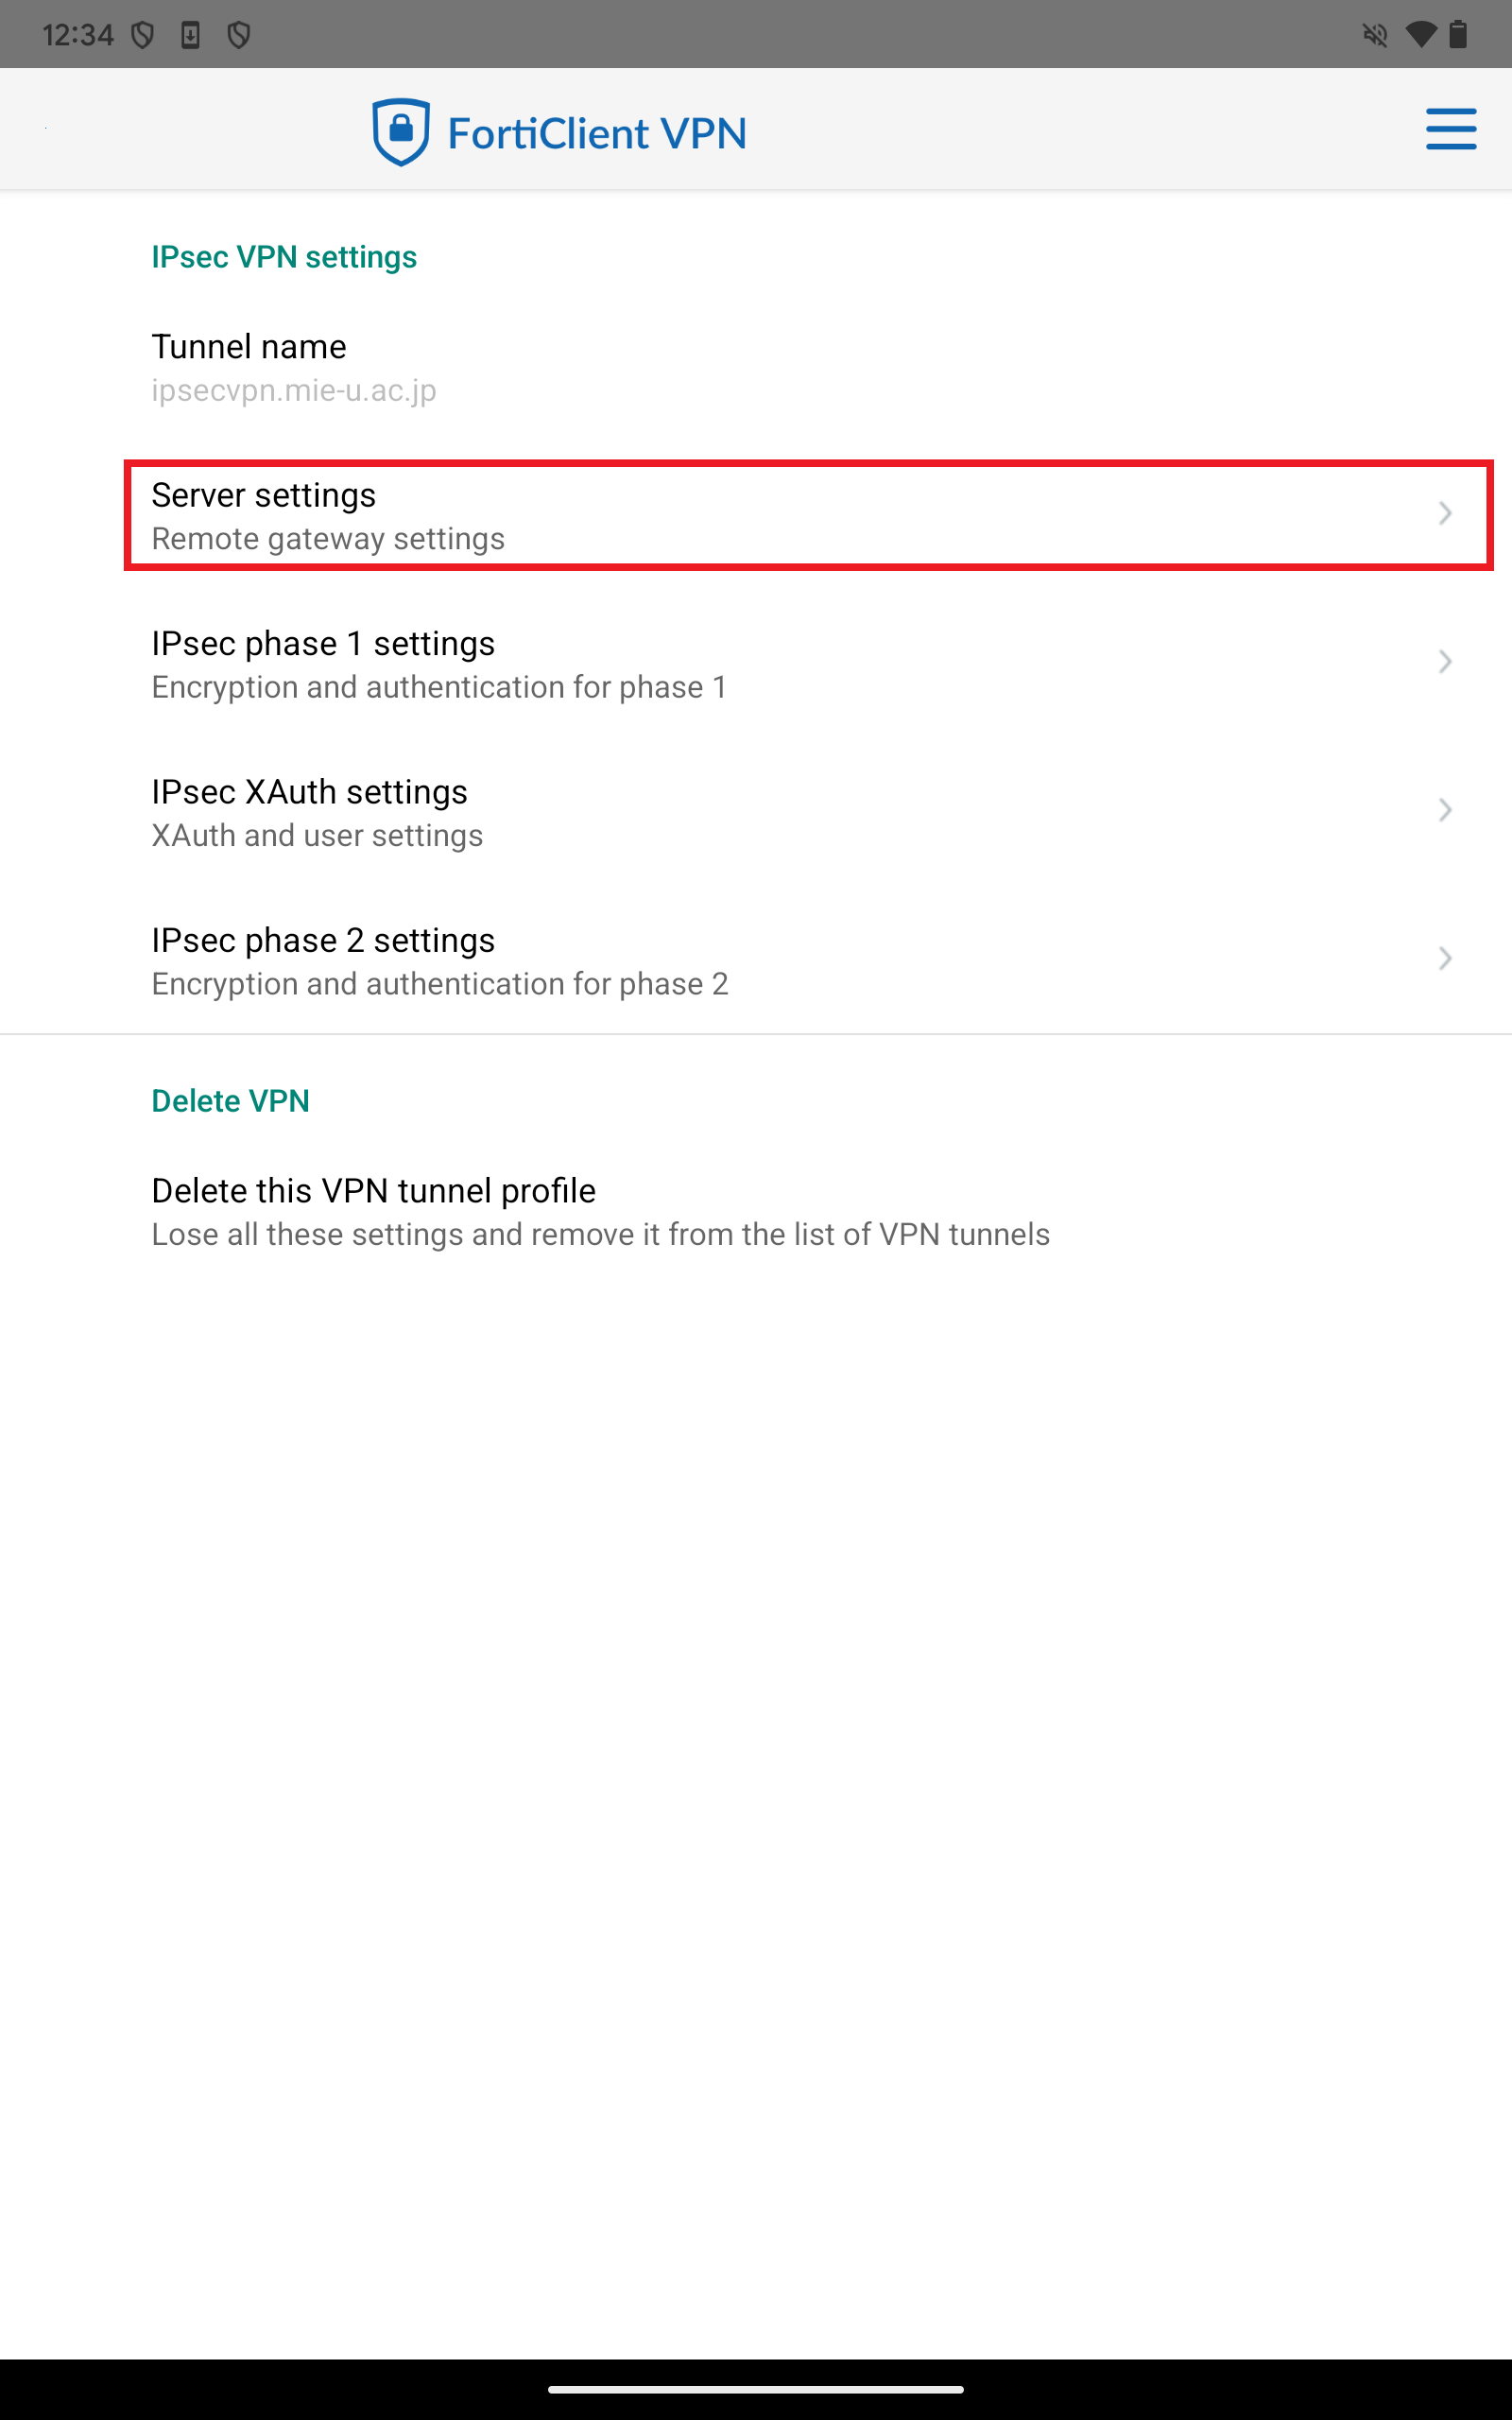
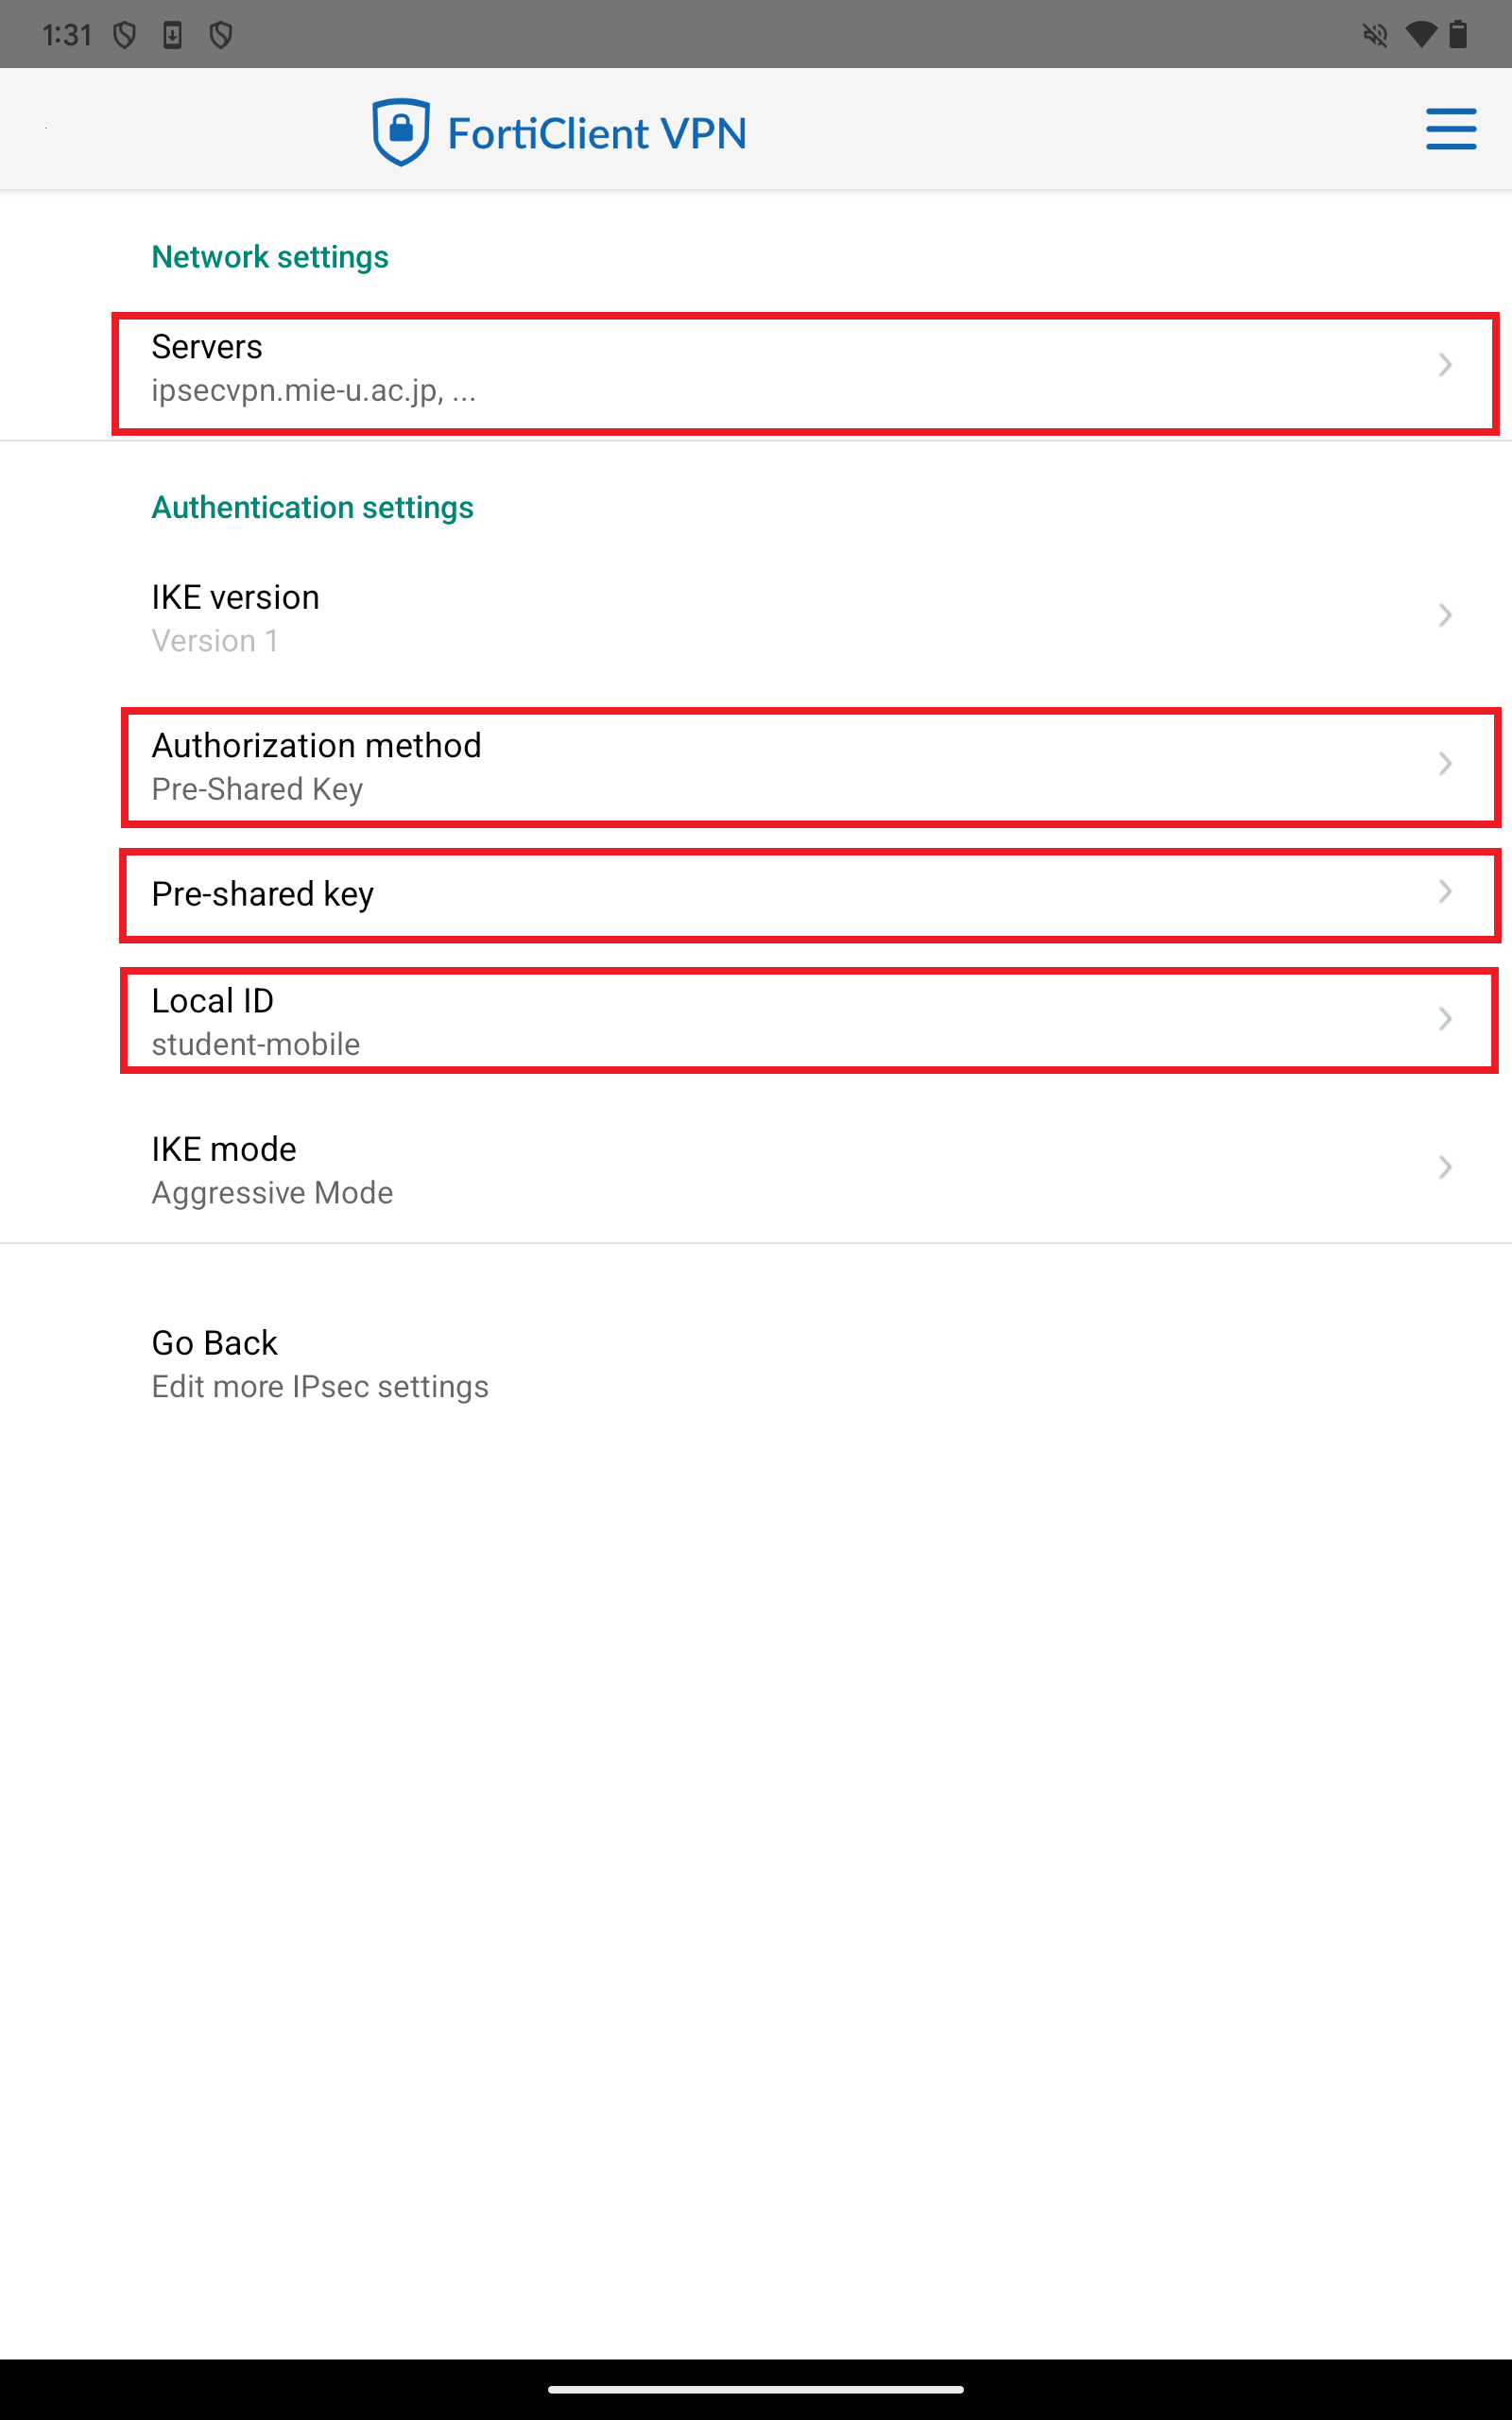
- Please configure the following settings. (Refer to the screen below for reference.)
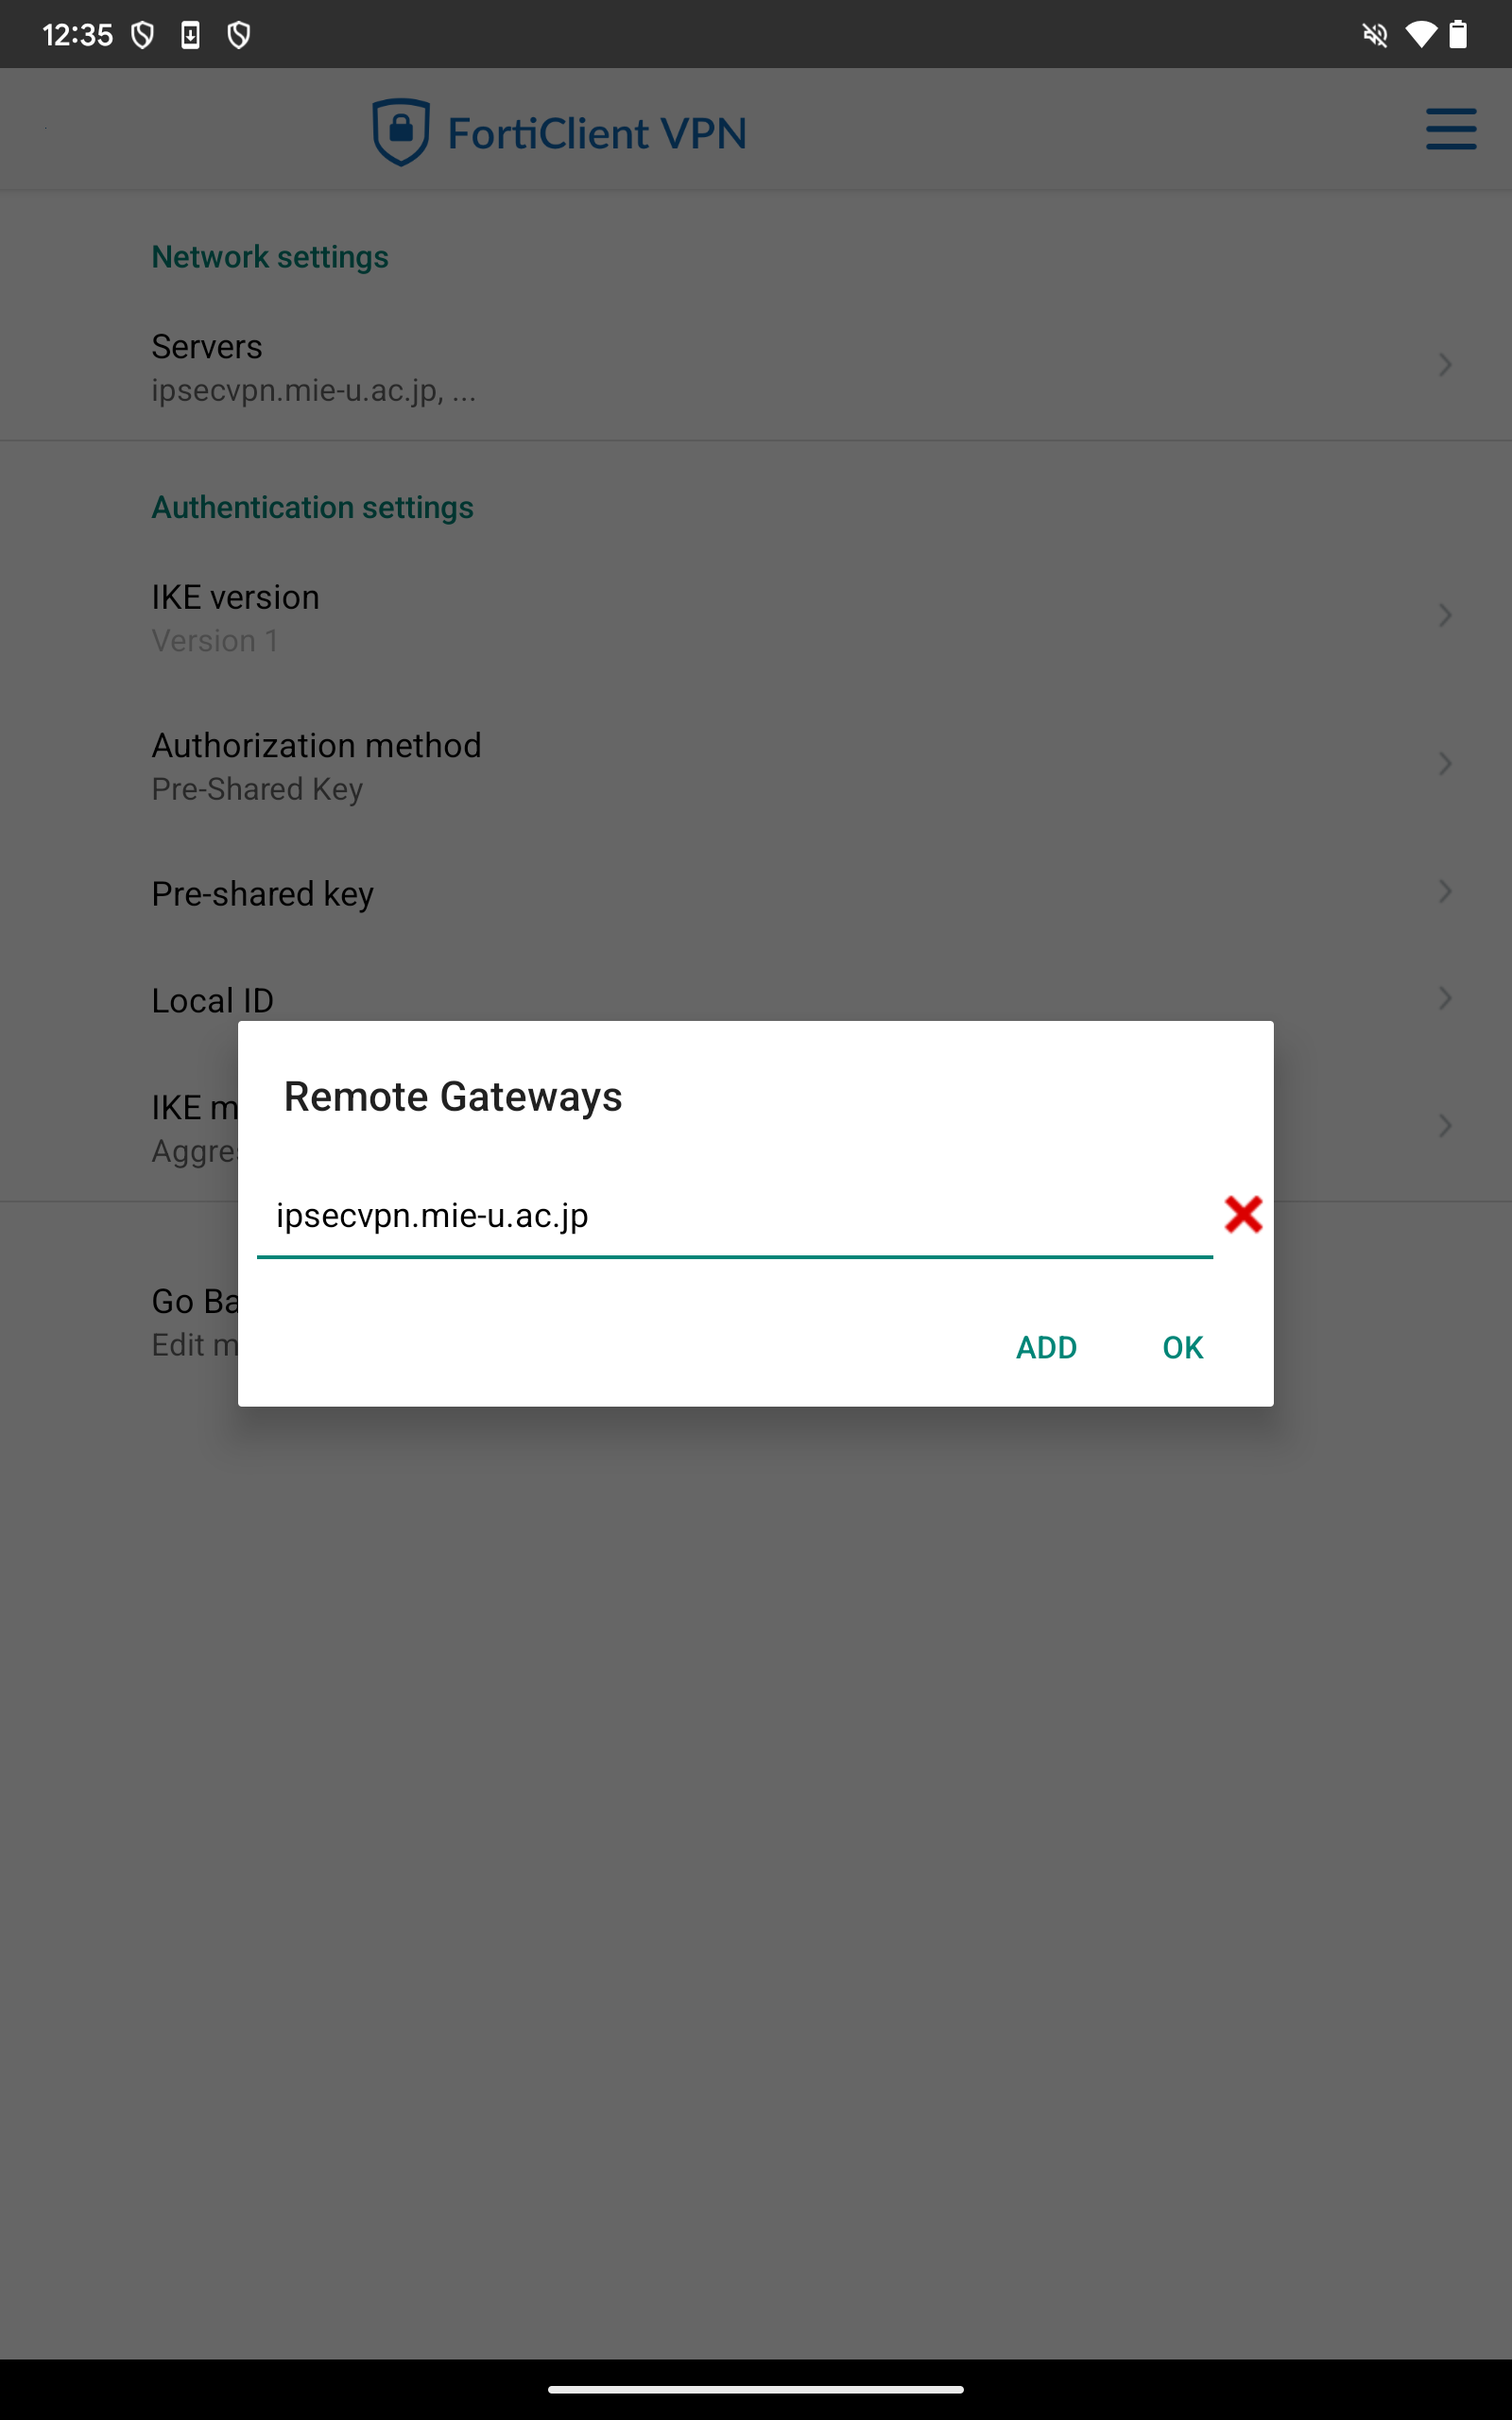
- Severs:ipsecvpn.mie-u.ac.jp
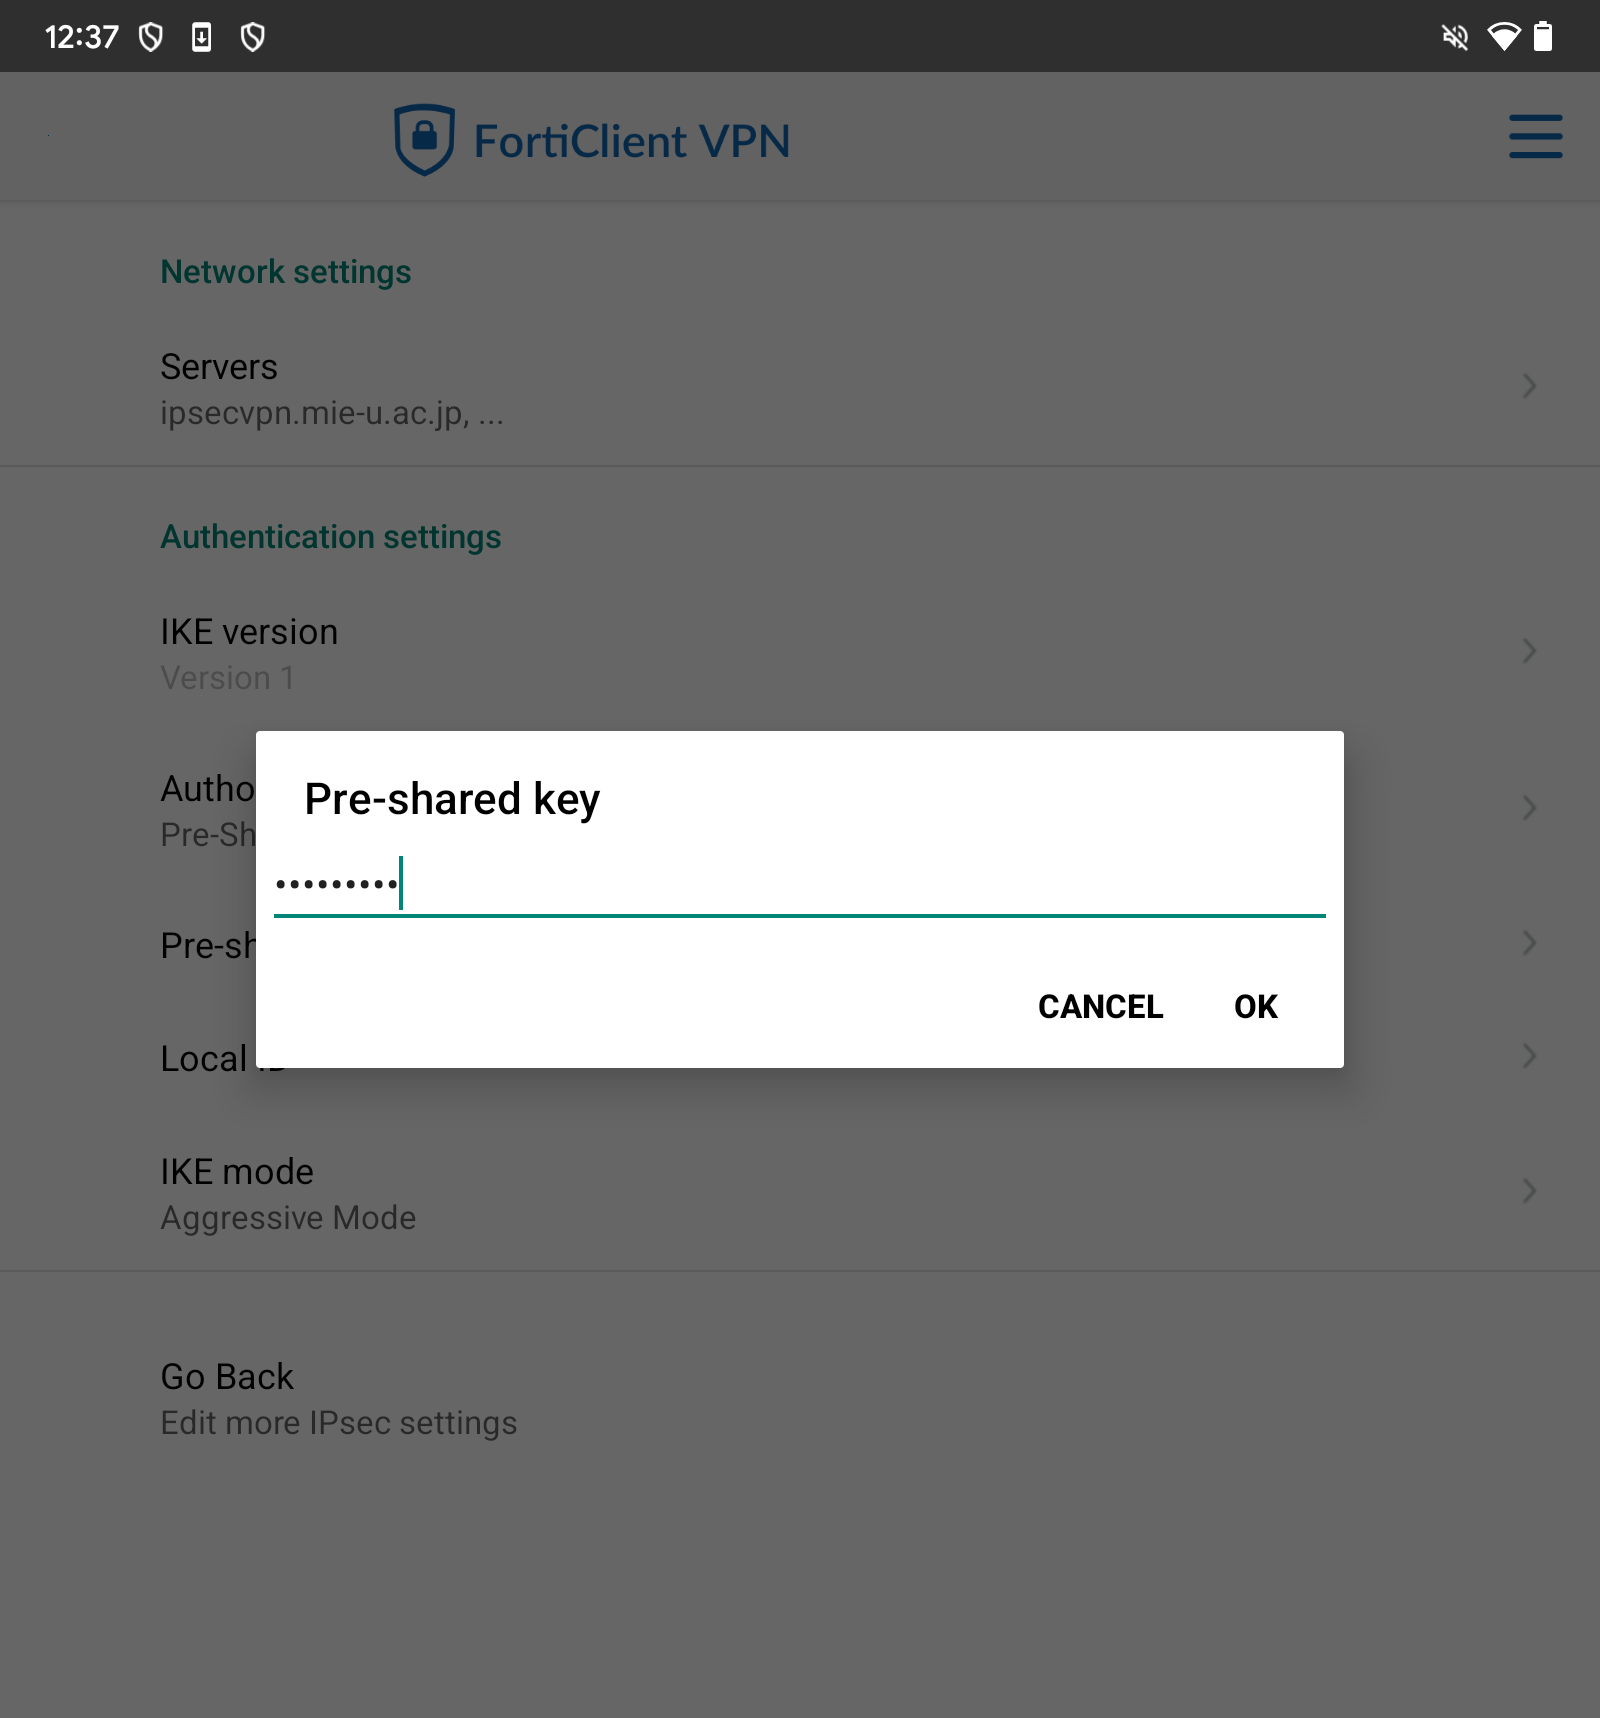
- Authentication method: Pre-Shared Key
- Click here to enter the Pre-Shared Key
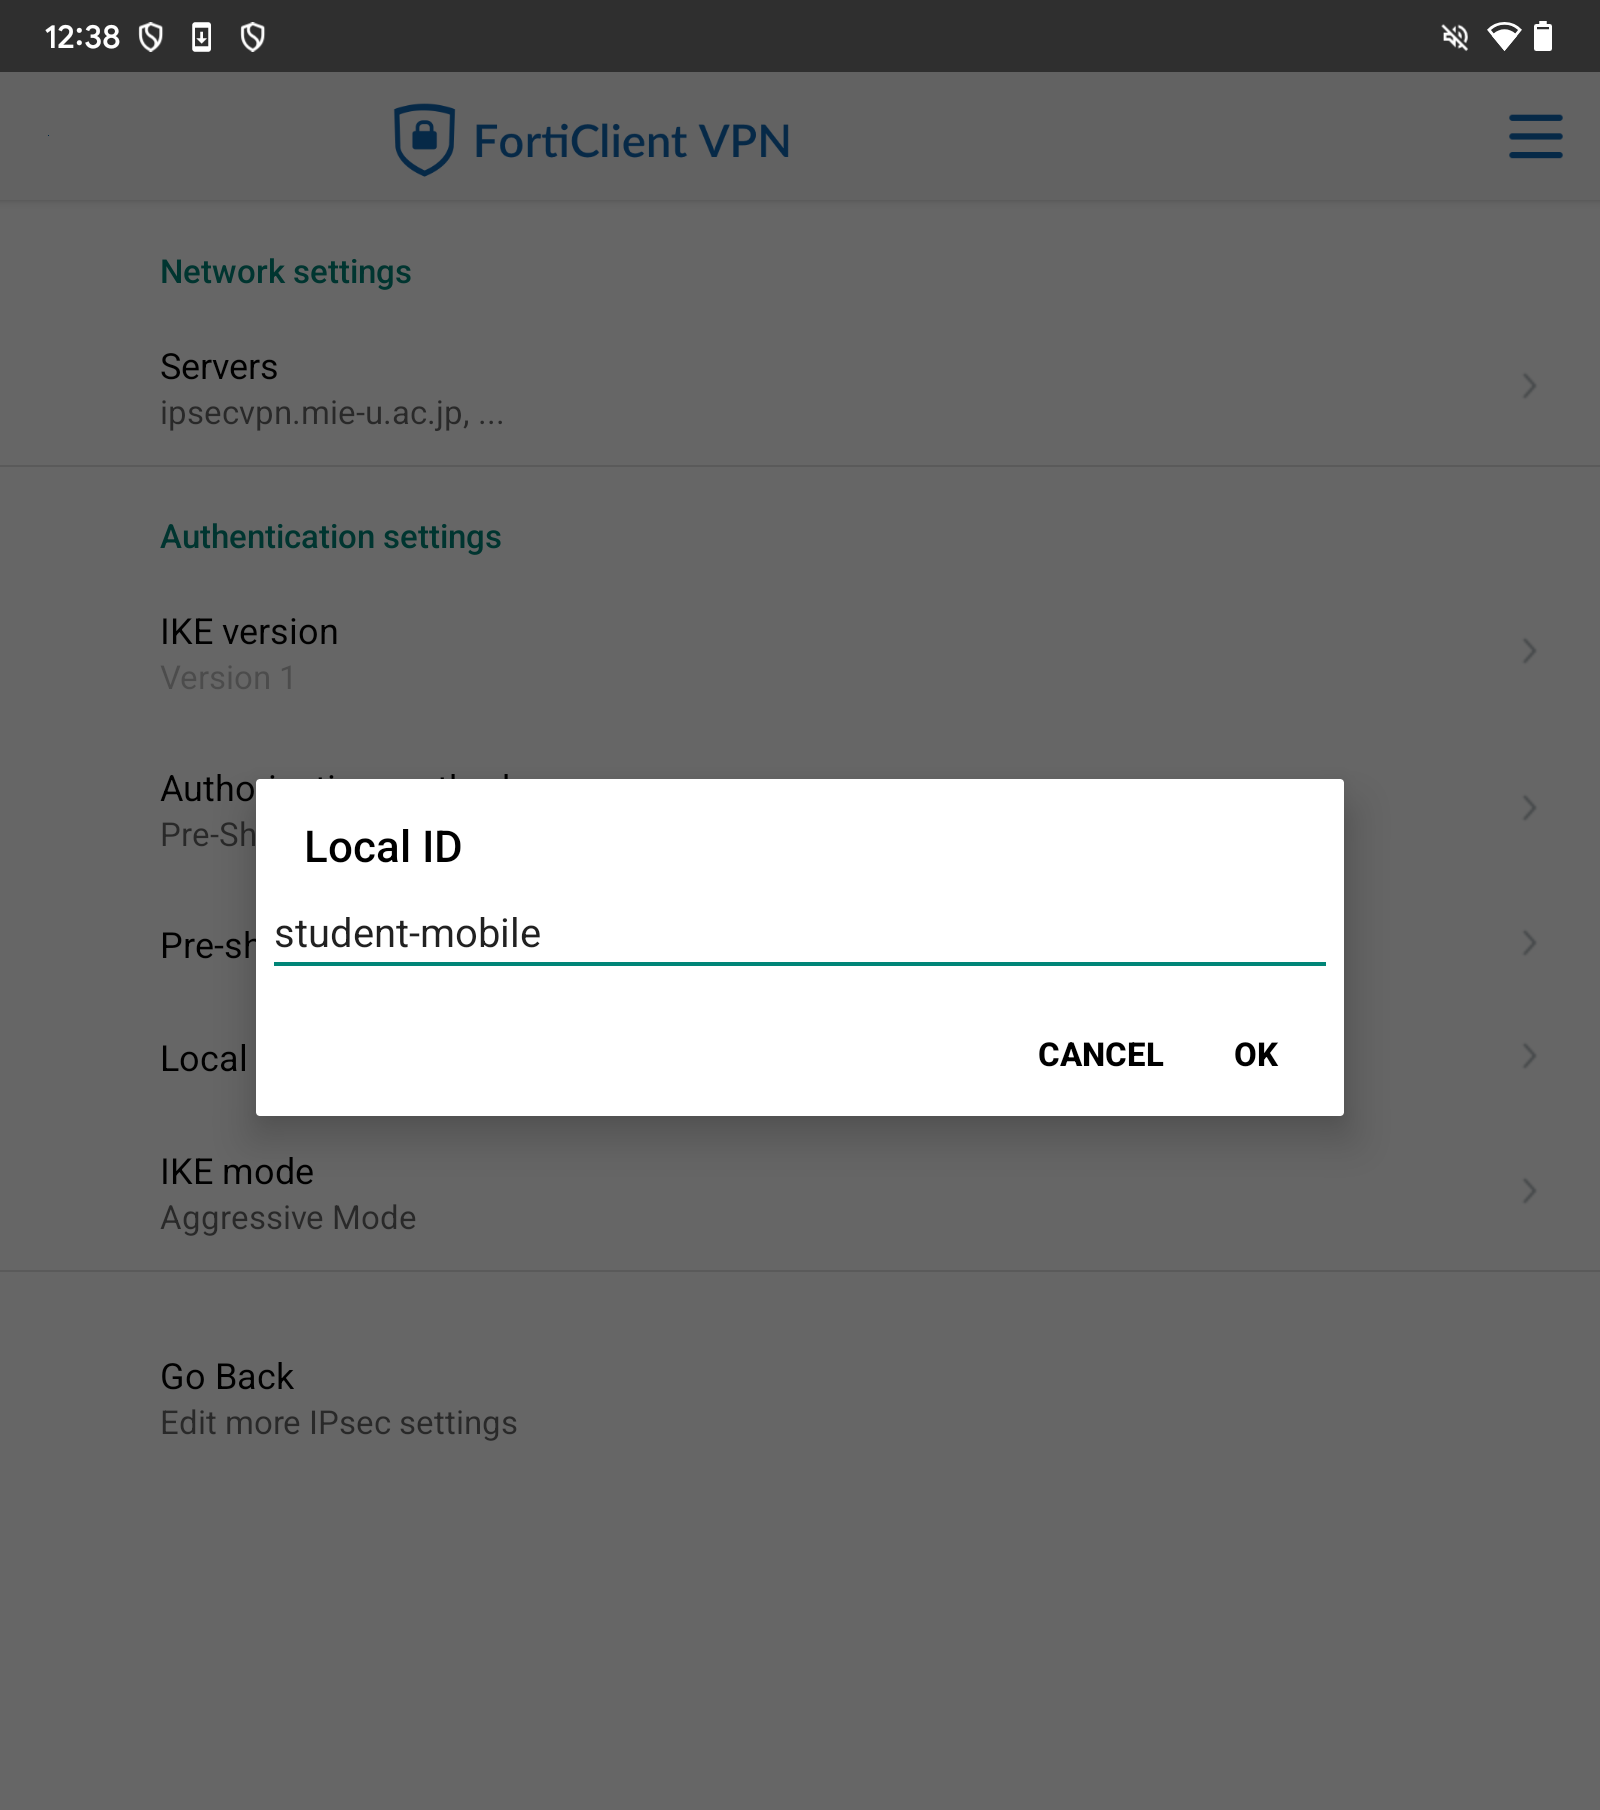
- Local ID:
(For faculty and staff) staff-mobile
(For students) student-mobile
- Please tap “Back.”
- Next, tap “IPsec Phase 1 Settings”.
Once Phase 1 configuration is complete, tap “IPsec Phase 2 Configuration” and configure the same settings.
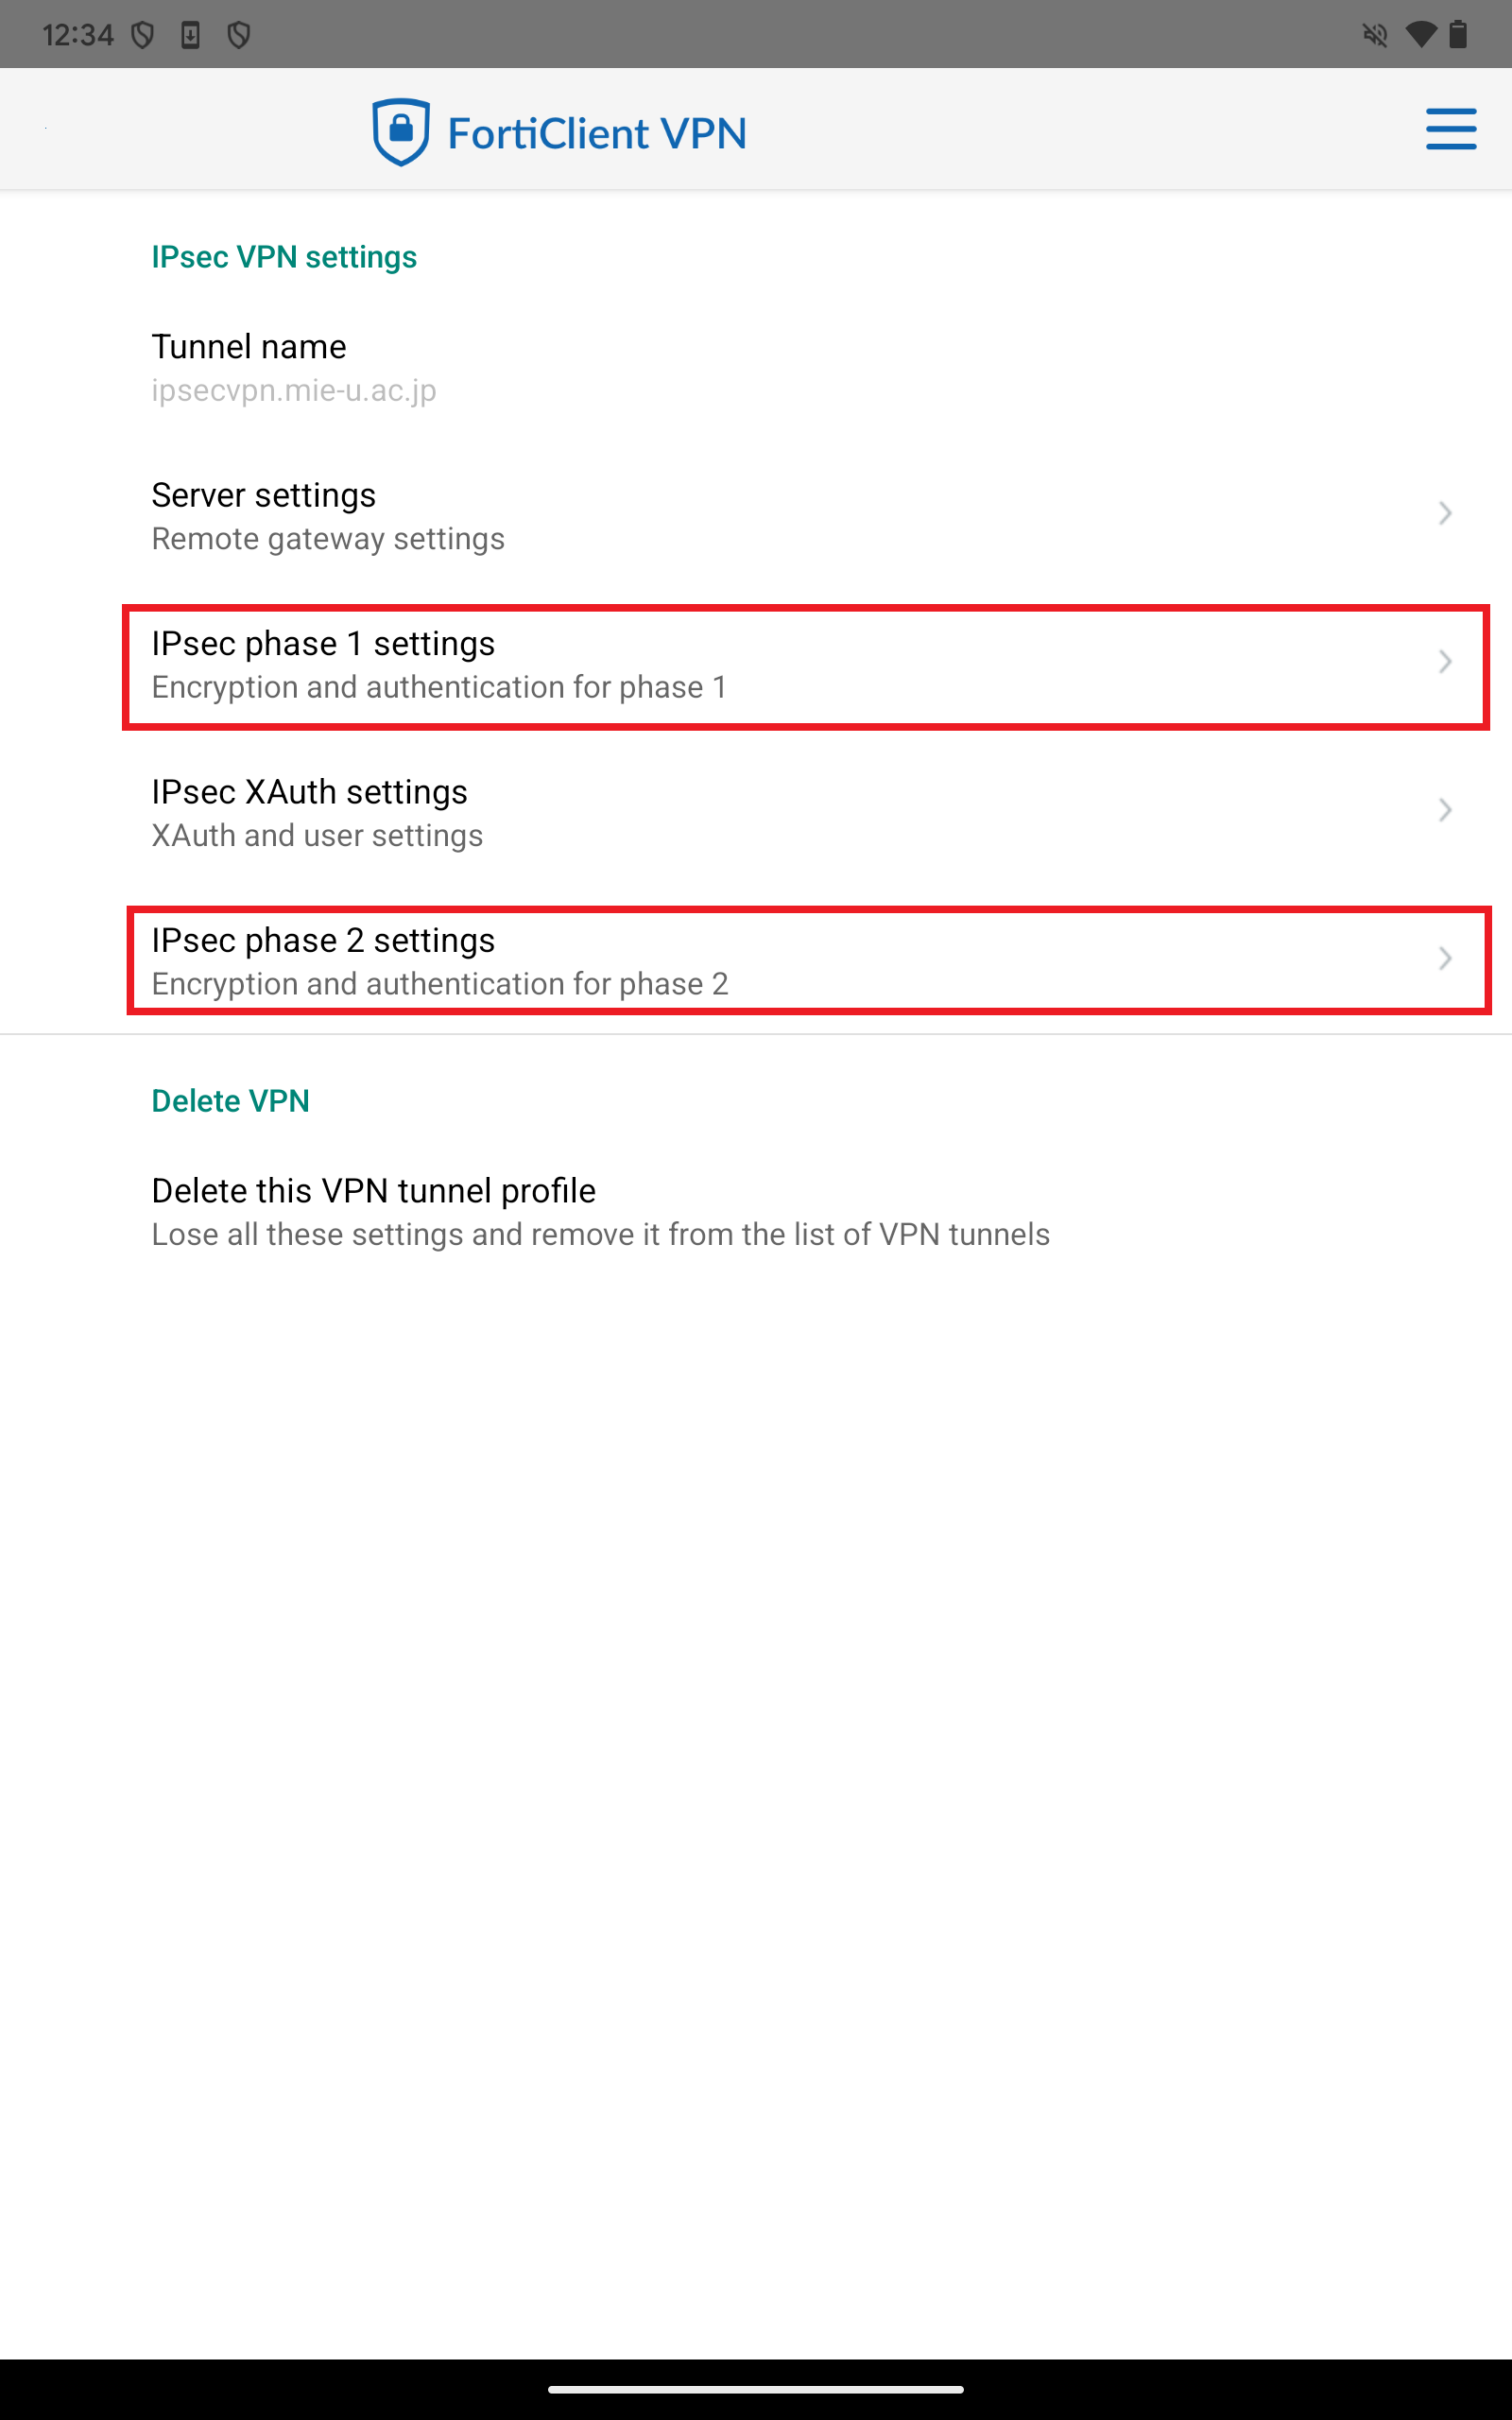
- Please configure the following settings. (The same applies to “IPsec Phase 2 Settings”.)
- DH Group: 5

- Tap “Back” and configure the “IPsec Phase 2 Settings” in the same manner.
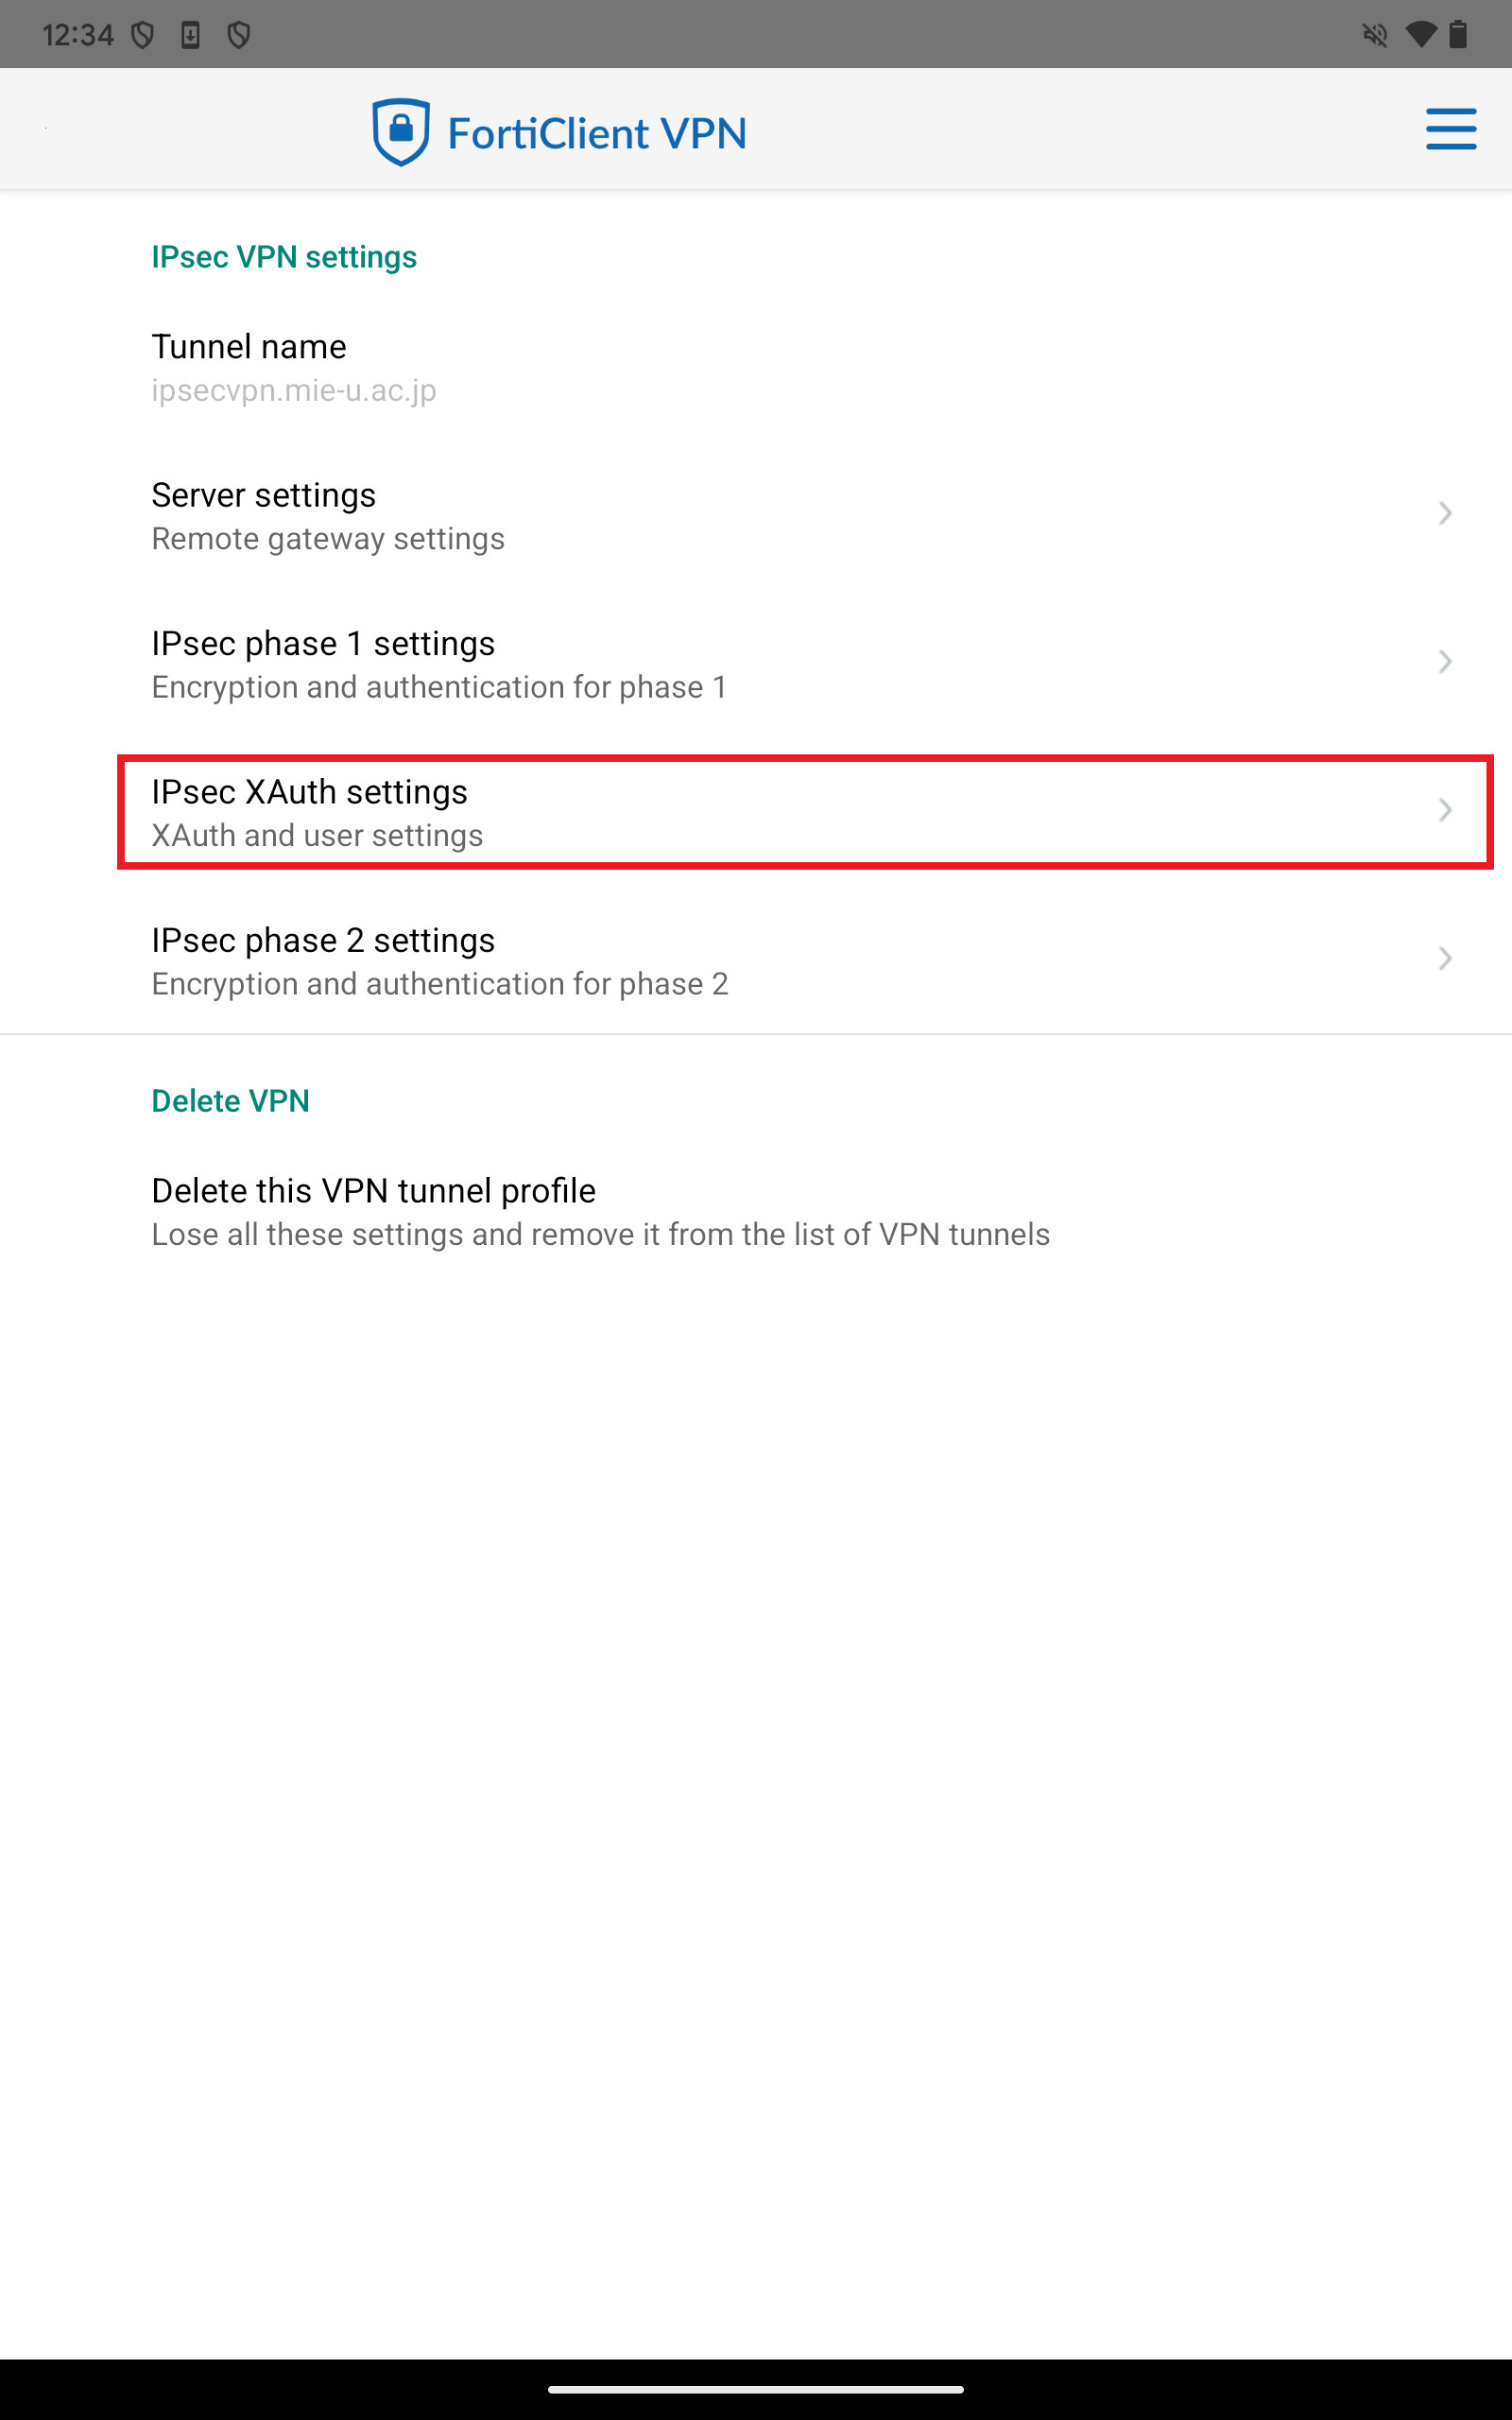
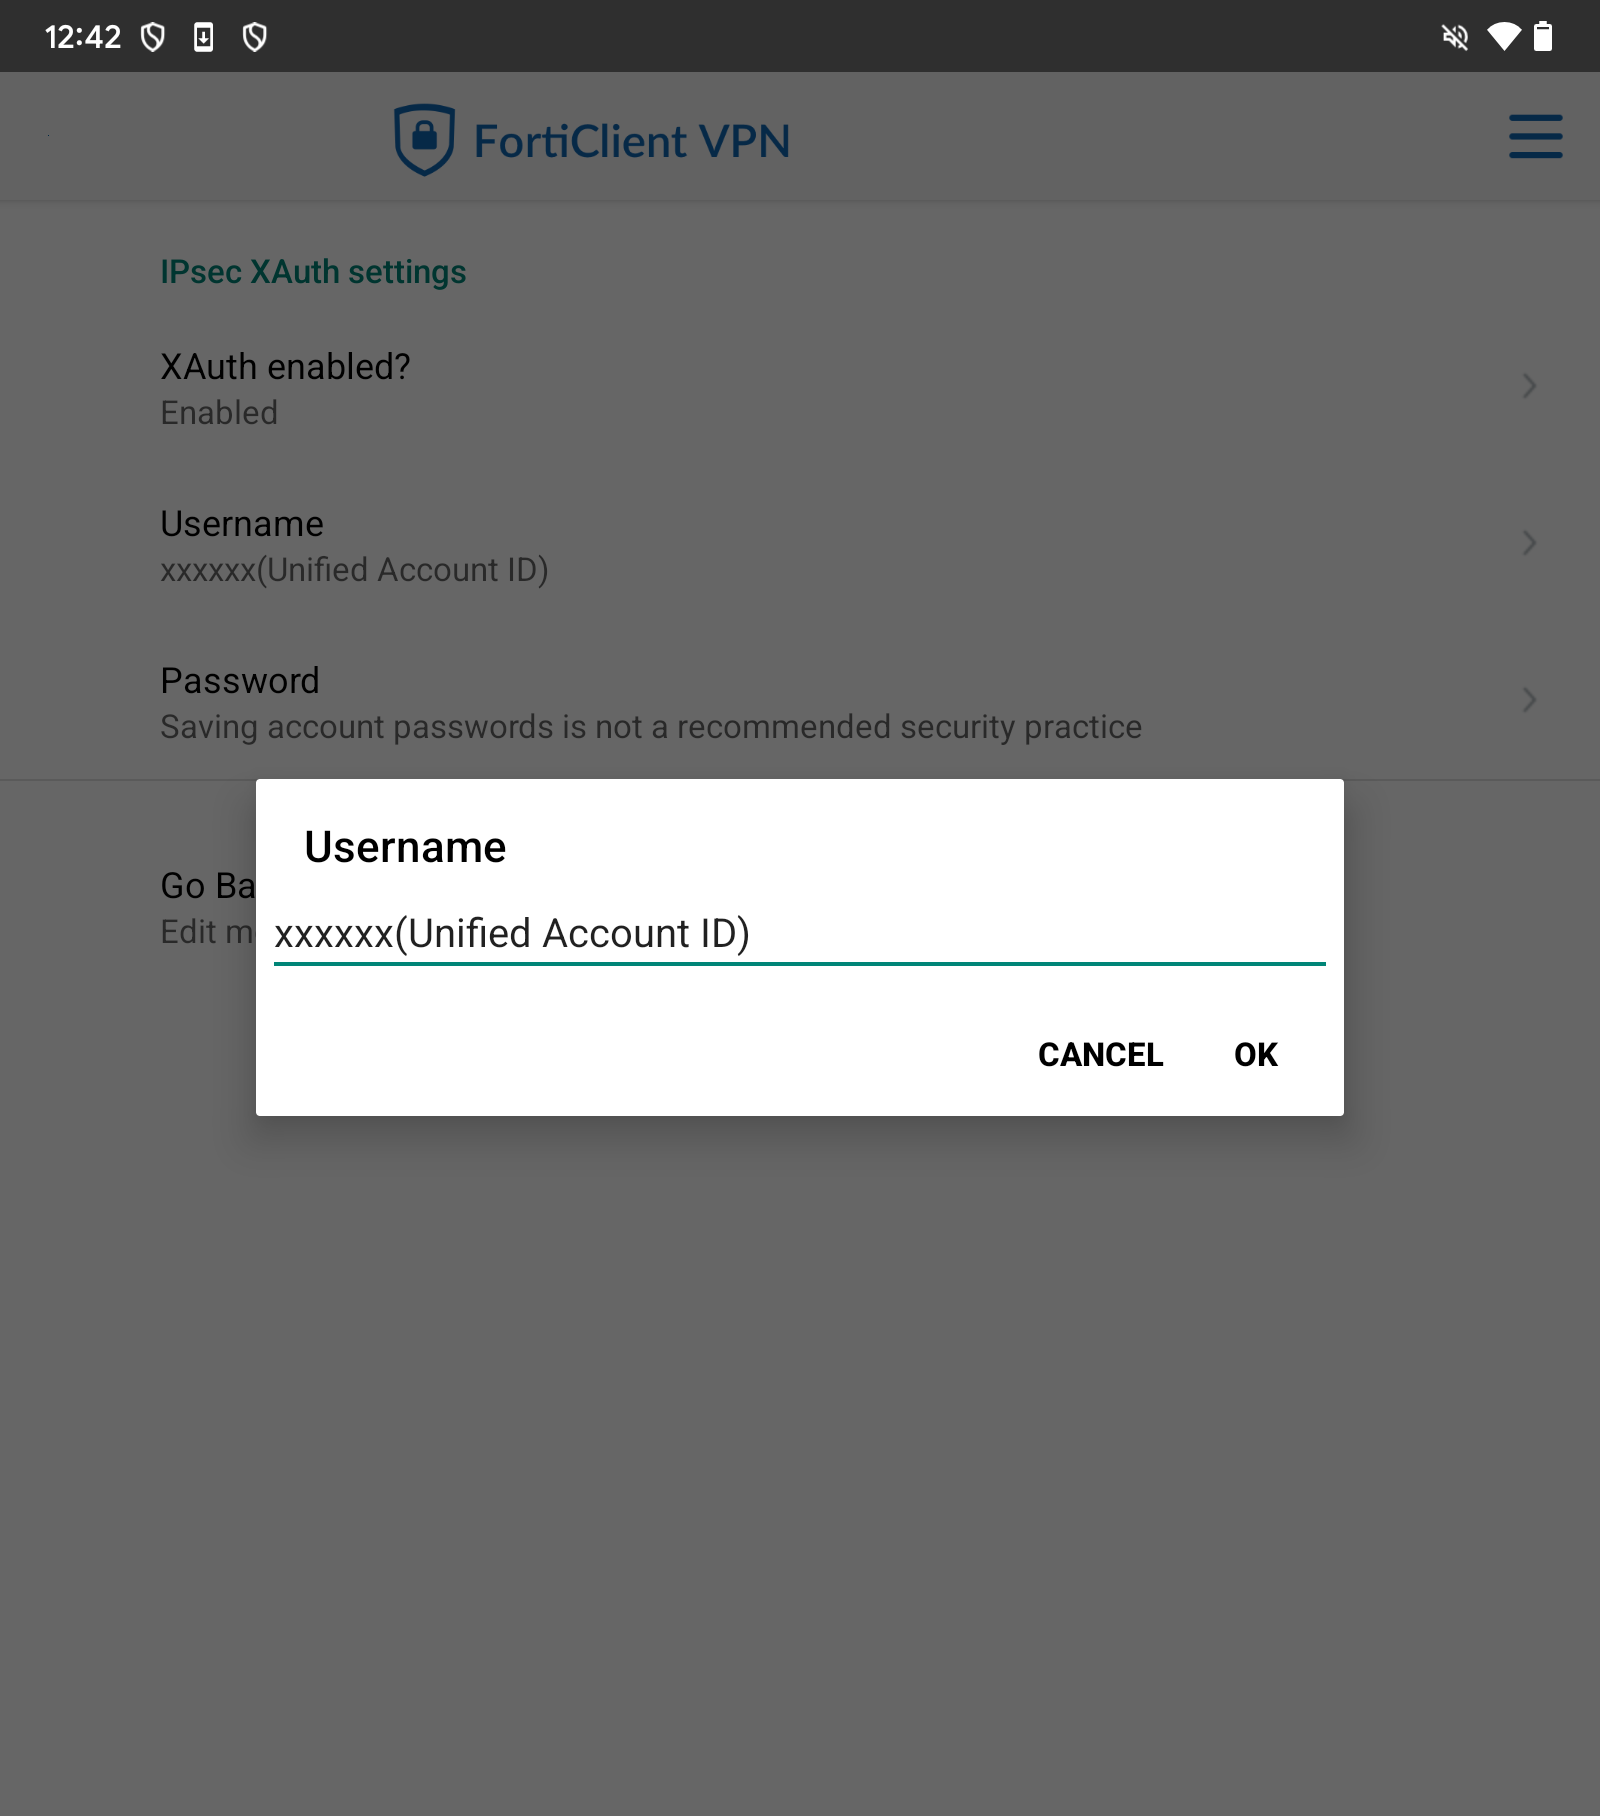
- Next, tap “IPsec XAuth Settings”.
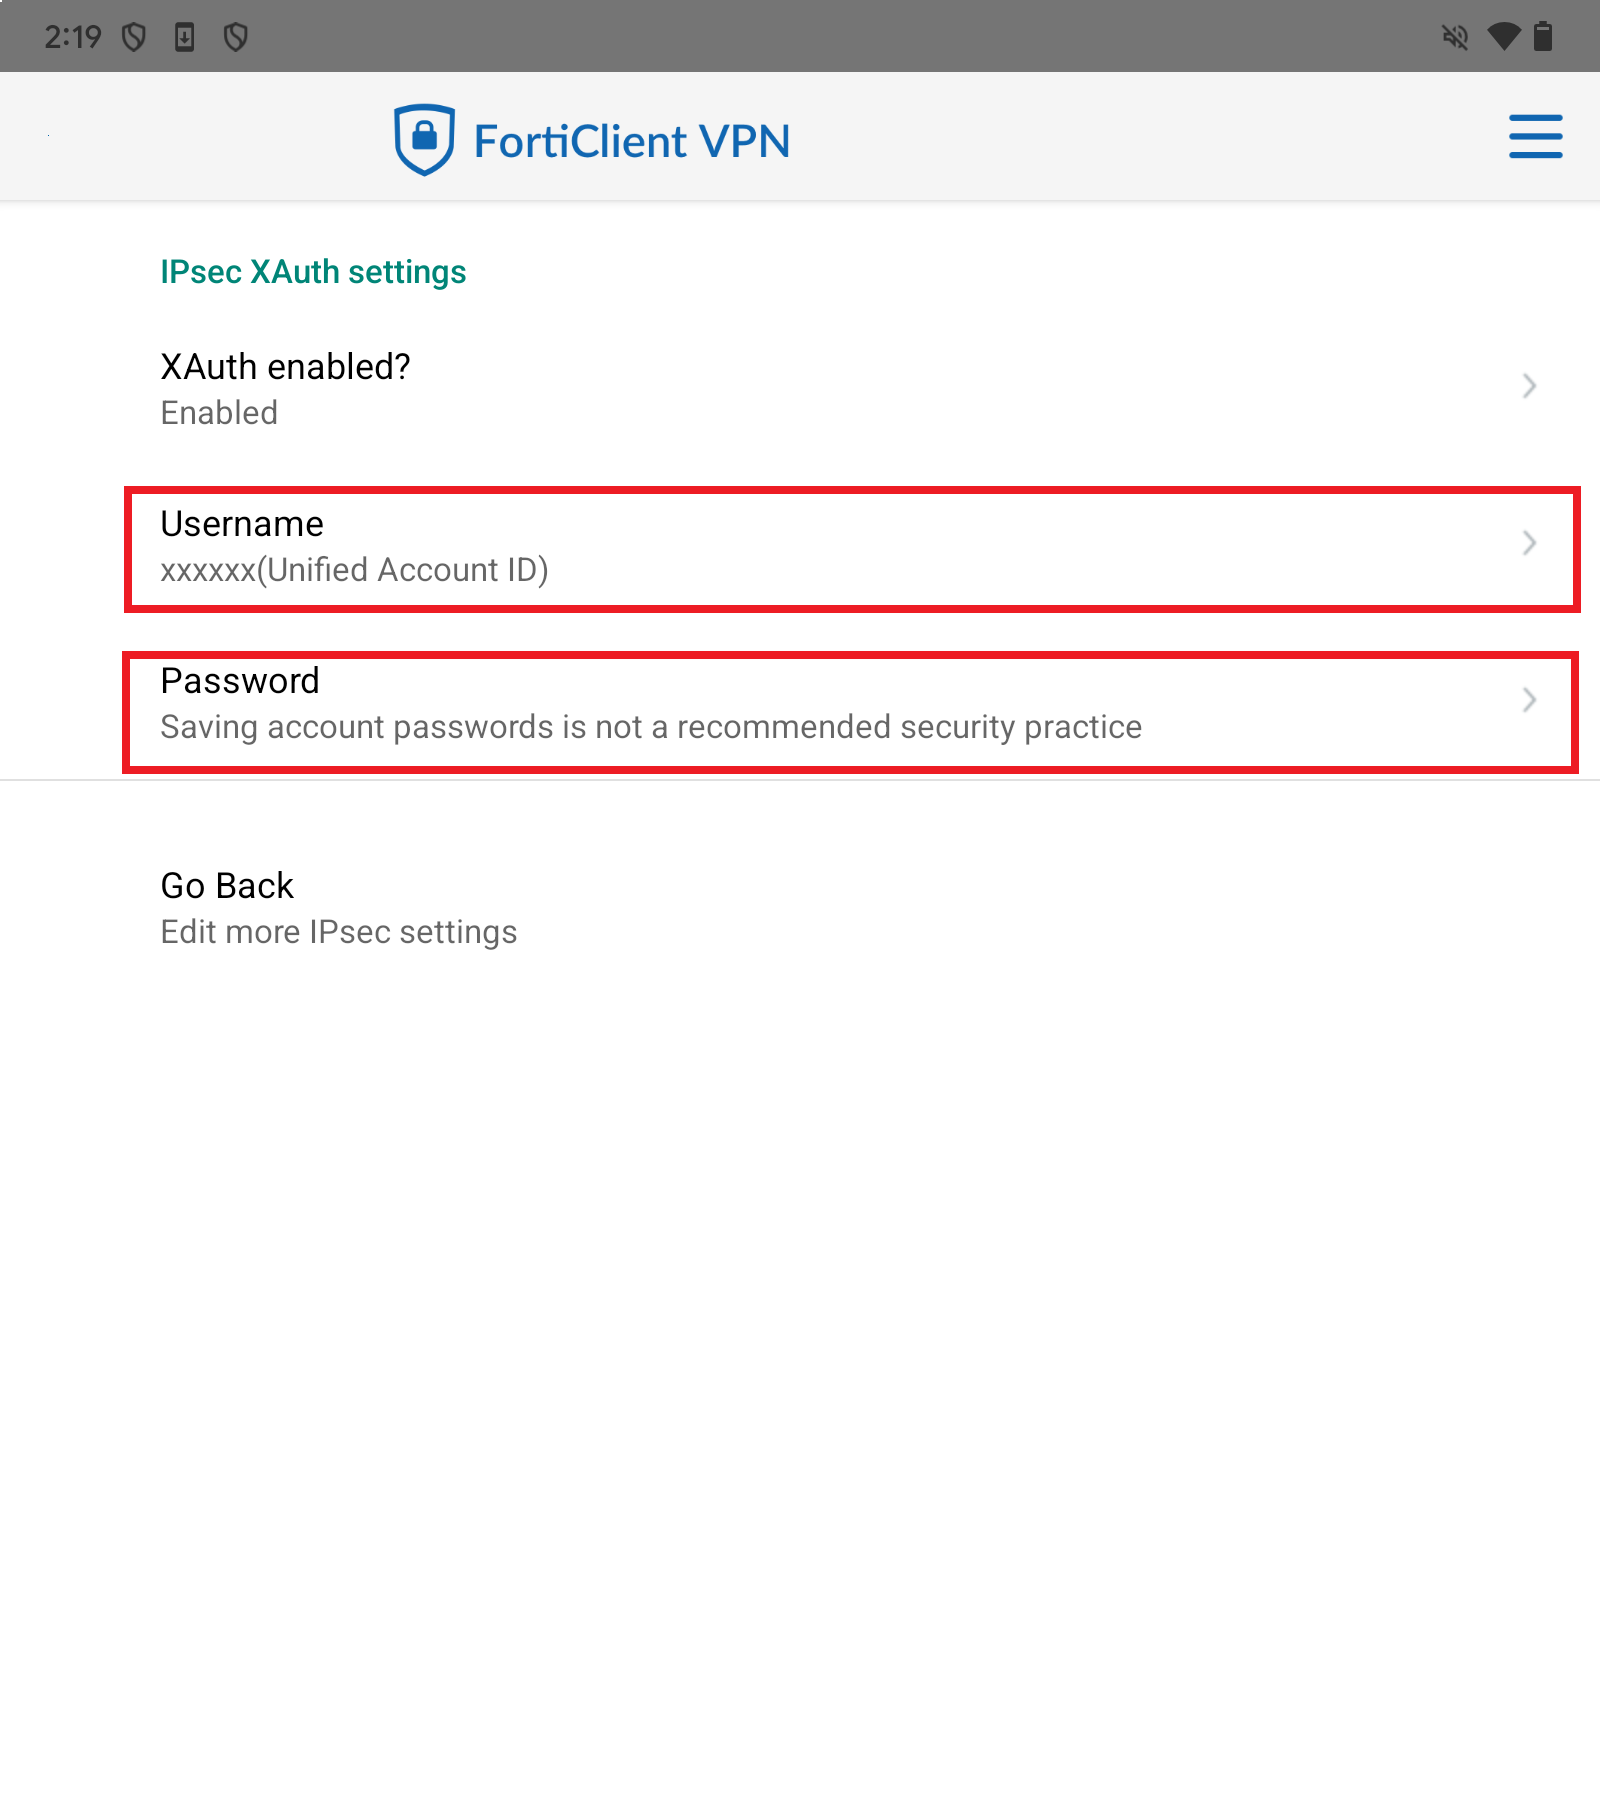
- Please configure the following settings. (Refer to the screen below for reference.)
- Username: Unified Account ID
- Password: Unified Account Password
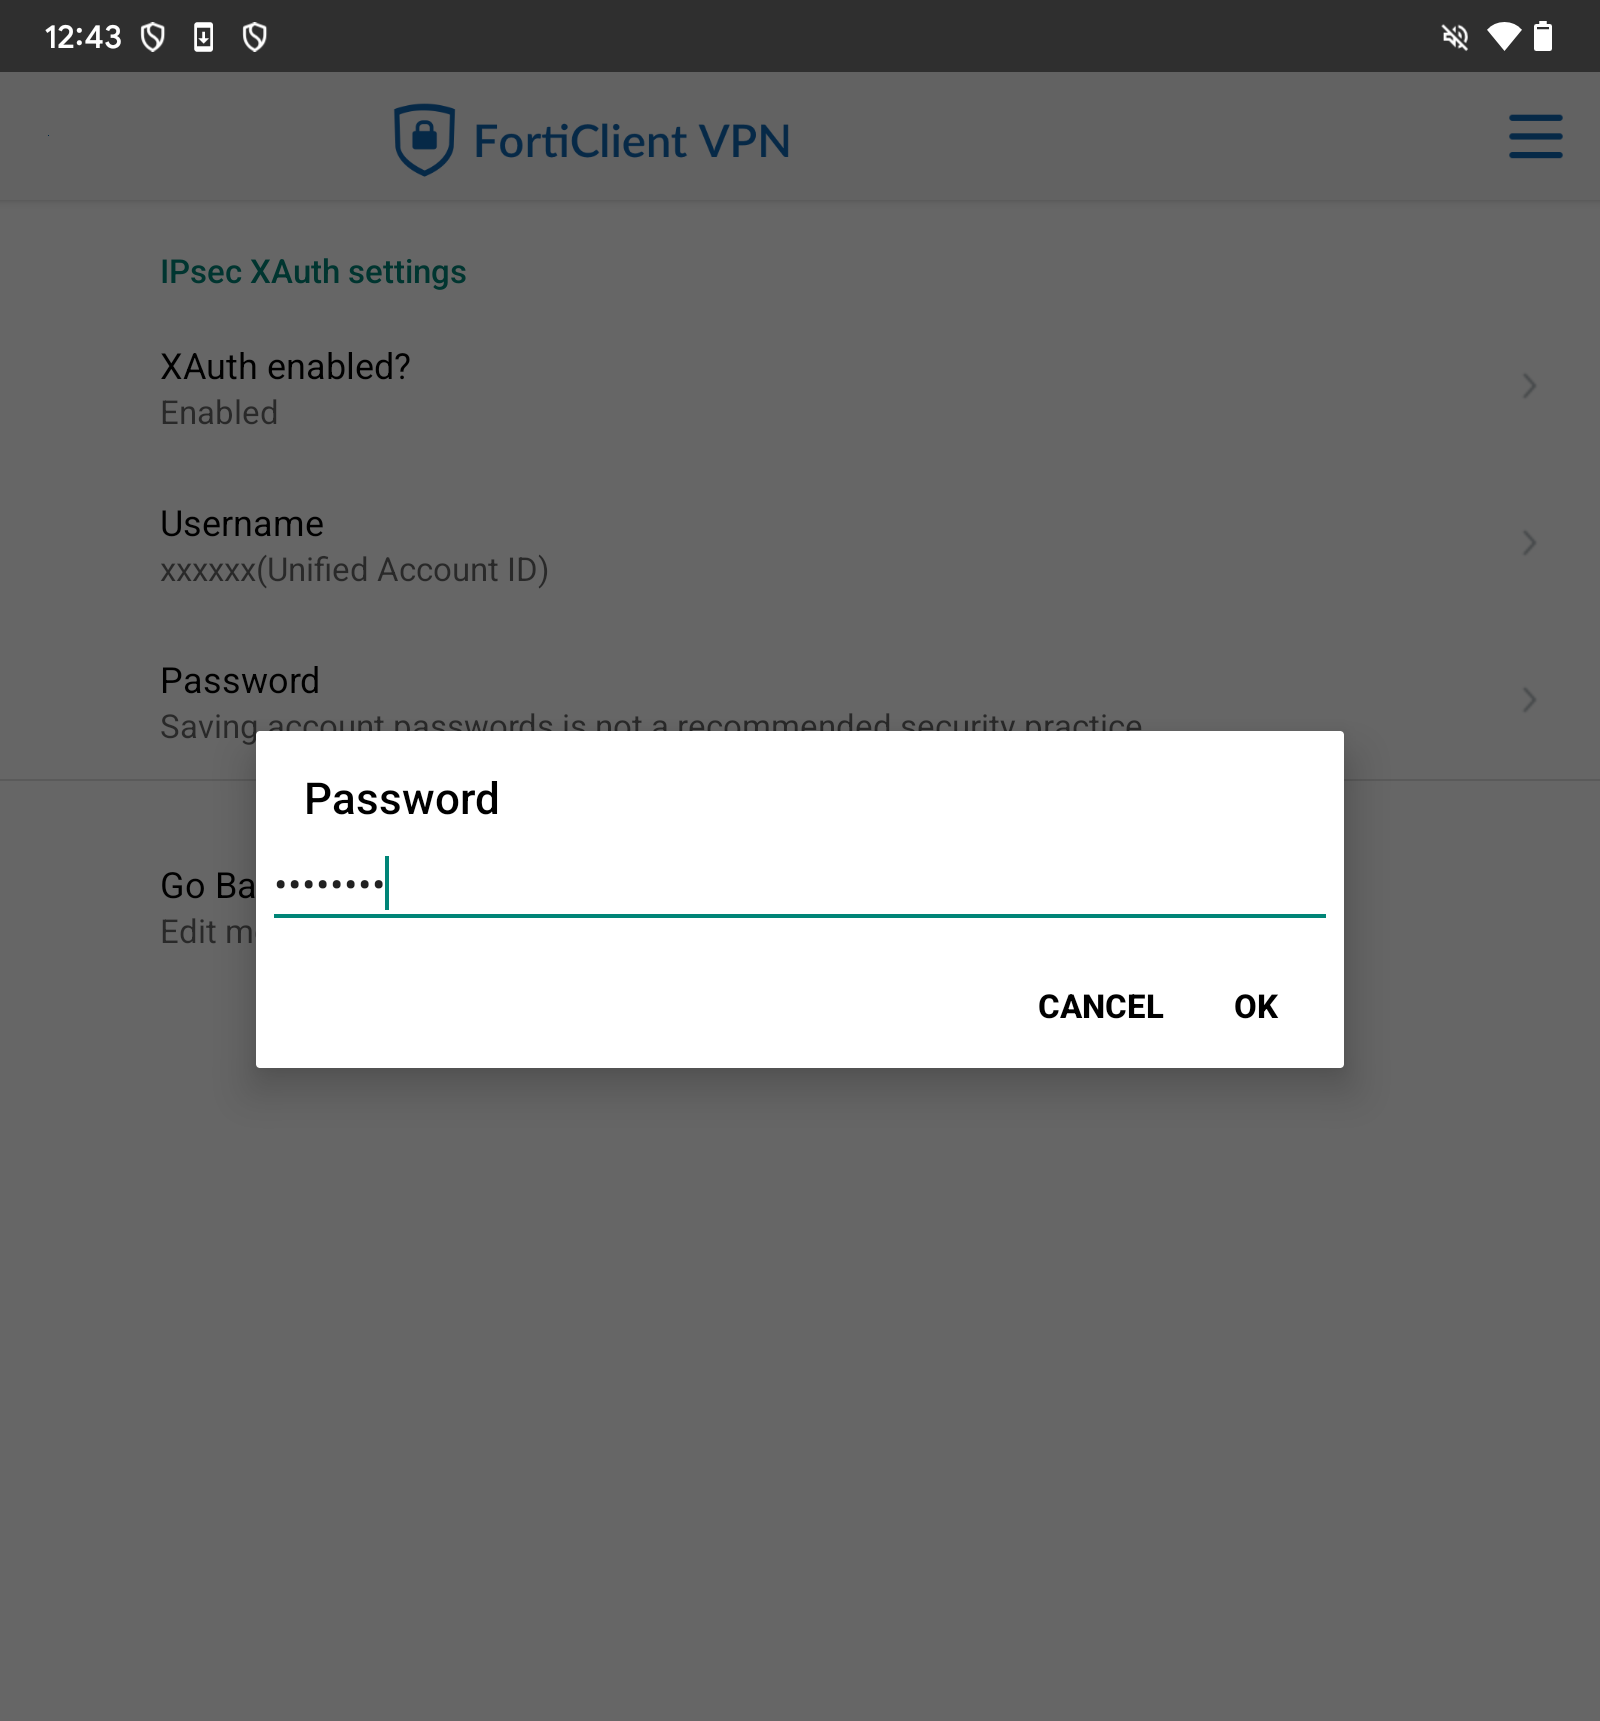
- Please select “Back.”
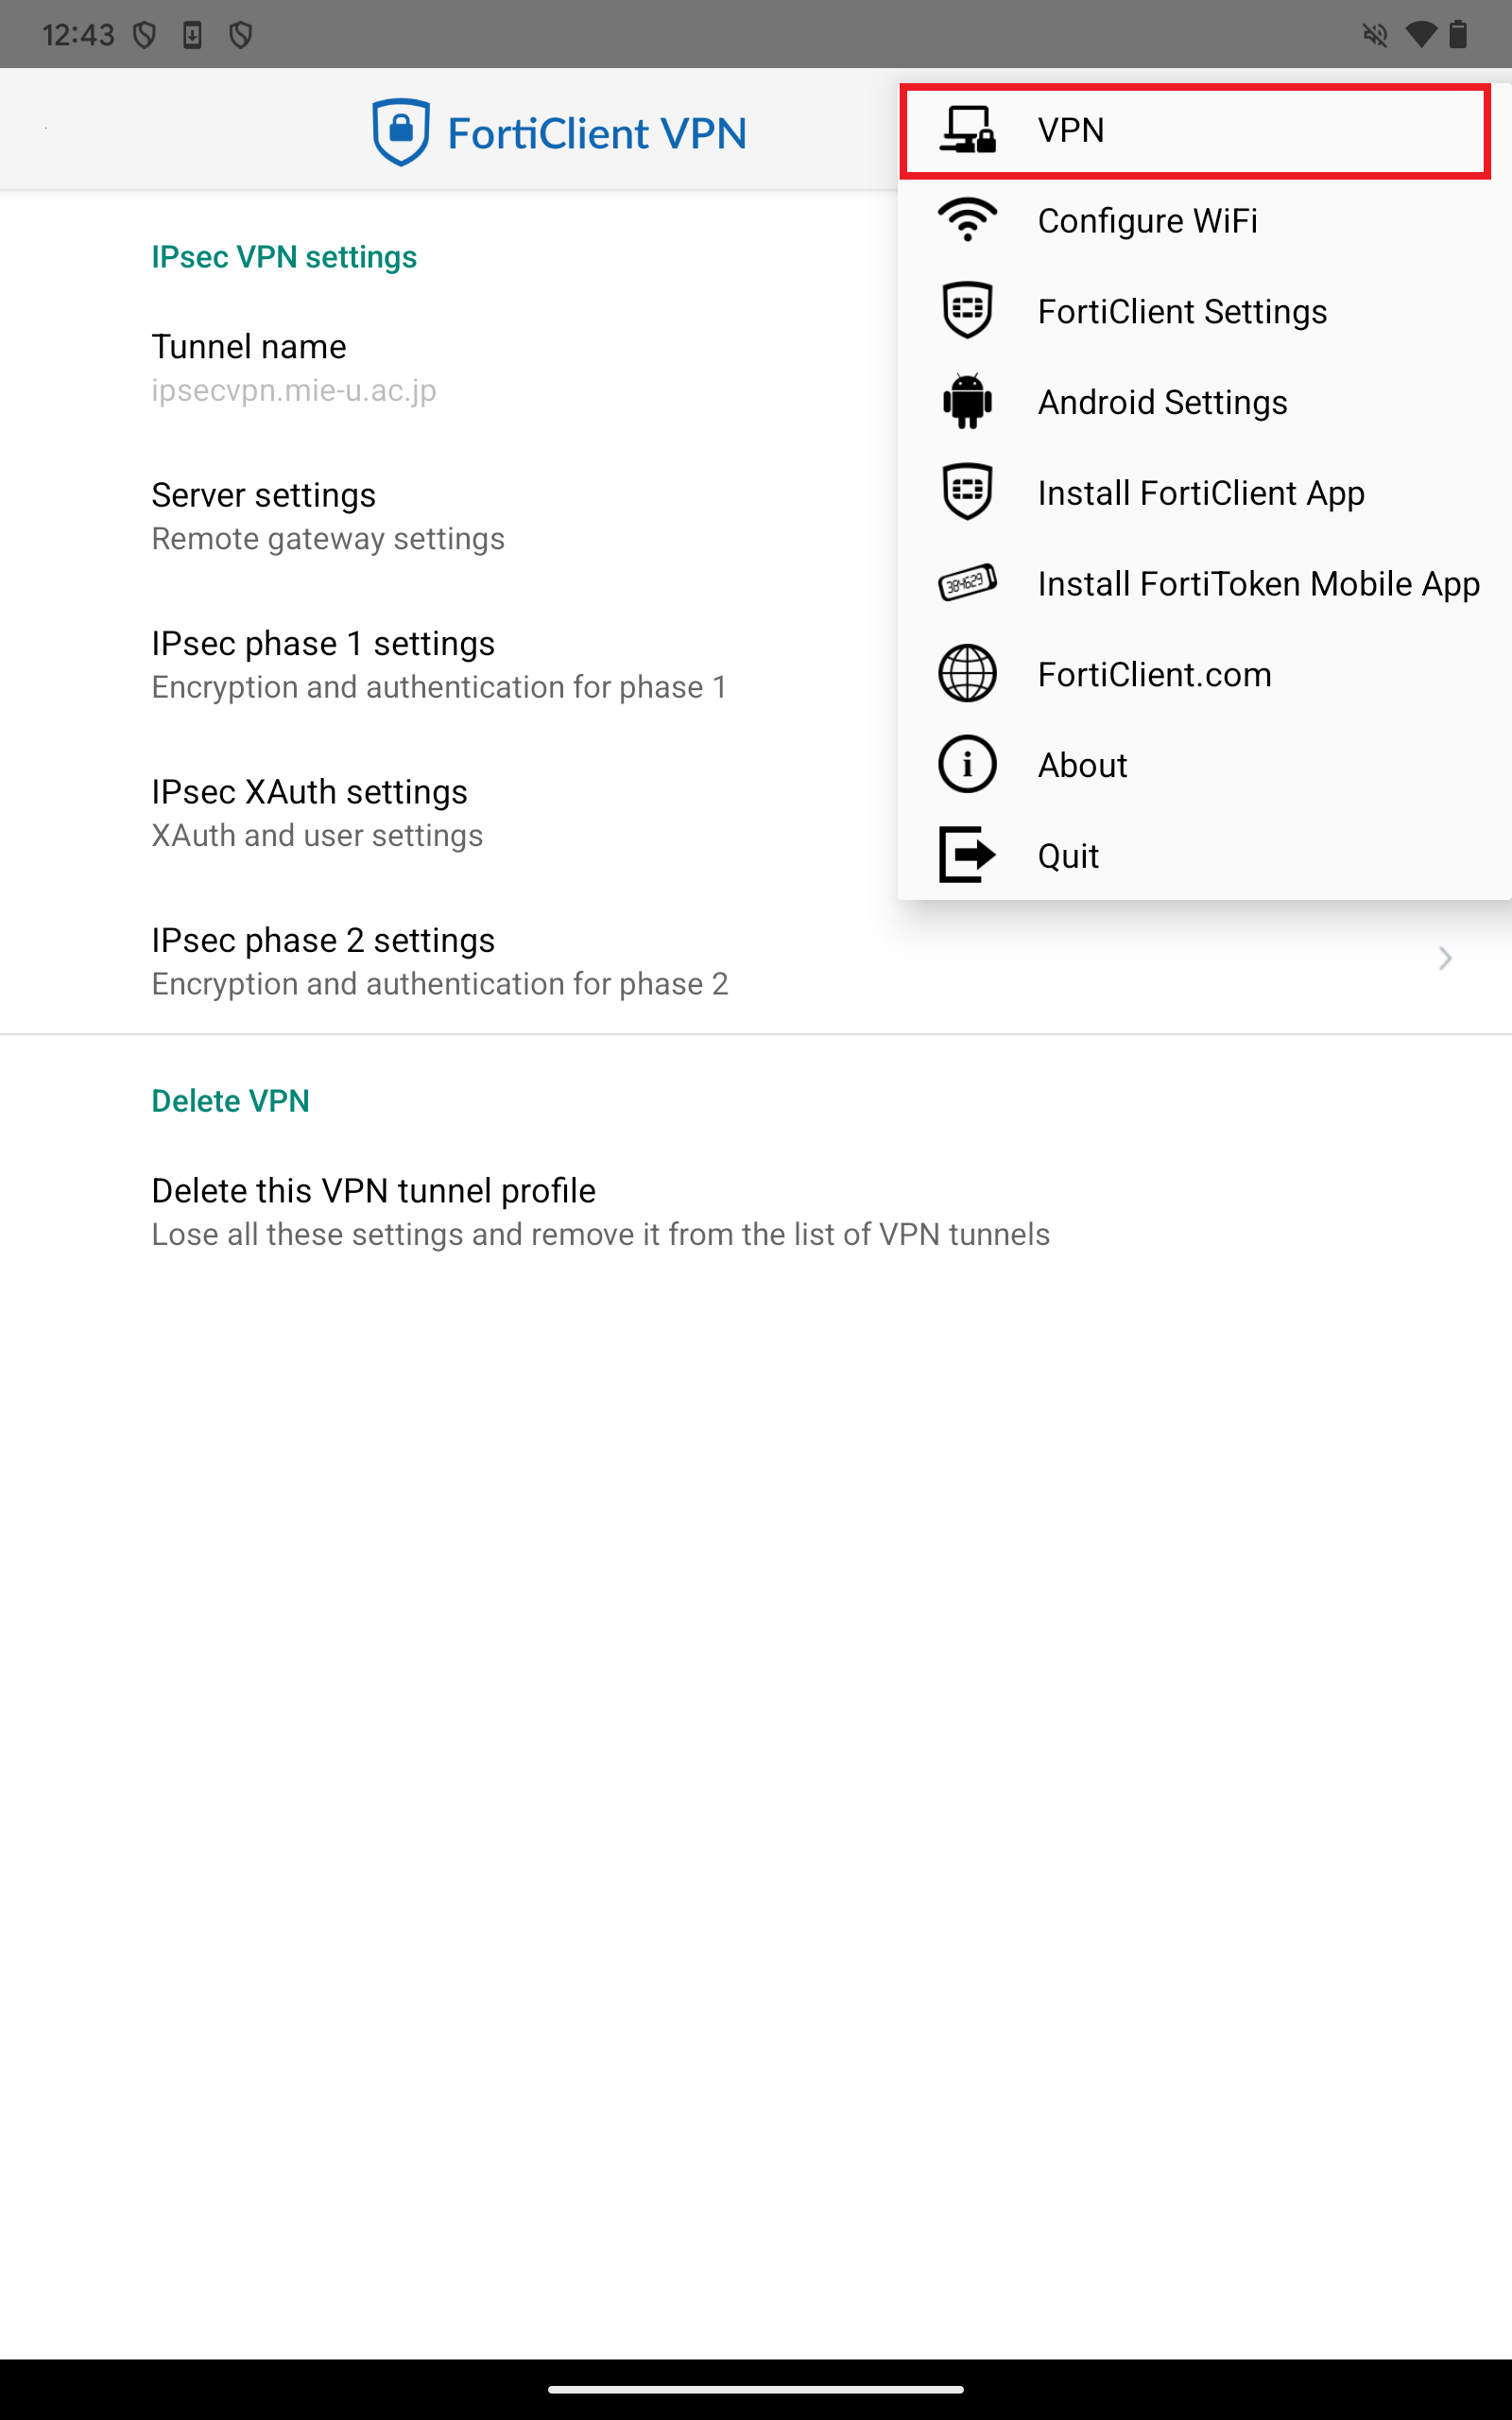
- Next, select VPN from the menu bar in the upper right corner.
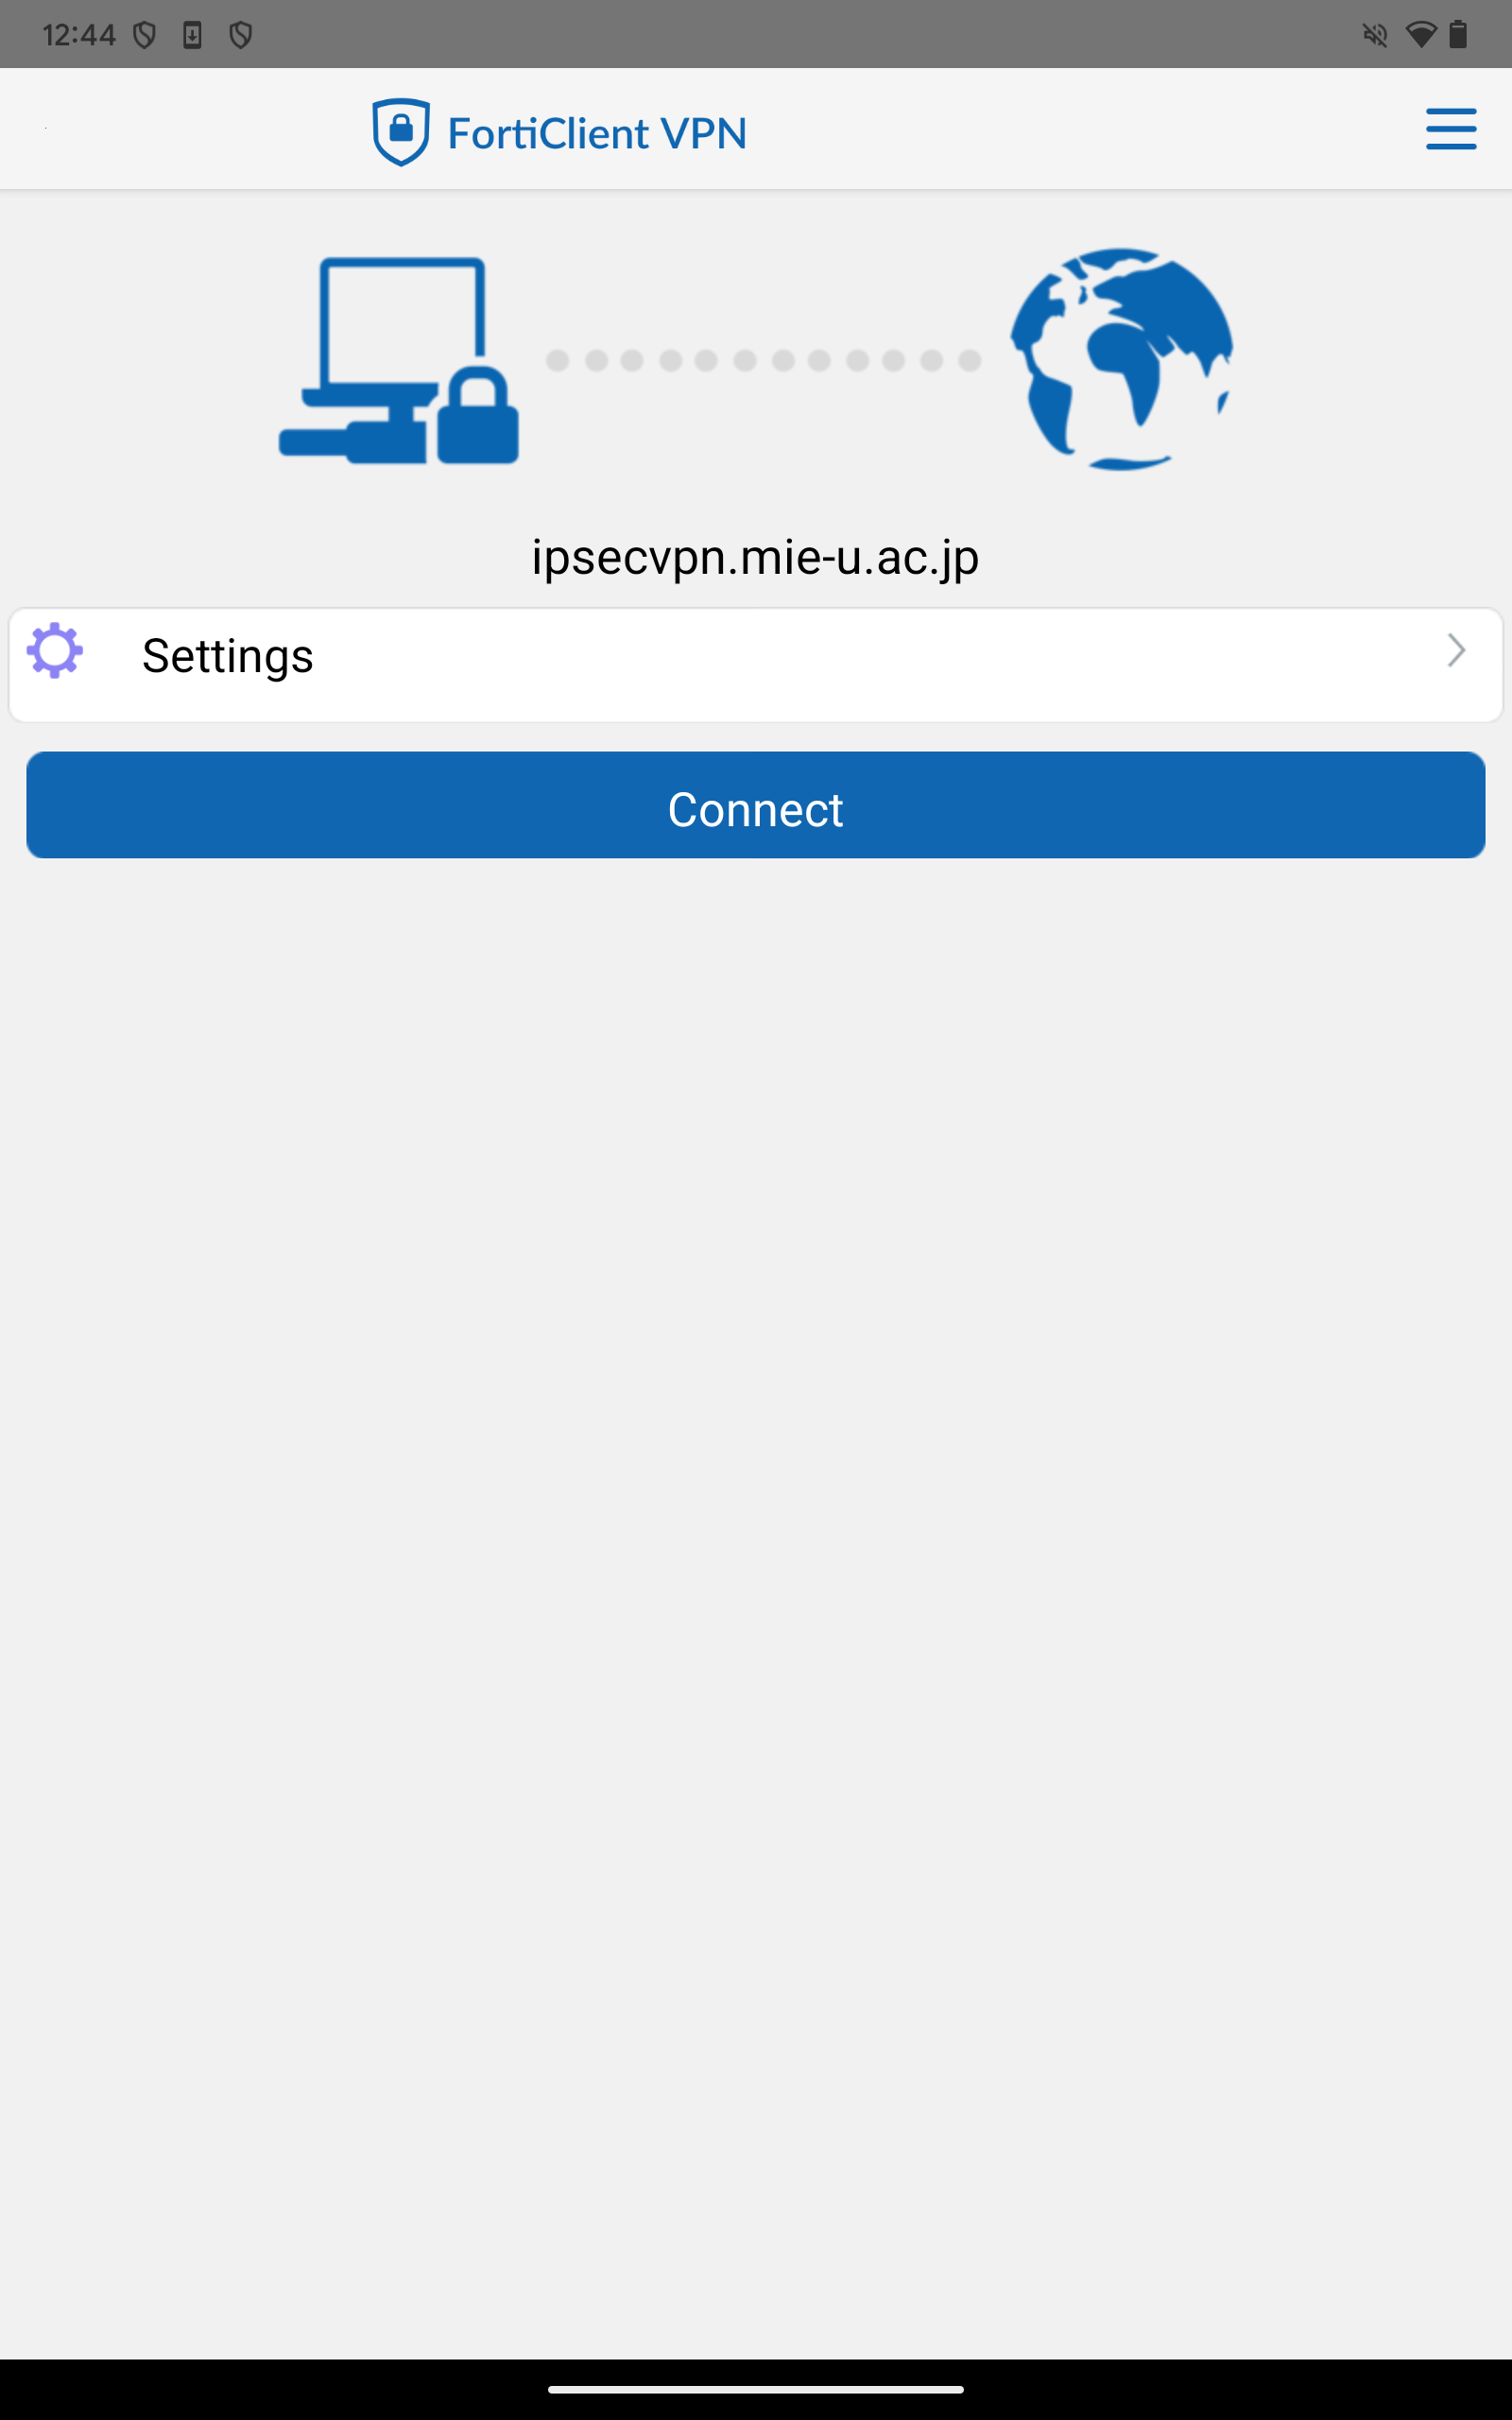
- Please select the VPN tunnel “ipsecvpn.mie-u.ac.jp”.
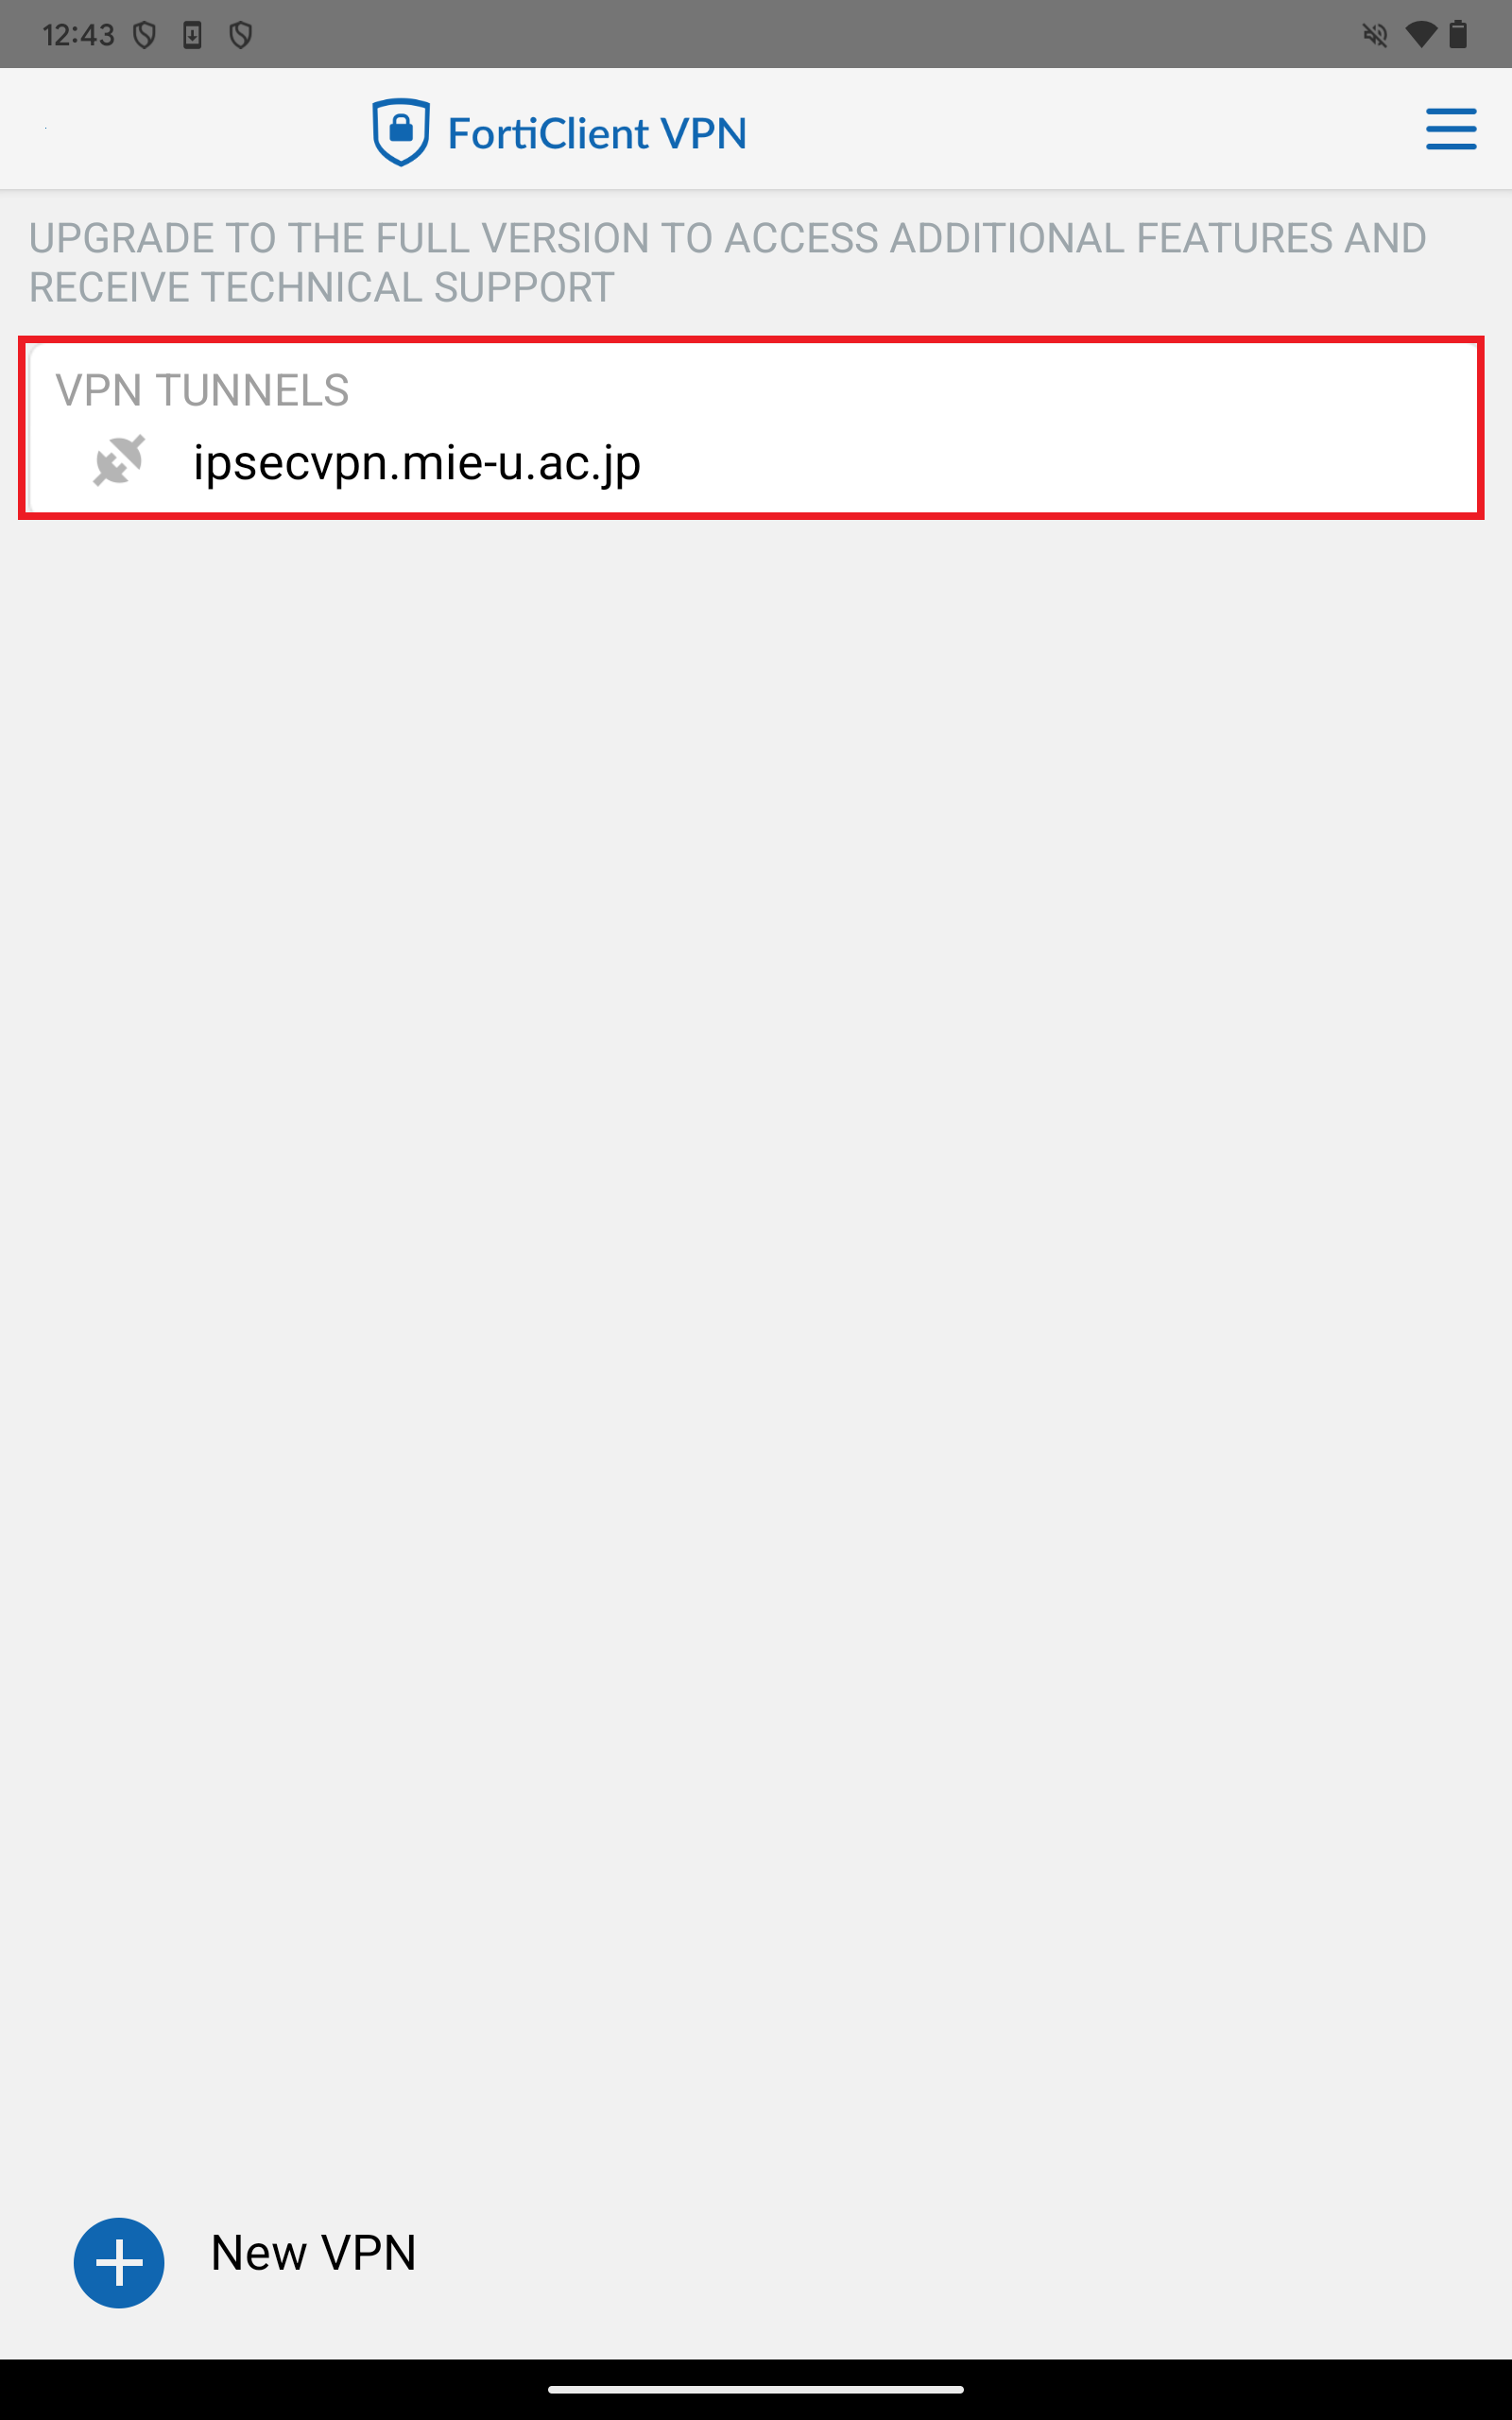
- Please select “Connect”. (If a connection request prompt appears, select OK.)
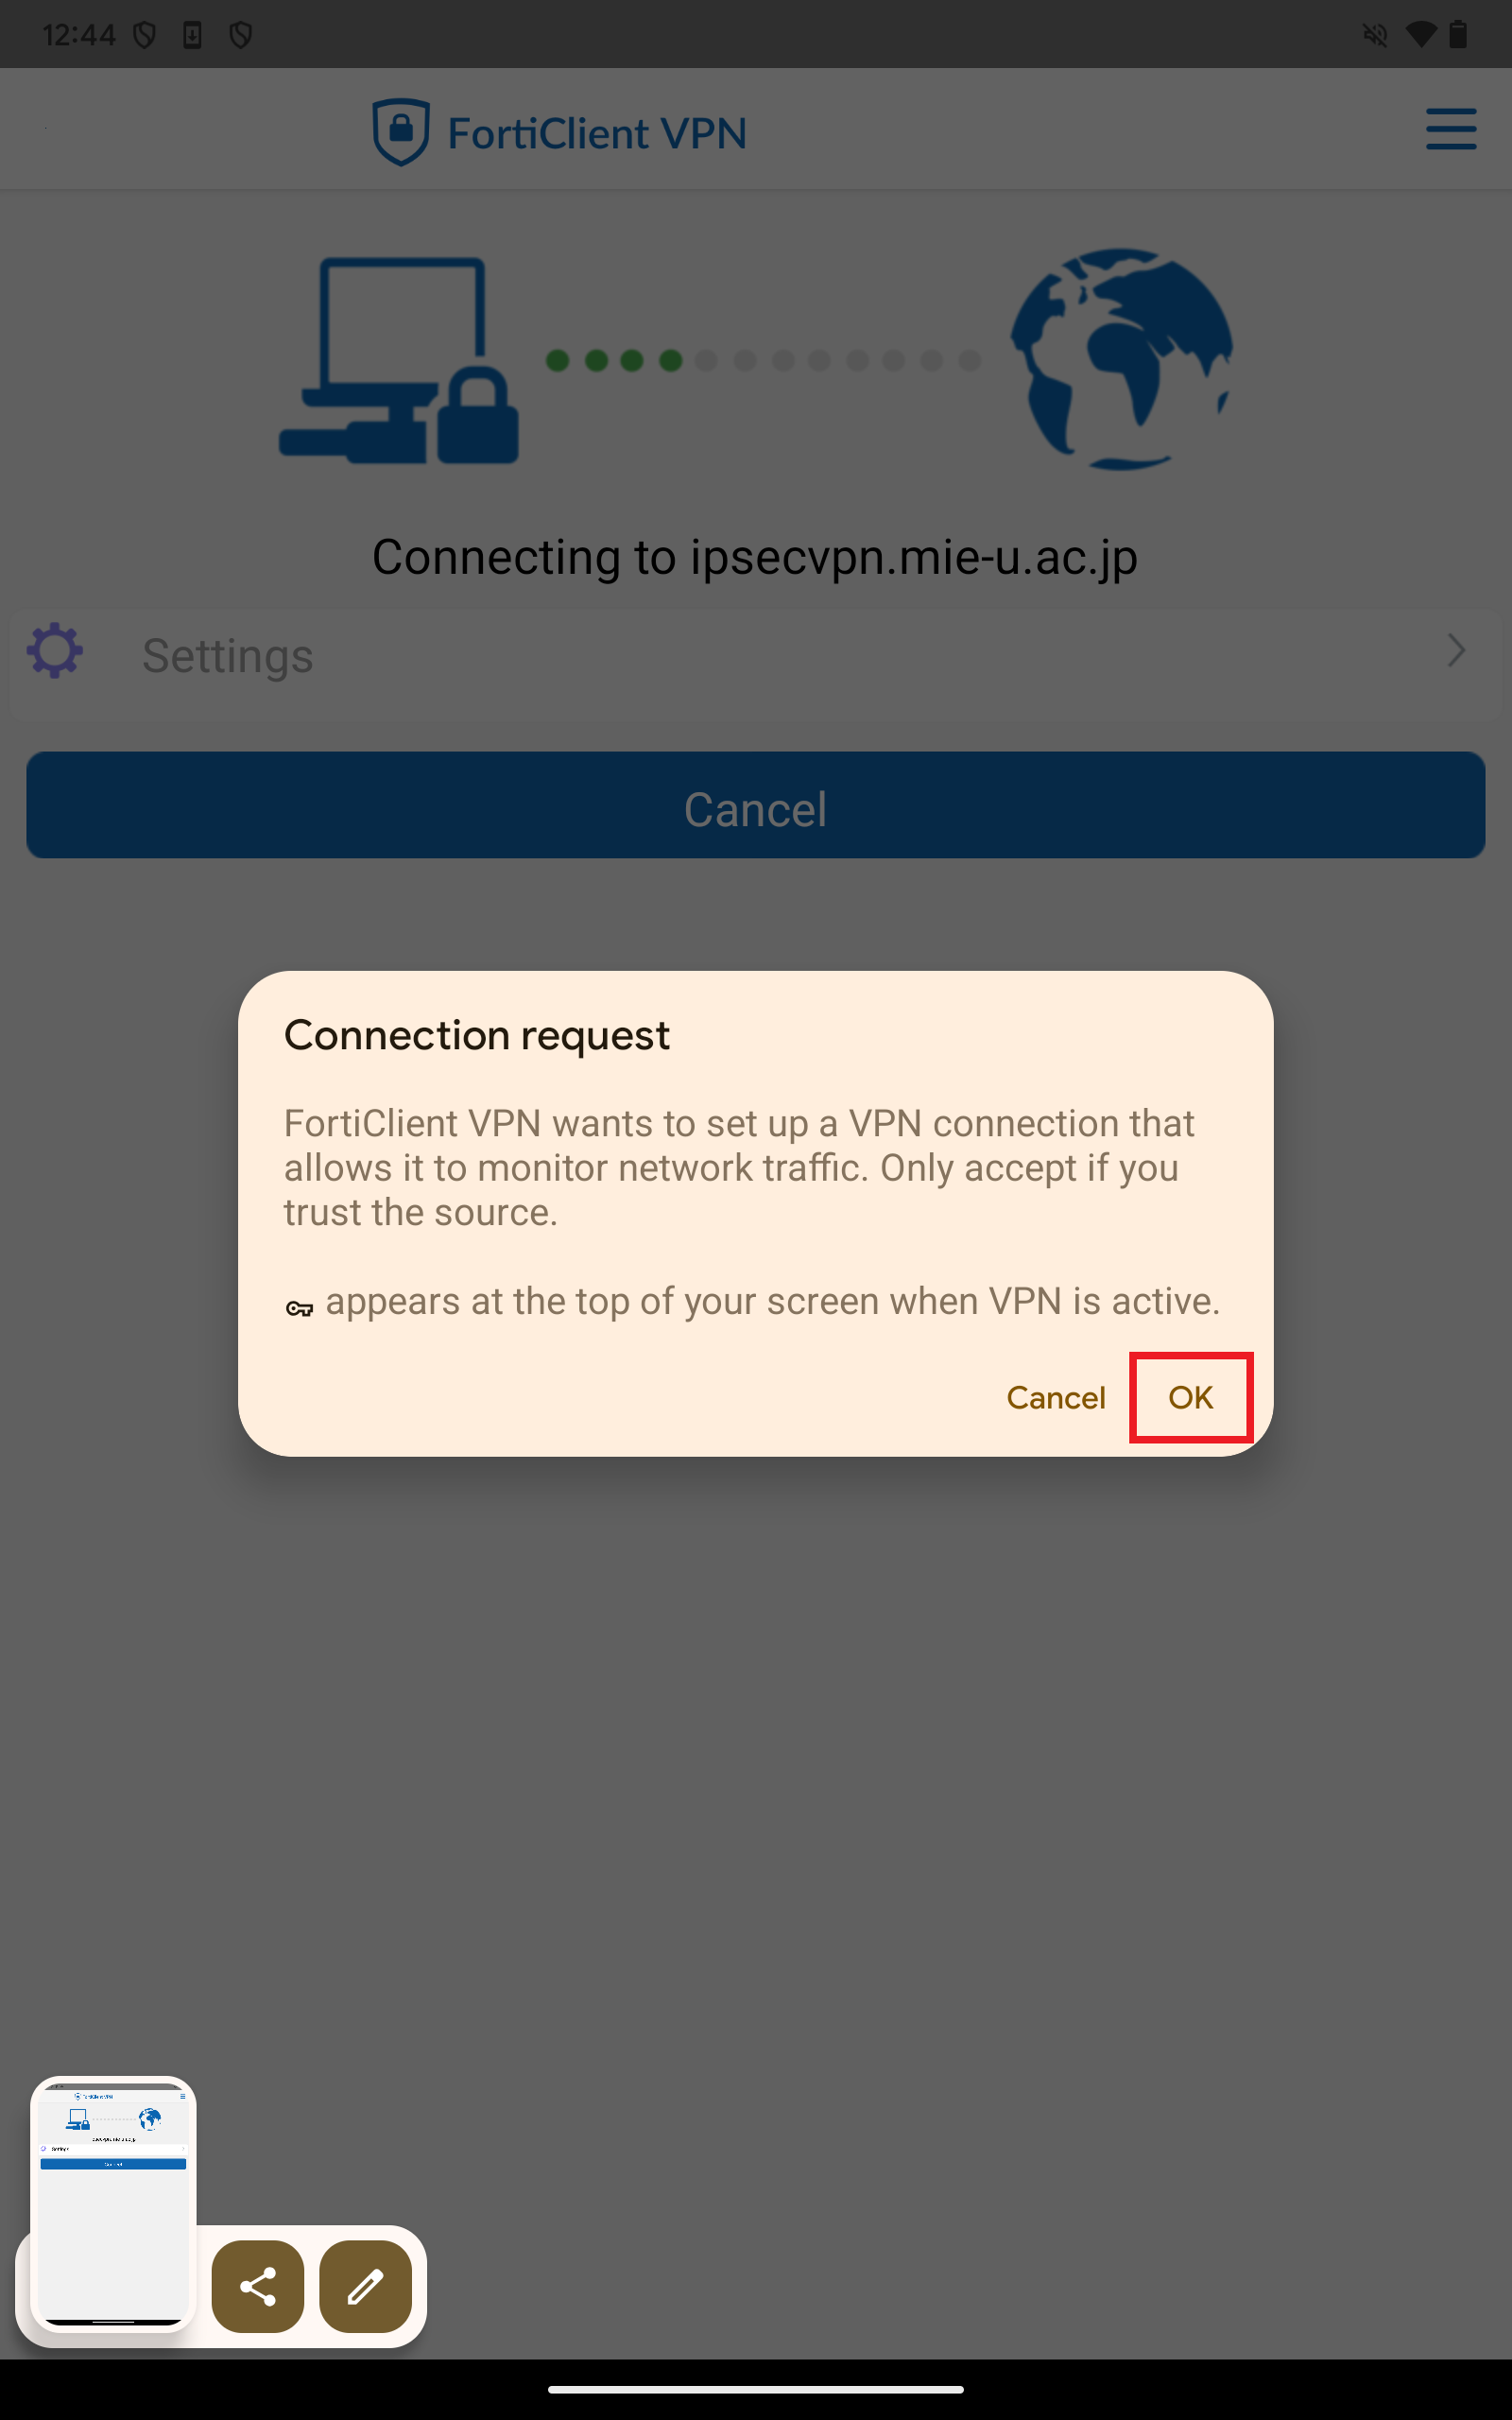
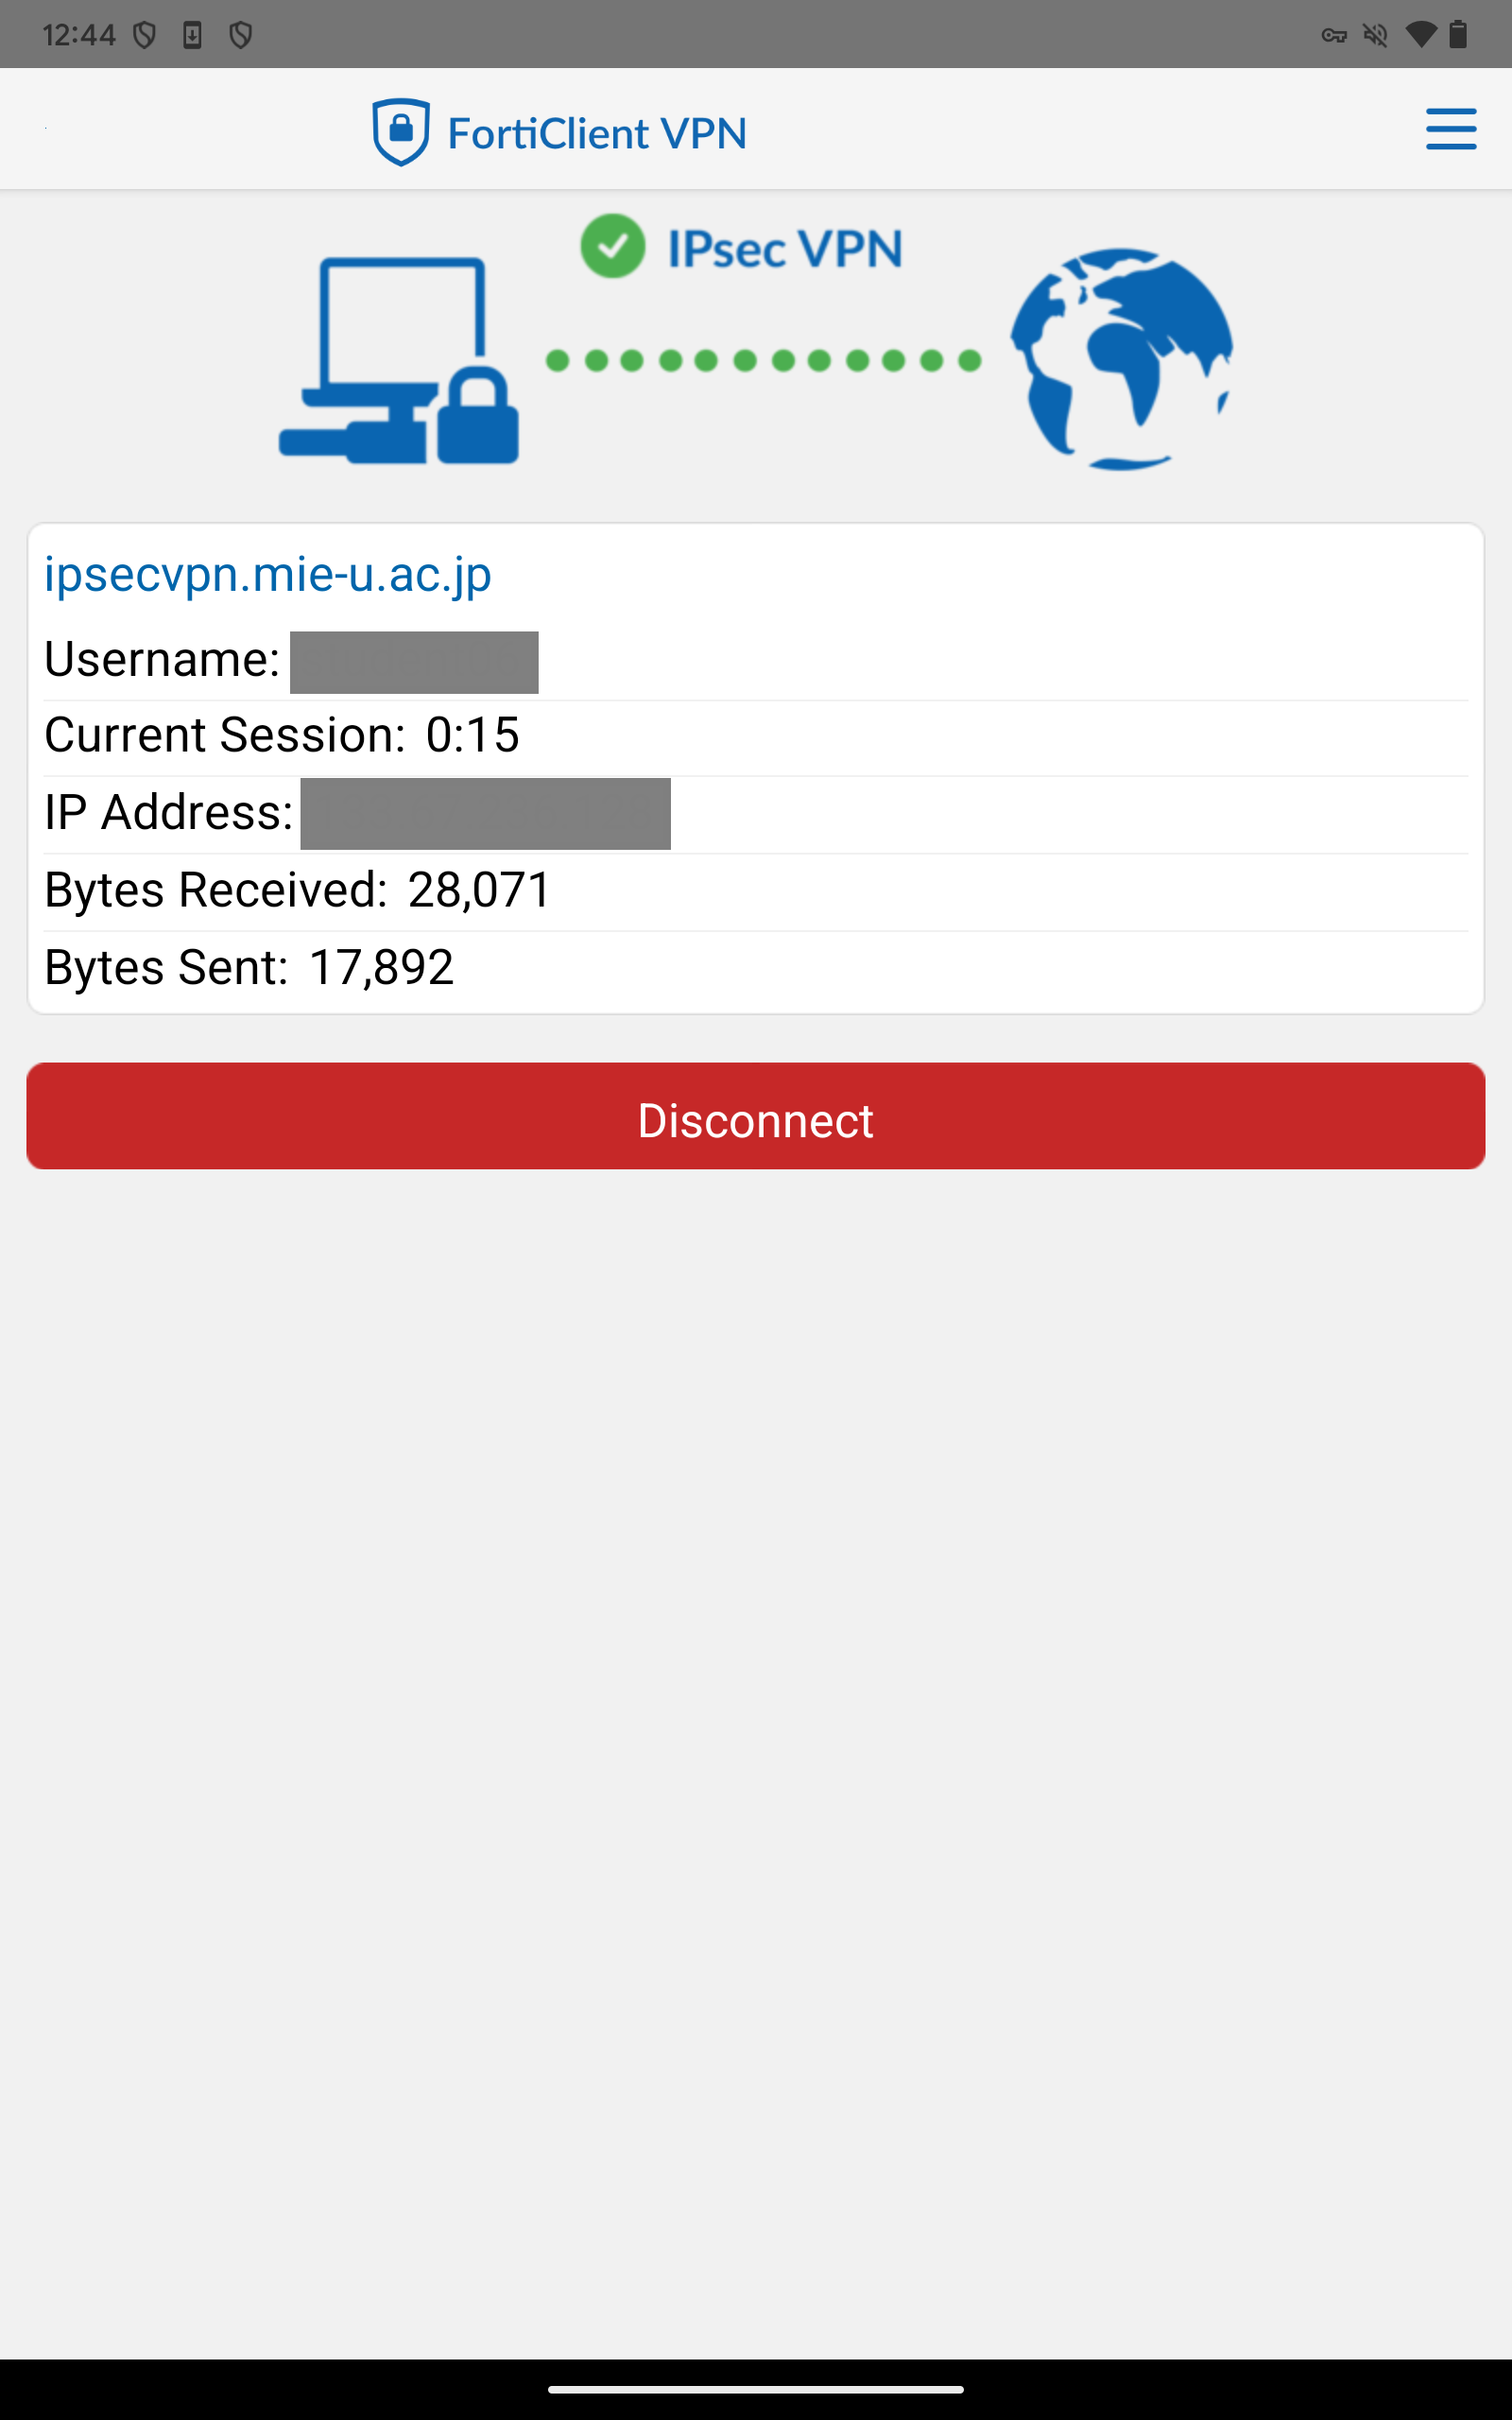
- Secure VPN has connected. Please verify that you can view the campus-restricted pages.
When you are finished using the service, be sure to tap “Disconnect.”