Secure VPN Connection Service(IPsec VPN)
Instructions for use on Windows
- Install FortiClient VPN.
Click here to download the installer "FortiClientVPNInstaller.exe".
※If you download from off-campus, you will need to enter a unified account.
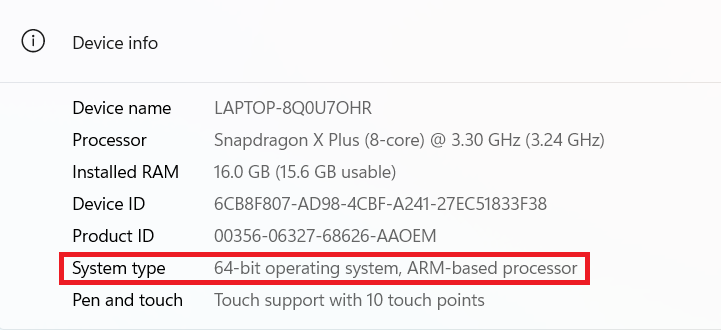
◆If you are using a PC with an ARM CPU◆
Click here FortiClientVPNInstaller_arm.exe to download the installer
To check your CPU, go to Settings → System → About. If "System Type" says "ARM-based processor," then your system is compatible.
Before installing, please delete the "C:\ProgramData\Applications\Cache" folder, restart your PC, and then install. (If the folder does not exist, there is no need to delete it.)
※This folder is a hidden file, so please turn on the display of hidden files and check if the folder exists.
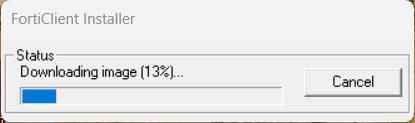
※Download from the official page here - Run the downloaded file to start downloading the data.
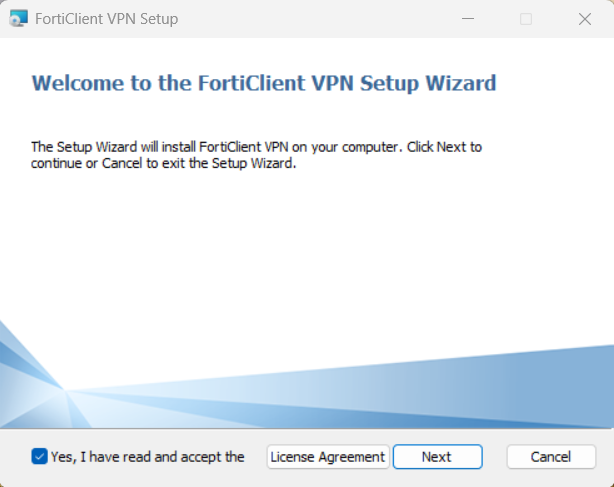
- After the download is complete, the following screen will be displayed. Please accept the license agreement and click "Next".
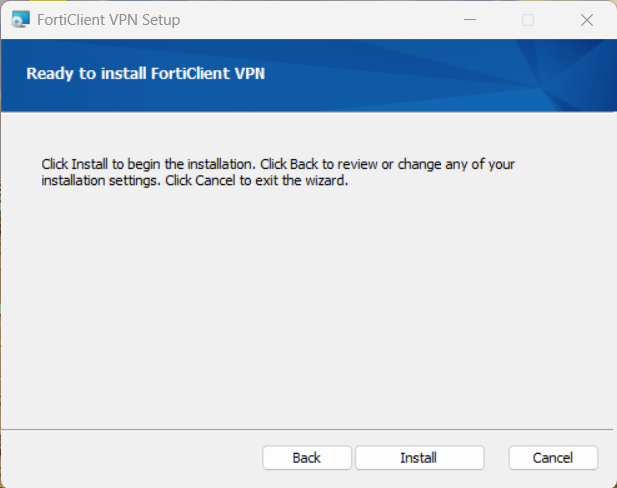
- Then, follow the instructions on the screen and click "Install" to automatically proceed with the installation.
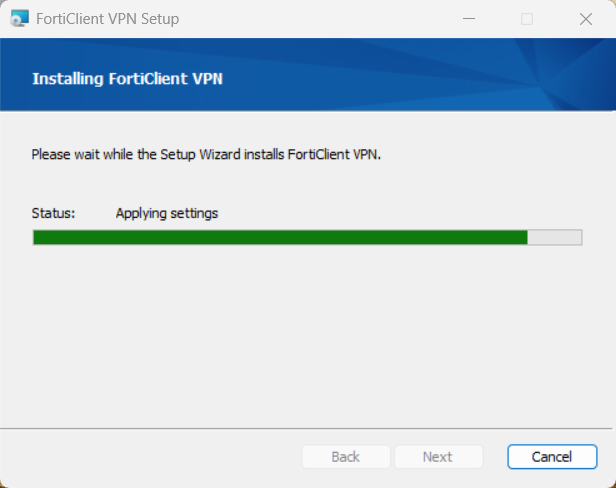
- After a short wait, you will be redirected to the FortiClient VPN installation completion screen shown below. Click "Finish".
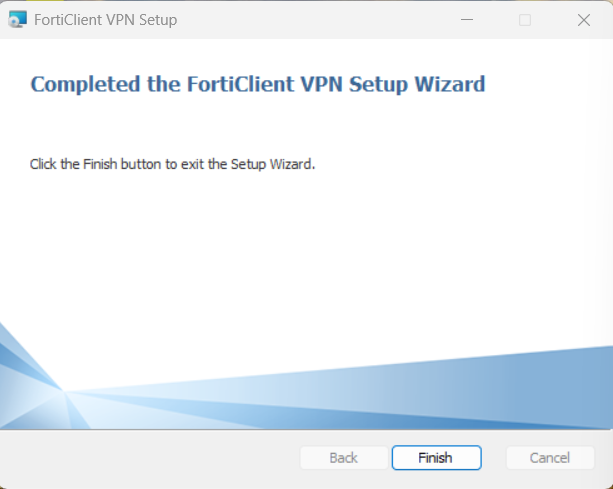
- From All Apps, launch "FortiClient VPN."

- You acknowledge and agree that Forticlient VPN does not include product support.
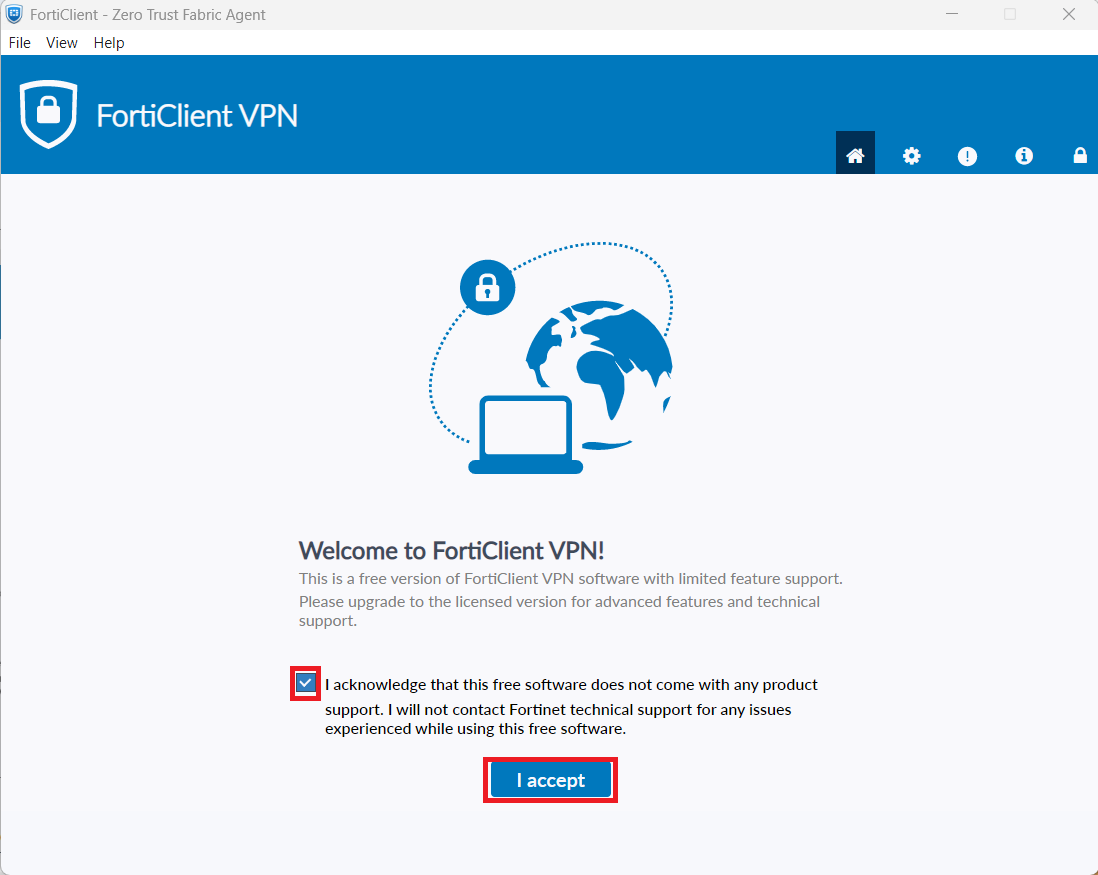
- Click "VPN Settings" at the bottom center of the screen.
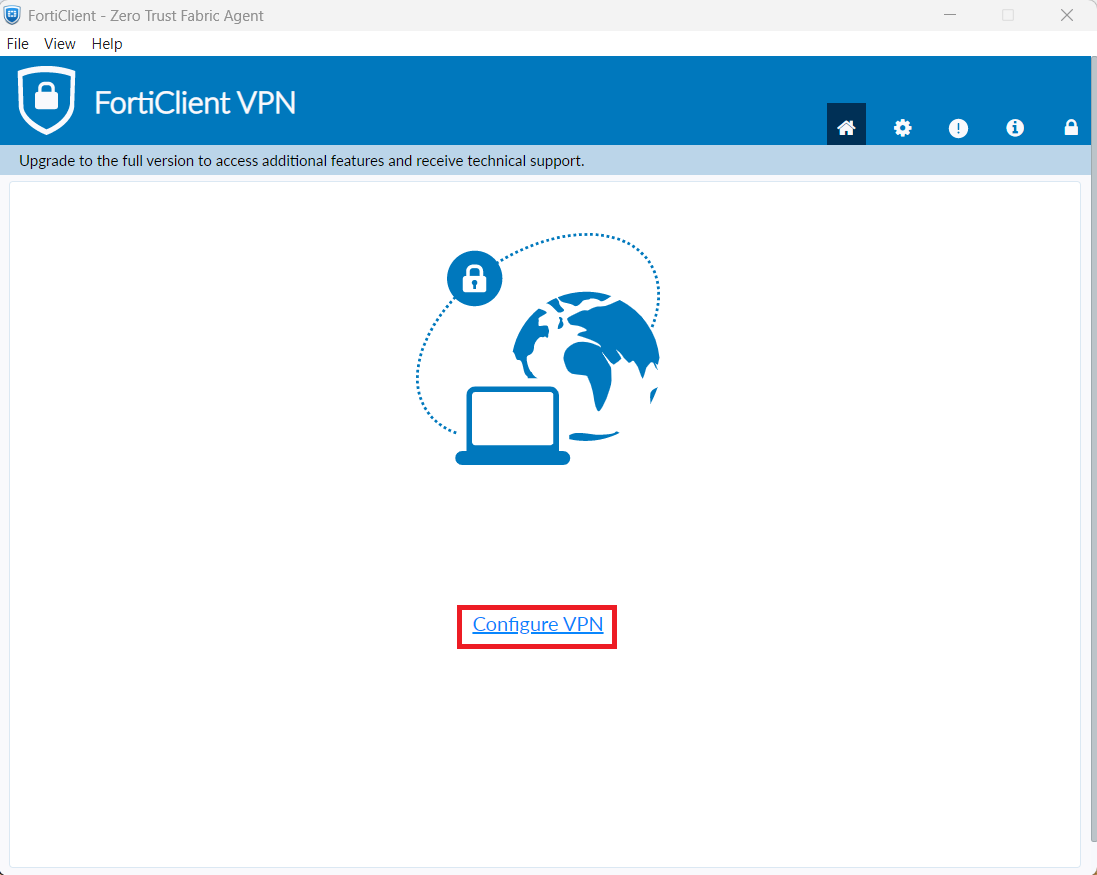
- The "New VPN Connection" screen will appear. Enter the following to open the advanced settings at the bottom.
- VPN:IPsec VPN
- Connection Name:ipsecvpn.mie-u.ac.jp
- Remote GW:ipsecvpn.mie-u.ac.jp
- Authentication method: Pre-shared key
- Click here to enter the pre-shared key
- Authentication(XAuth): Save username
- Username: Unified Account ID
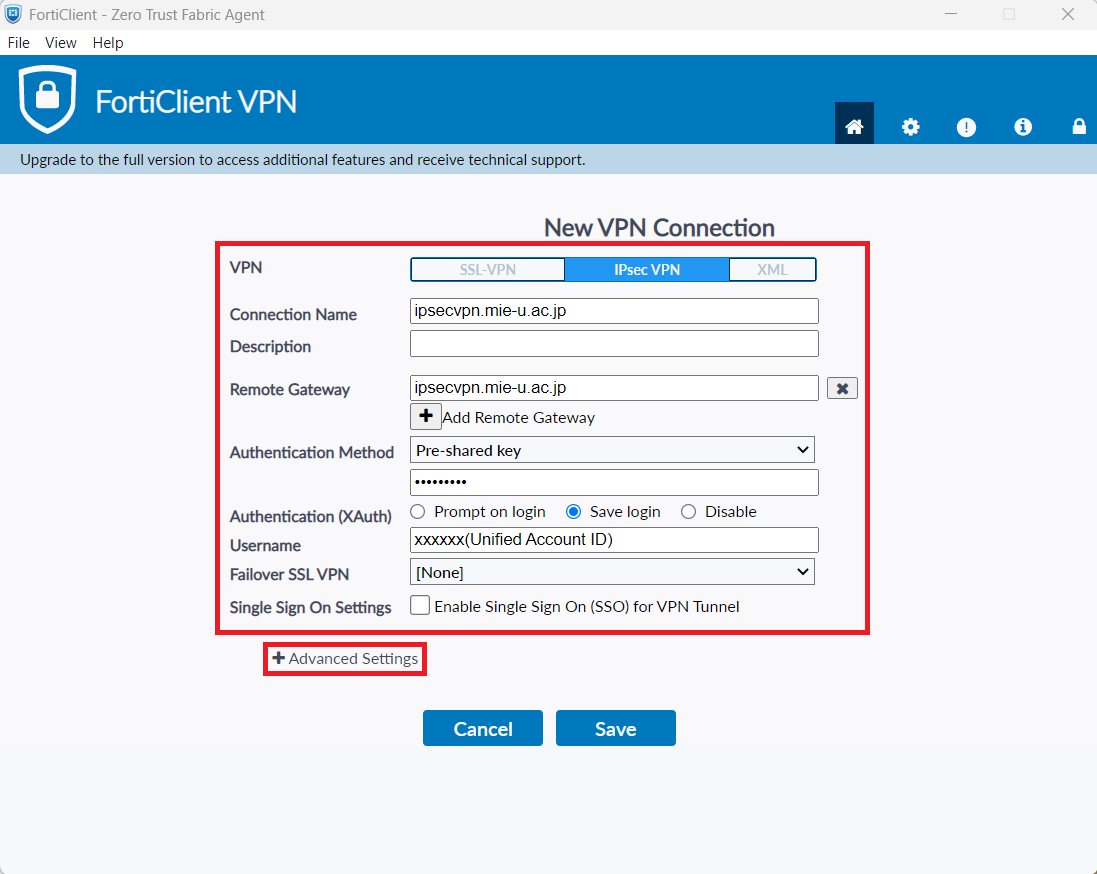
- Click Advanced Settings to open Phase 1 and enter the following:
- DH Group: 5
- Local ID:
(For faculty and staff) staff
(For students) student
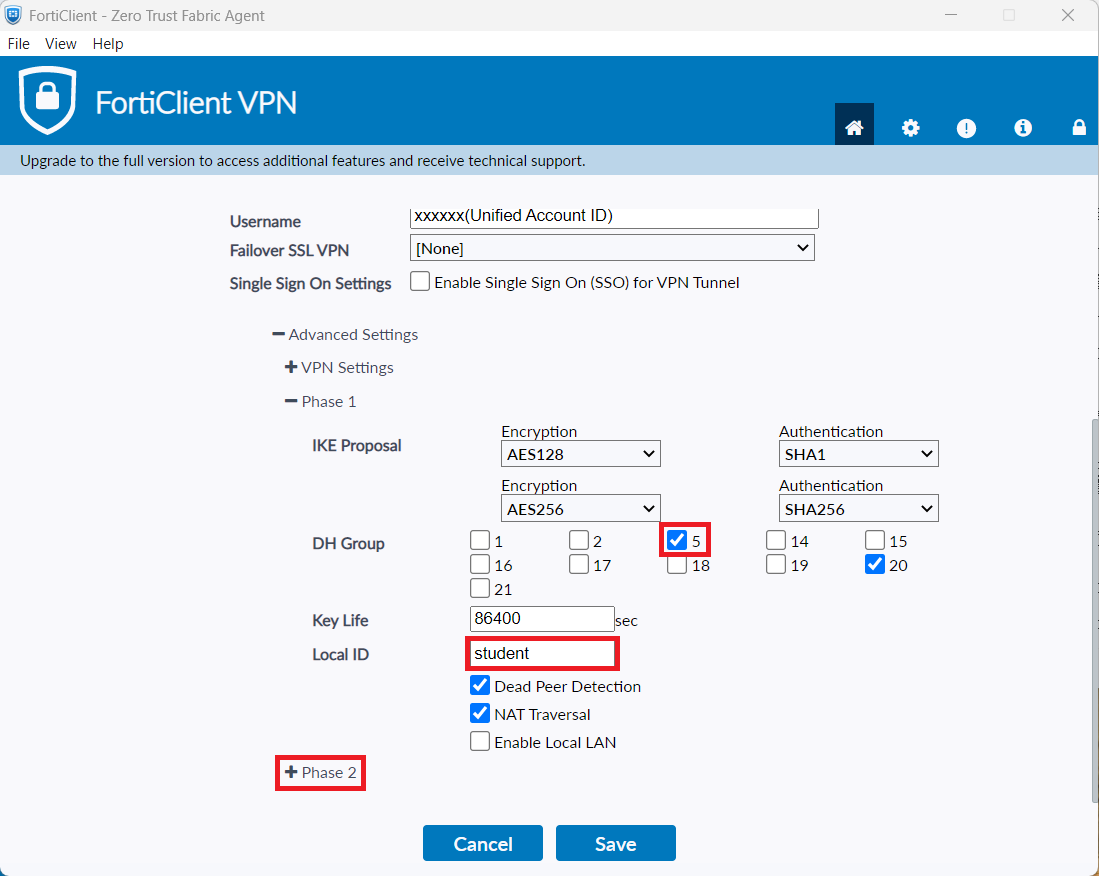
- Open Phase 2 and enter the following:
- DH Group: 5
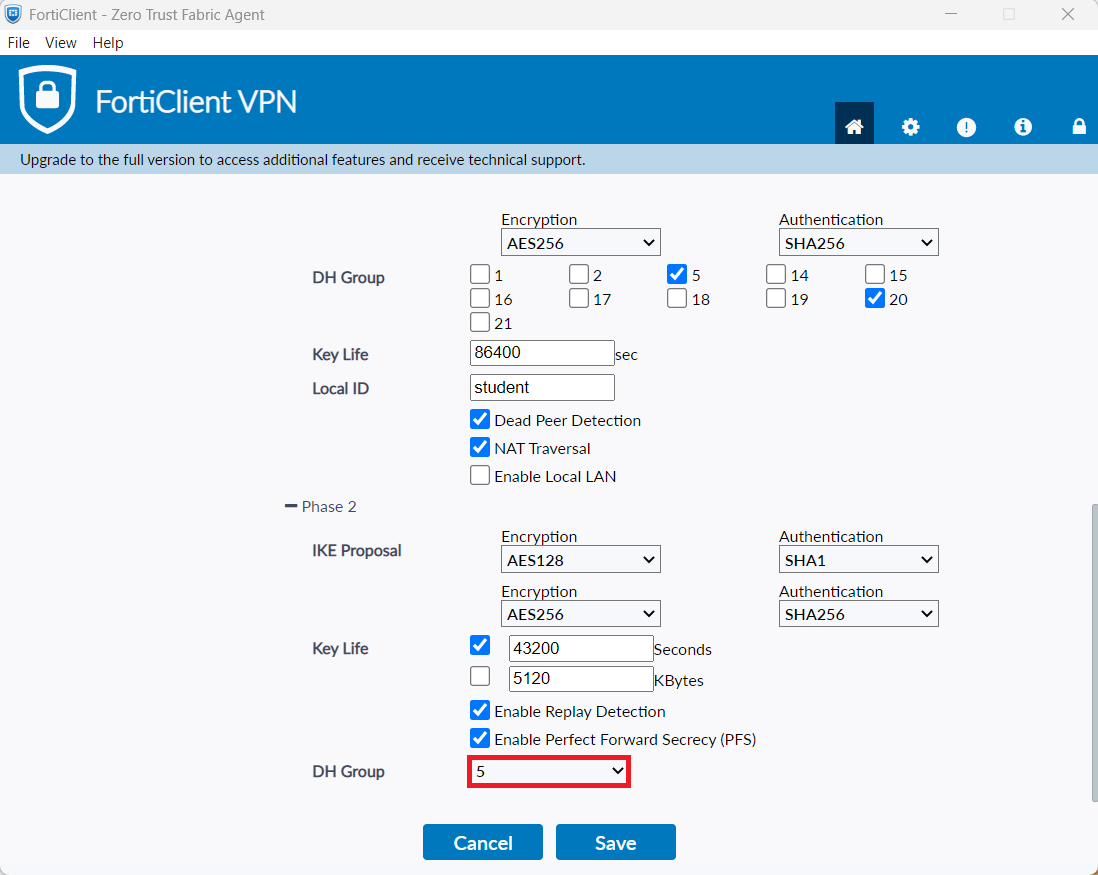
- Press "Save" on the settings screen.
Enter your unified account ID and password and click "Connect."
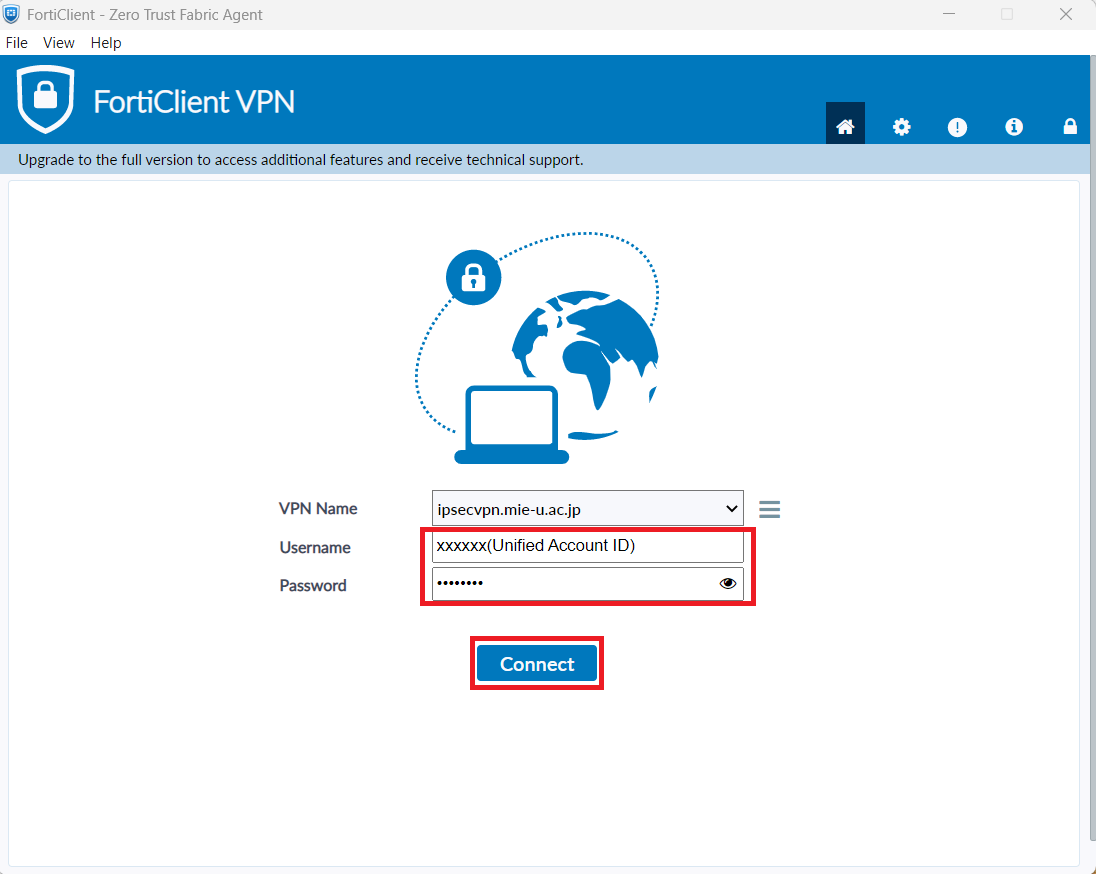
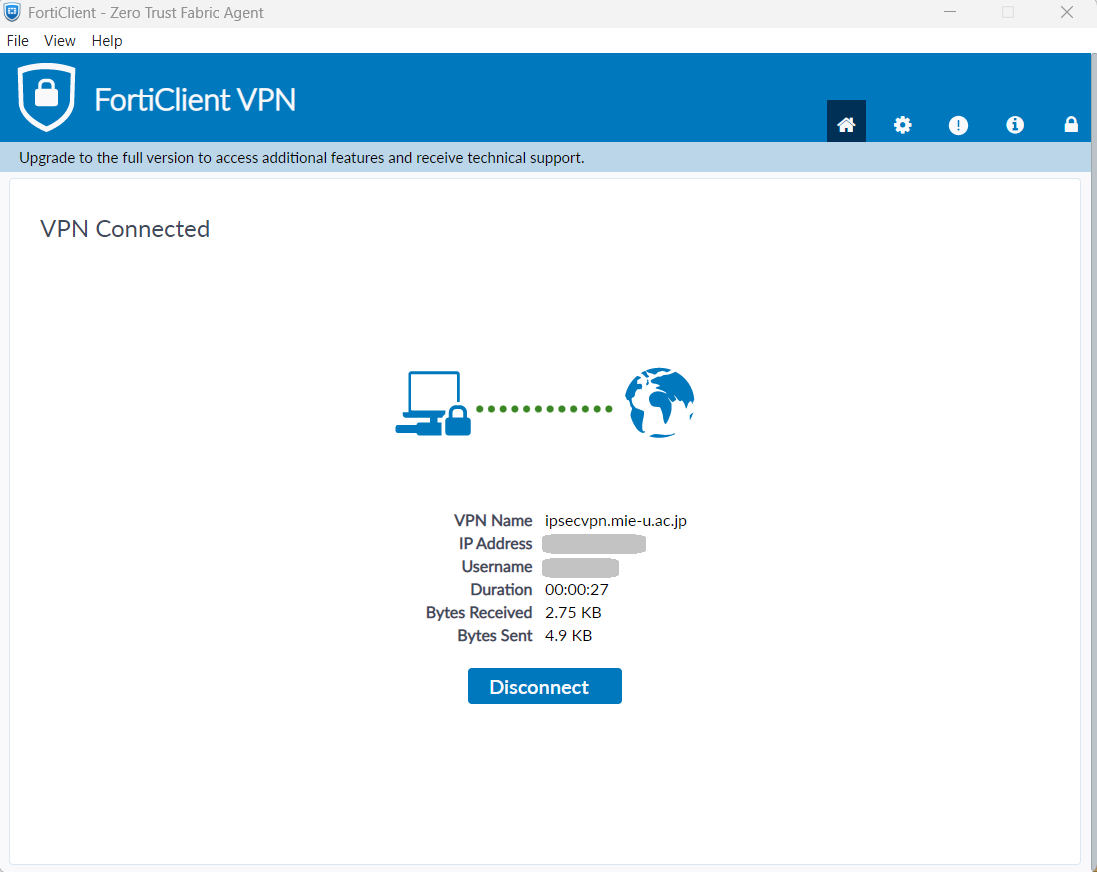
- The secure VPN has been connected. Please check if you can view the campus restricted page.
When you have finished using the service, be sure to press "Disconnect."
[If the connection stops and remains in "Connecting" even after pressing the connect button]
When FortiClient VPN was upgraded to version 7.4, there seems to be a bug where even if you click the connect button, the screen freezes and remains at "Connecting", making it impossible to connect to the VPN.
The solution is toClick here to download the MS Visual C++ Redistributable Packageand run the downloaded file.