Creating a contact form using Google Forms
1. Introduction
You can easily create contact forms via Google Forms.
Using Google Forms you can collect contact information, send email notifications and share contact information with others.
Additionally by using the Mie university account you can limit applicants to Mie university staff and students.
In this section we briefly introduce how to create a one.
2. Creating a form
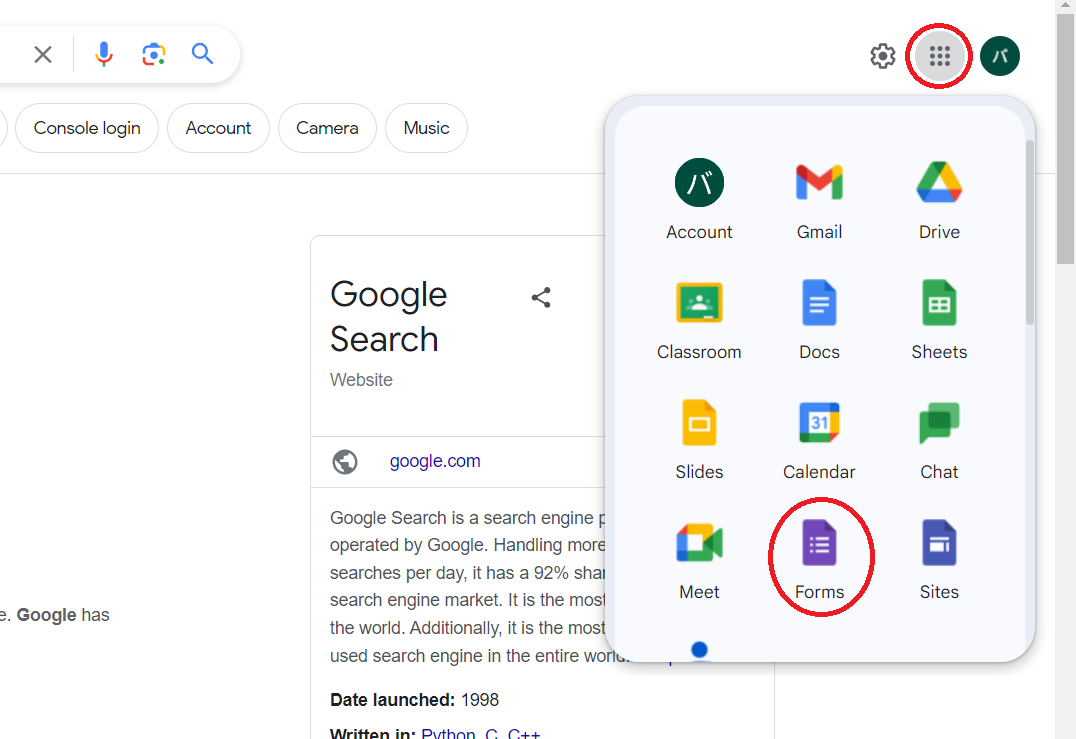
- Access Google Form. You can click on the top right corner inside any of the google application such as search, gmail etc and access the form application.
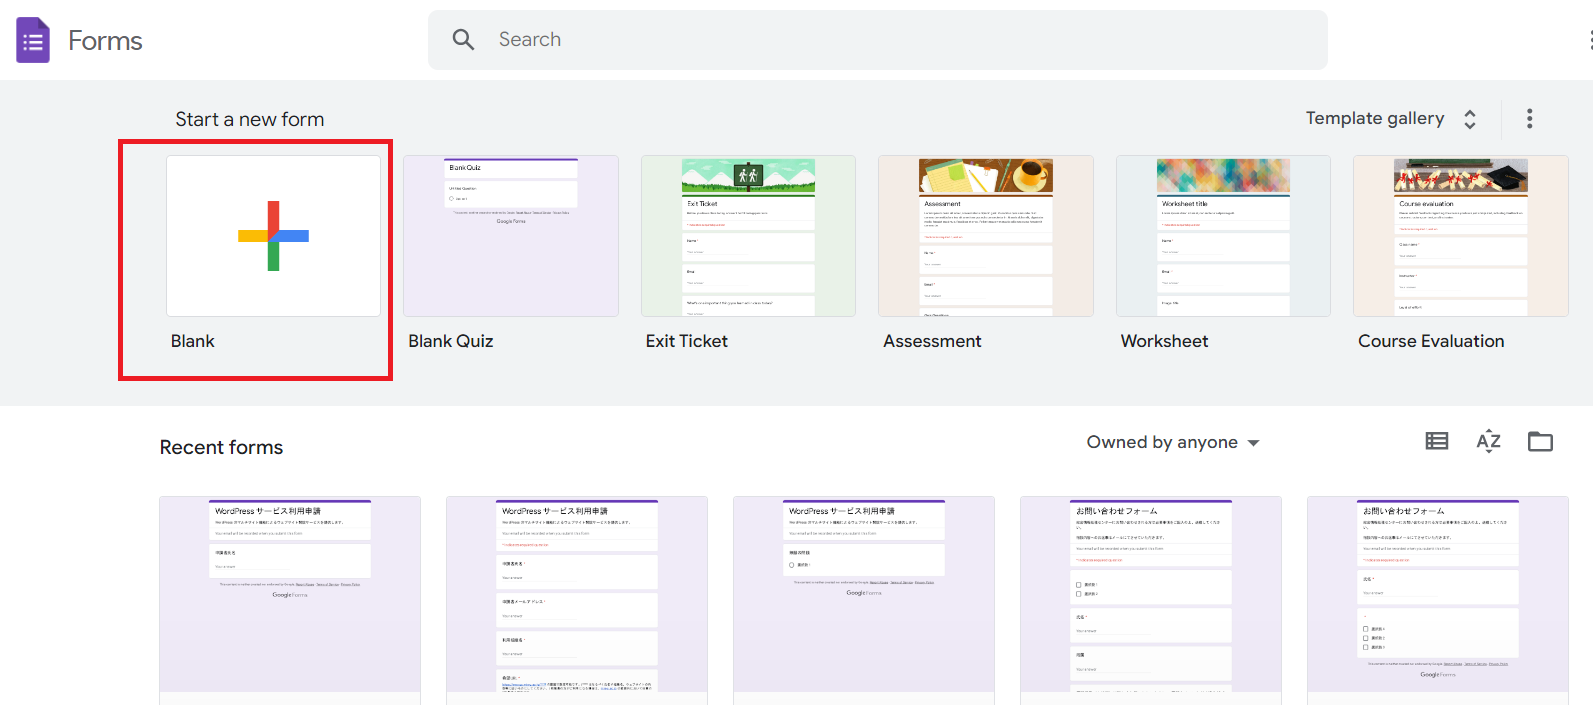
- You have the option to select from different templates. Select "Blank" for this tutorial.
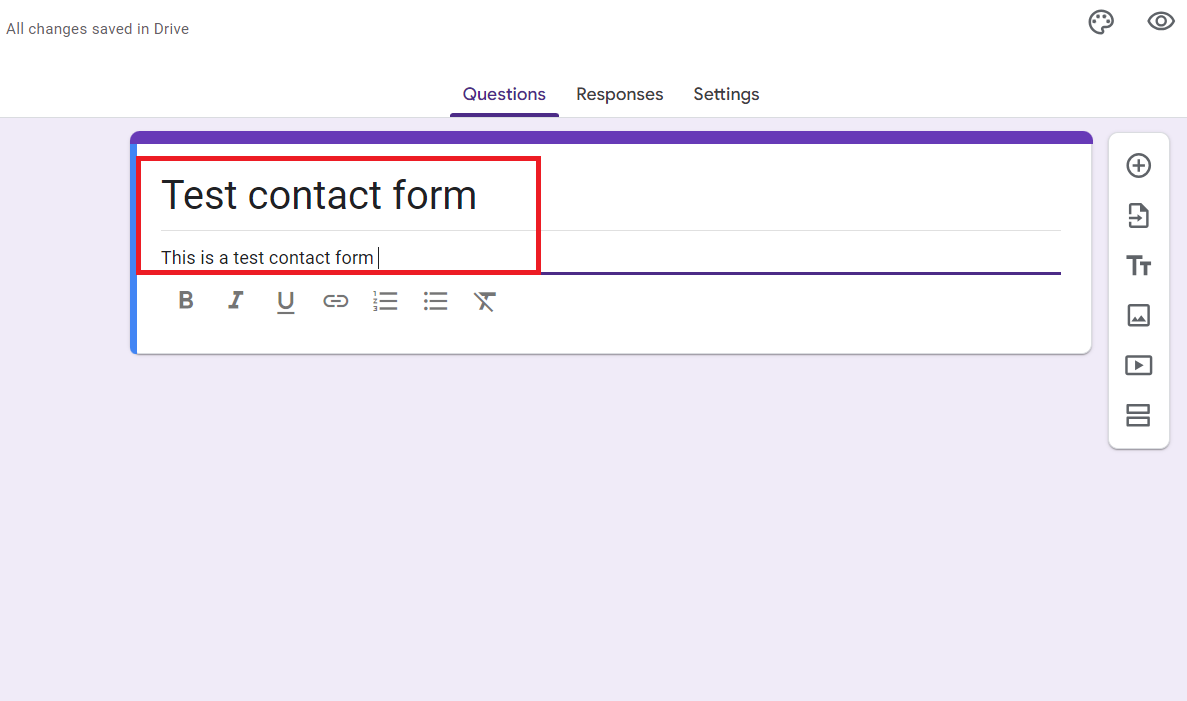
- You can add the title and description for your contact form.
3. Creating the contact form
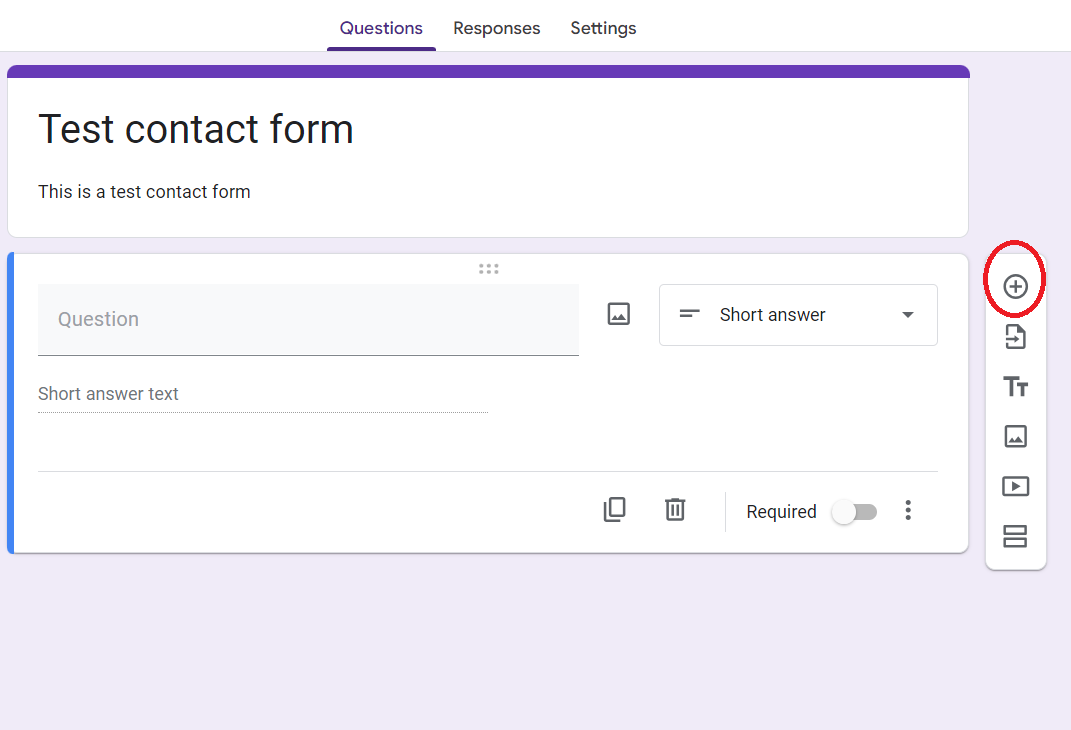
- You can add a new item by clicking the "+"" button (add question) at the right side, highlighted in red circle below.
-
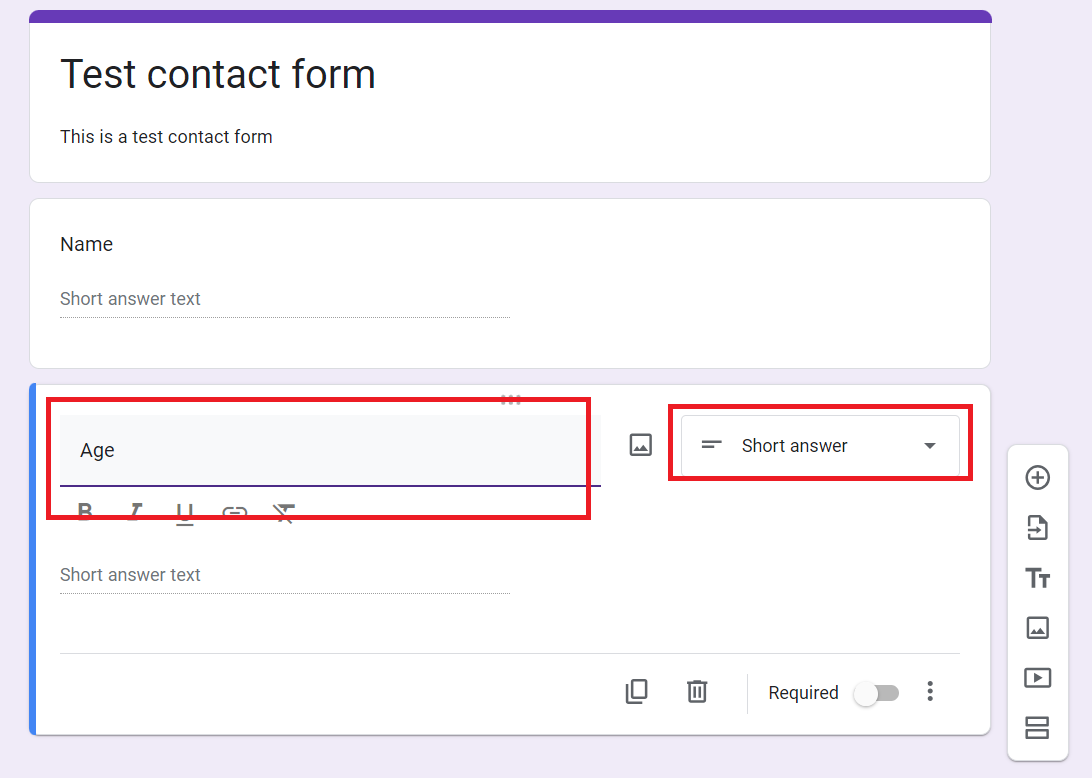
Enter the required items such as name, contact information, subject, inquiry details, etc. in the "Question" field.
You can write freely by selecting the items on the right.
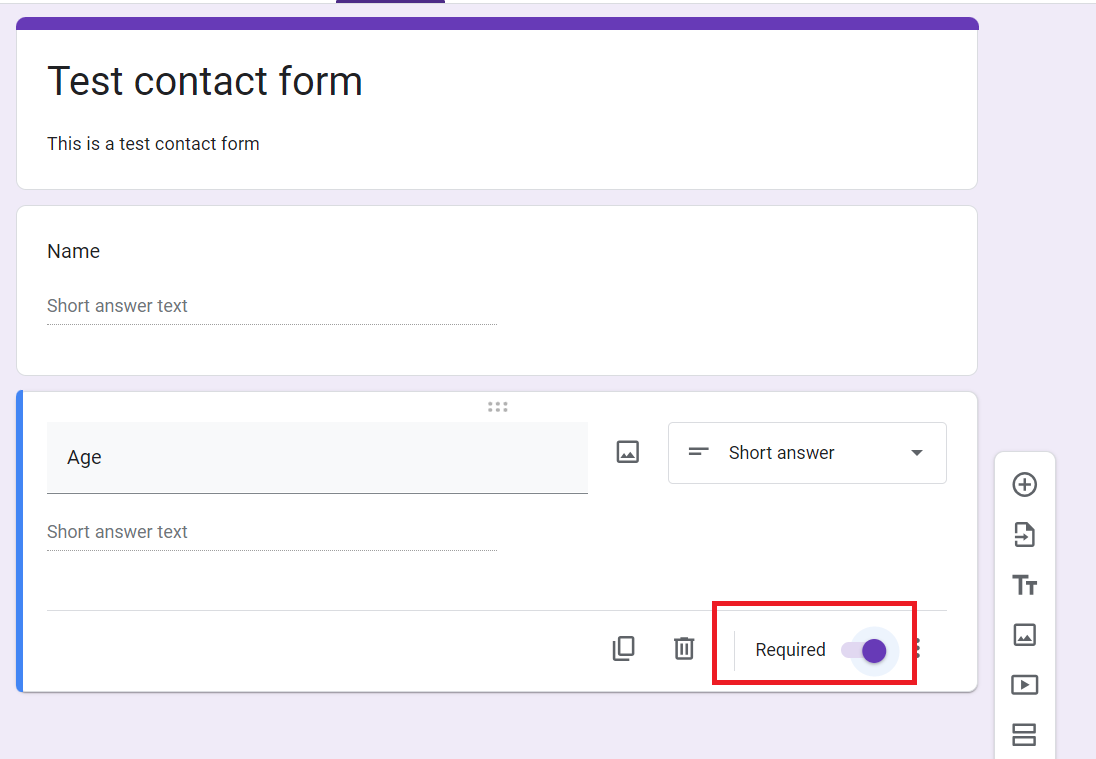
- You can make filling any field mandatory by selecting "Required" field.
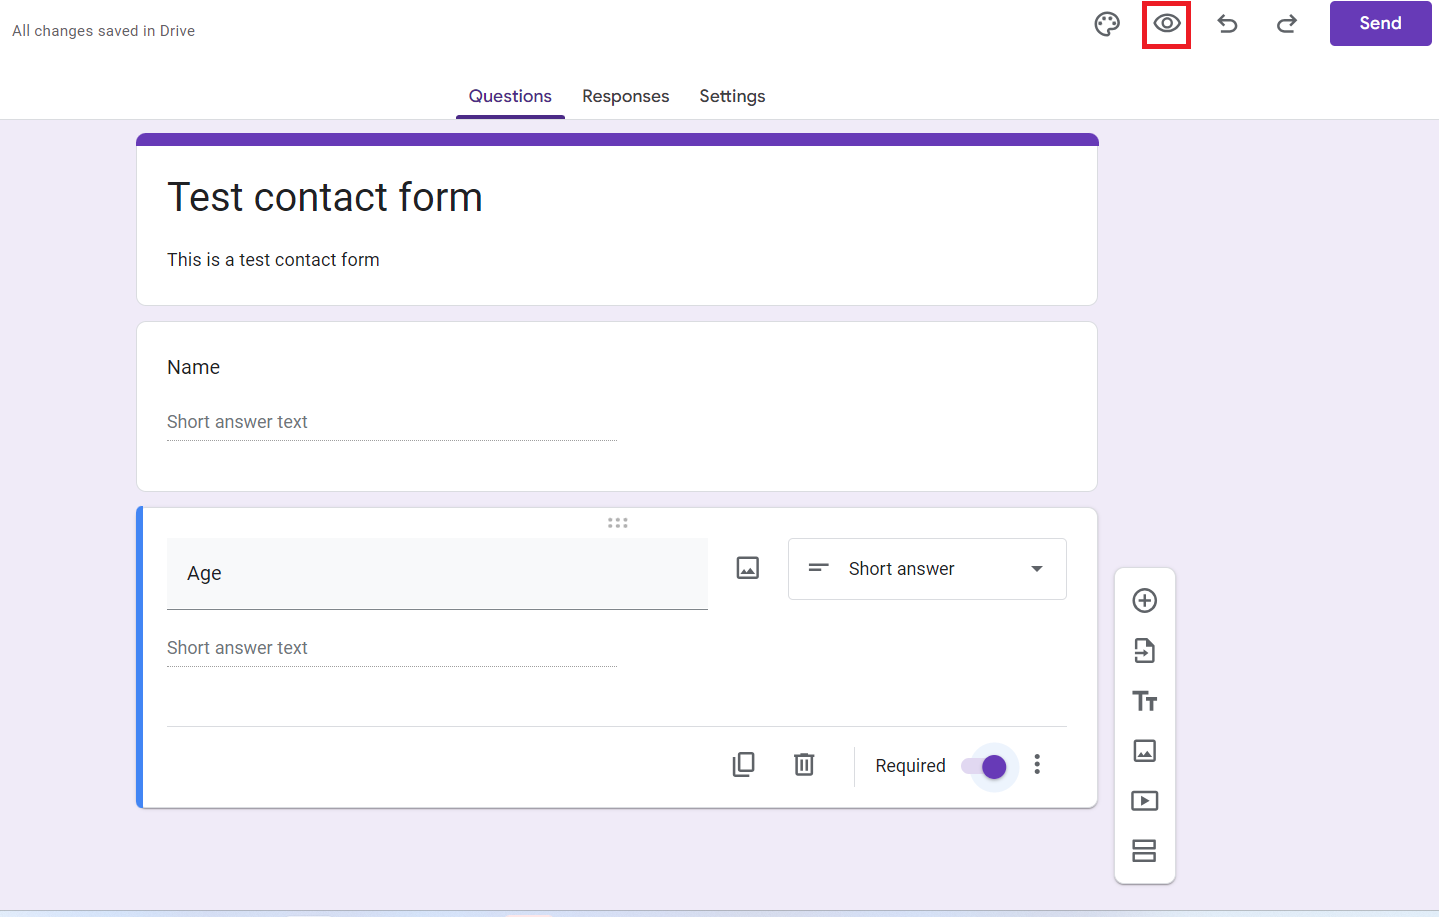
- Select the eye shaped button at the top to see a preview of the created form.
-
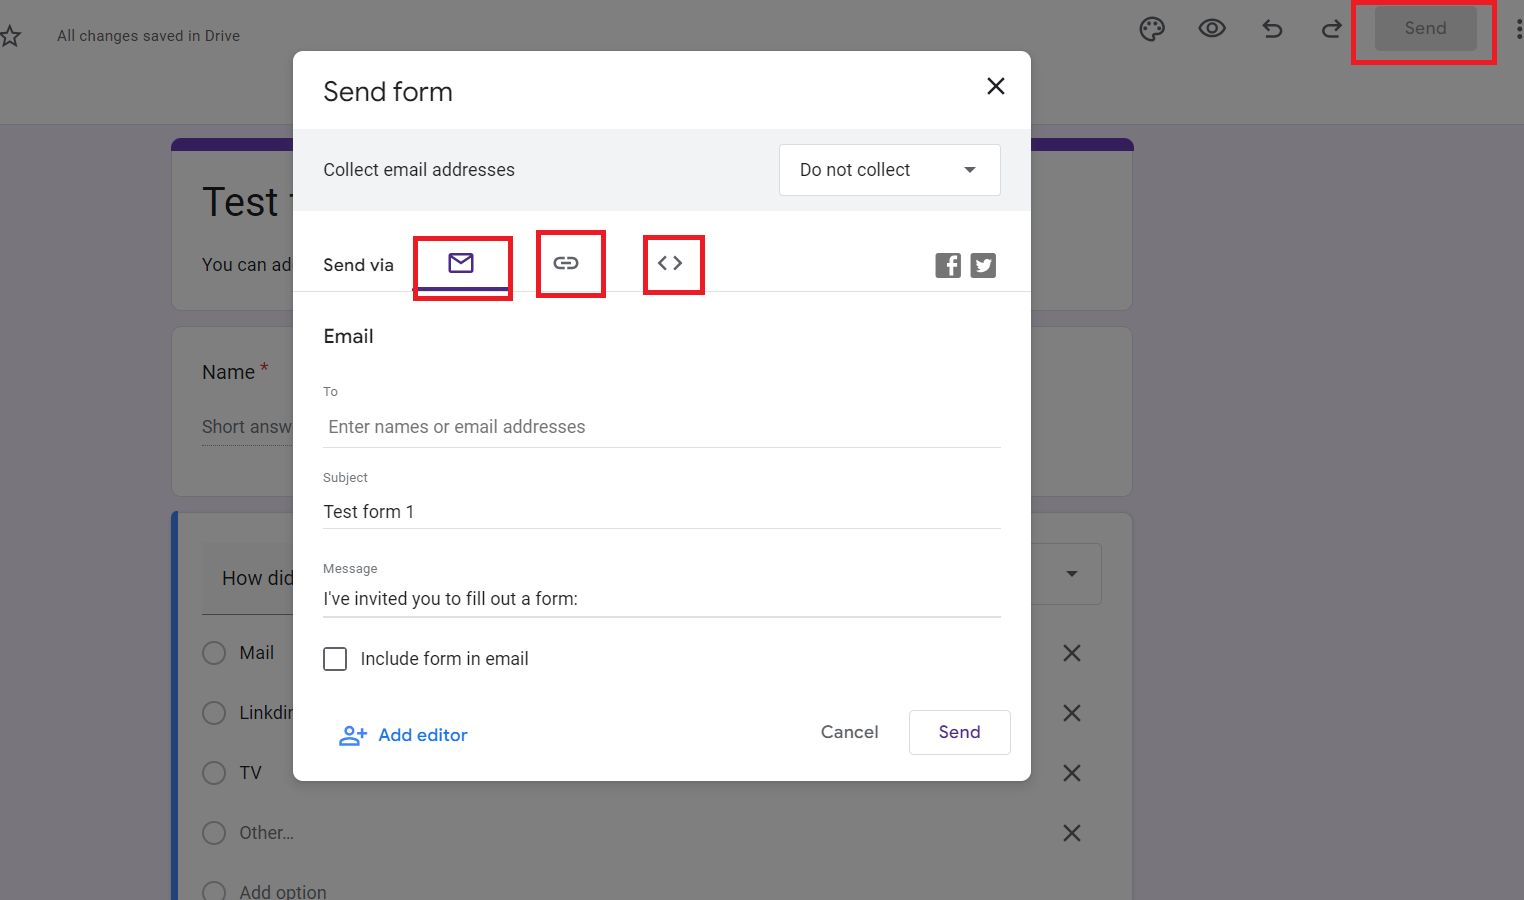
You can share the created form by clicking on the send button at top right corner.
There are several options to share. 1st you can send the form via email.
Then using the middle icon you can copy the hyperlink and send it.
Finally you can get the embedded html.
Furthermore, there are option to share the form via Facebook and Twitter.
4. How to automatically send an email to the person who contacted you
This can be achieved using the autoresponder feature in Google Forms
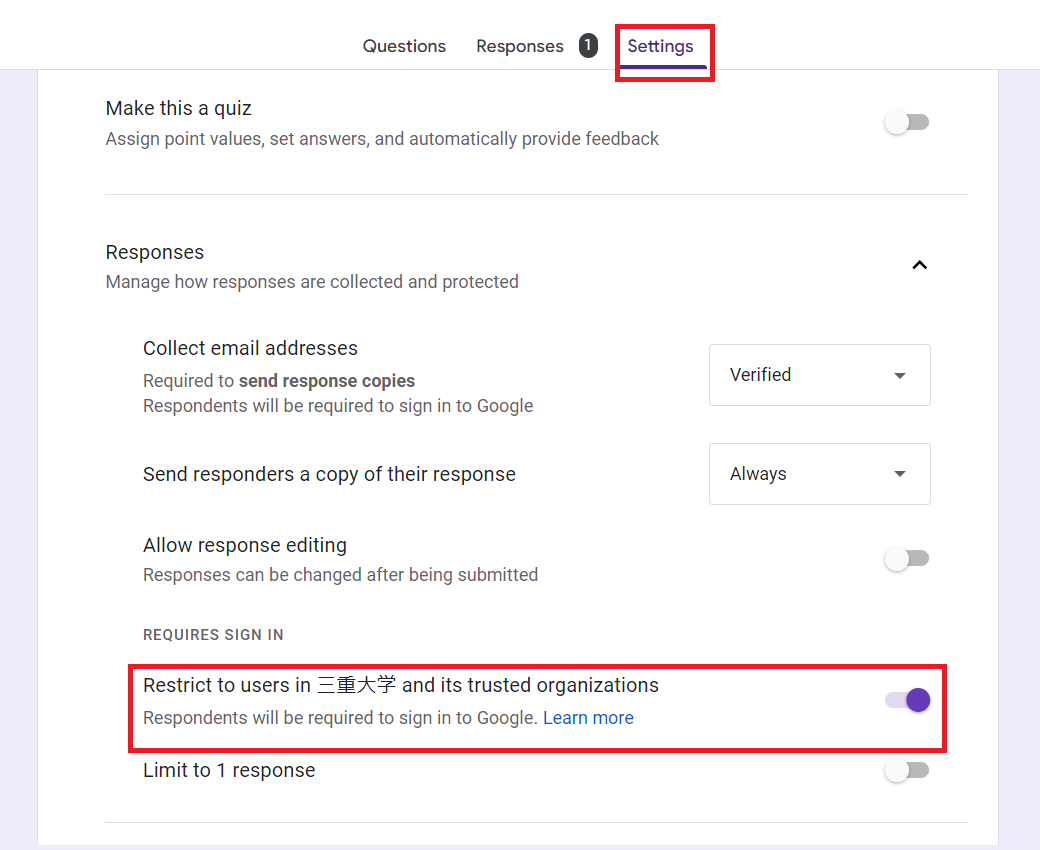
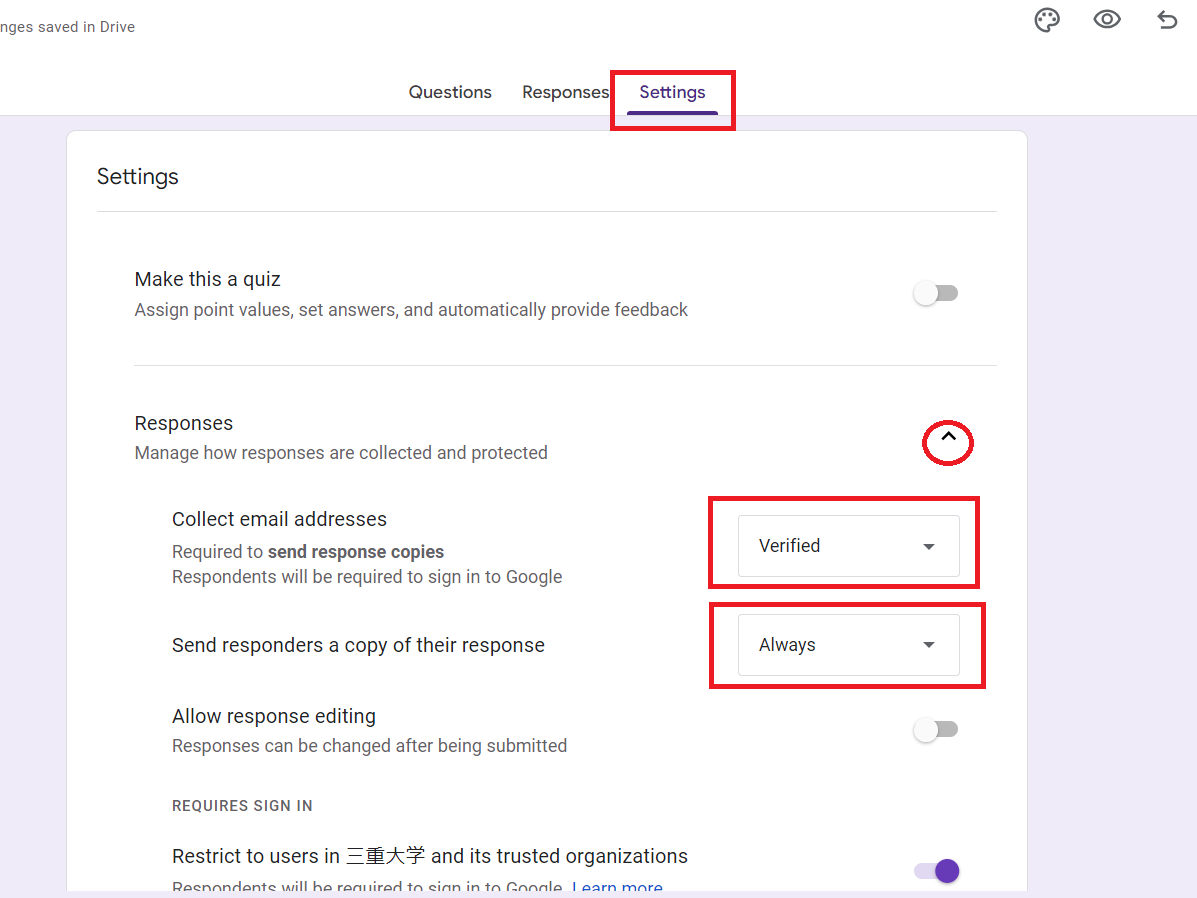
- From the form creation screen, click "Settings".
- Under "Responses", change "Collect email address" to "Verified" or "Input from respondent". (In the image, it is set to "Verified".)
- Next, change the "Send responders a copy of their response" item to "Always". This will always send a copy of the responses to the applicant.
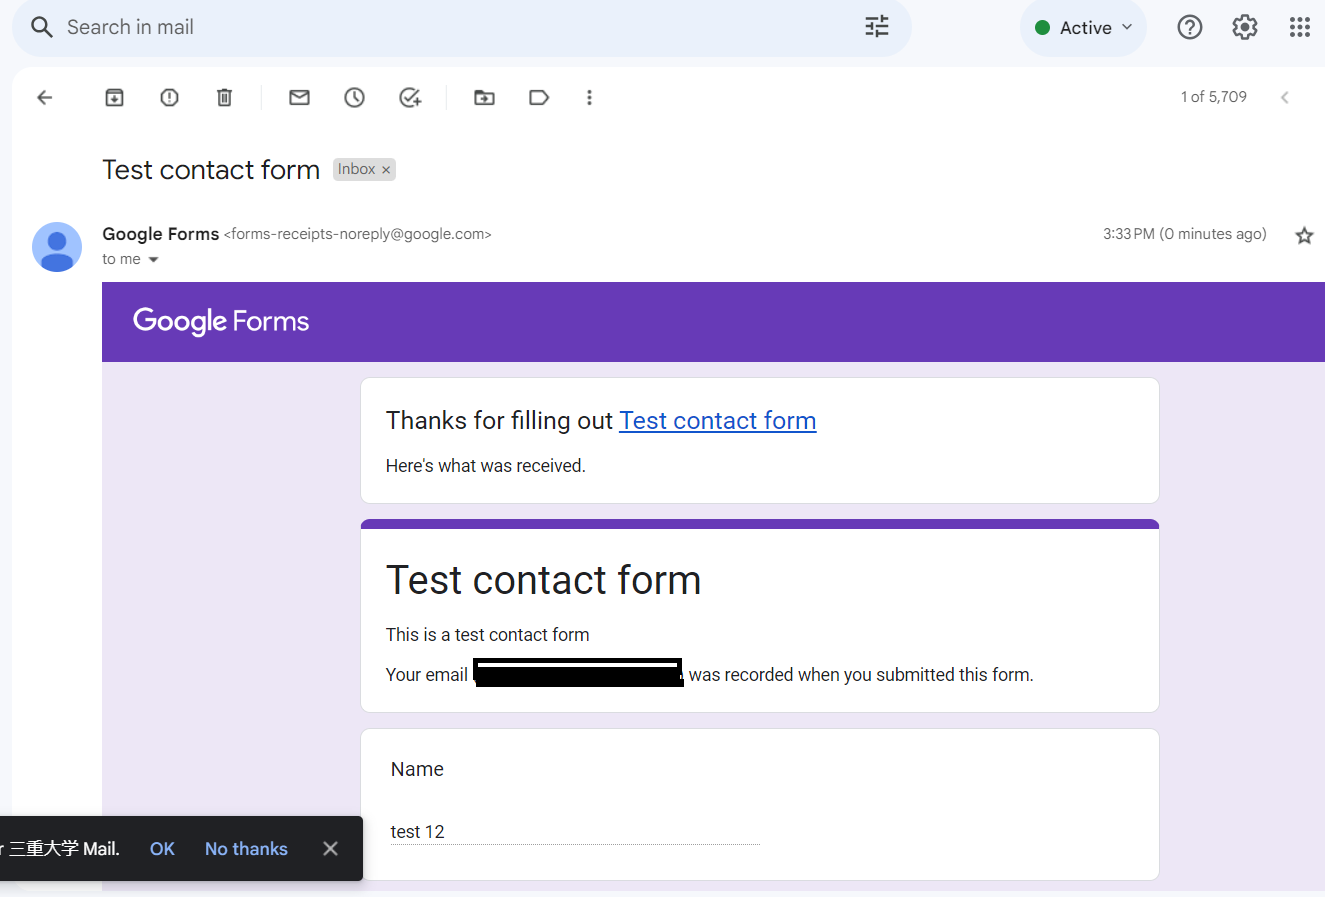
- After submitting the contact form applicants will receive a response similar to one below.
5. How to receive a contact form submission notifications via email.
By setting up you can get automatic notifications whenever someone submit a contact form.
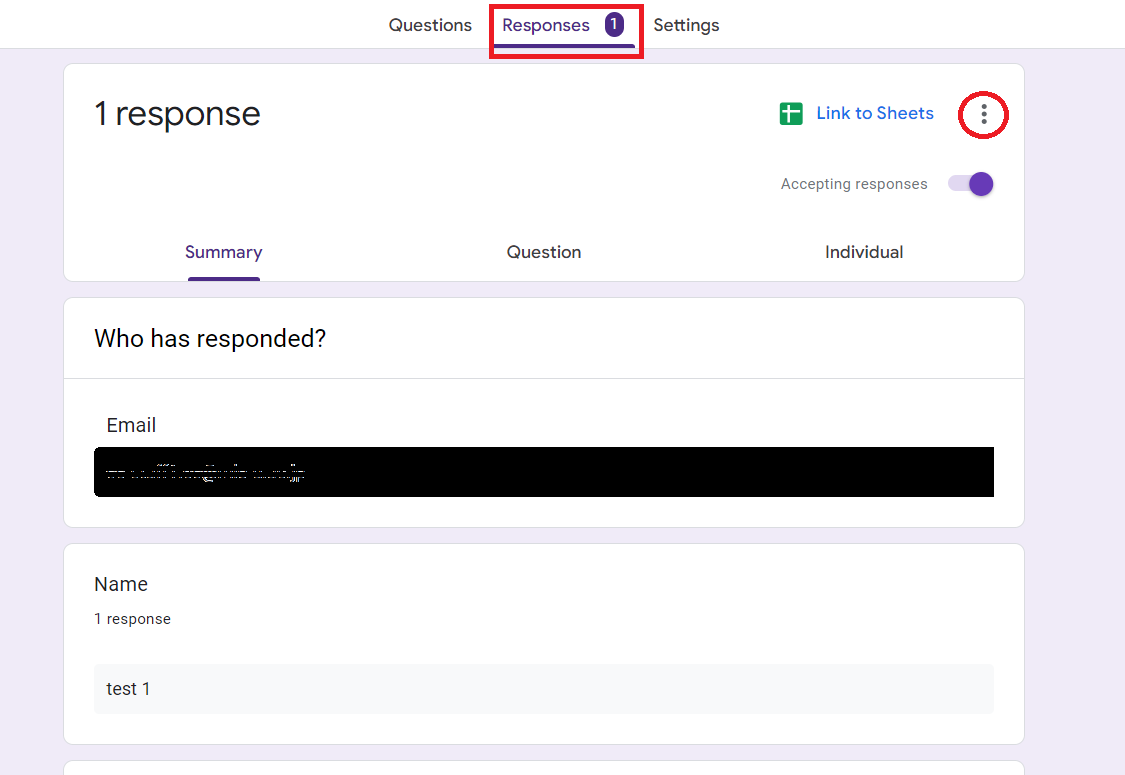
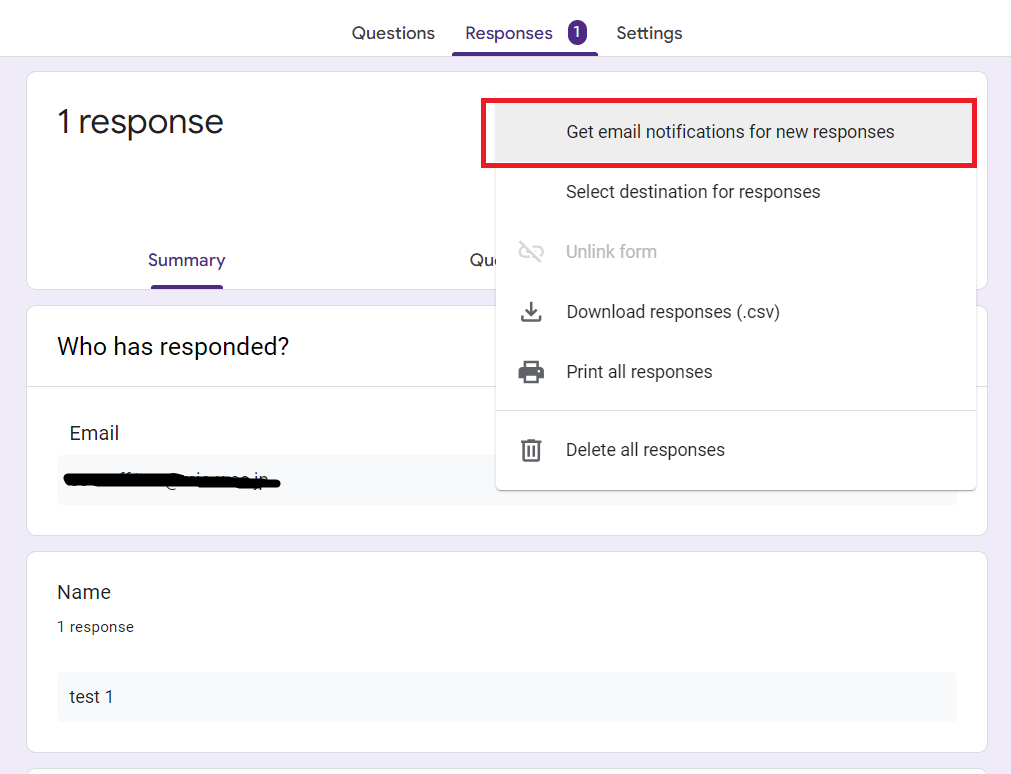
- Click "Responses" from the form creation screen.
- Click three dot marks in the upper right corner.
- By selecting "Get email notifications for new responses" you can get a notification each time someone submit an contact form.
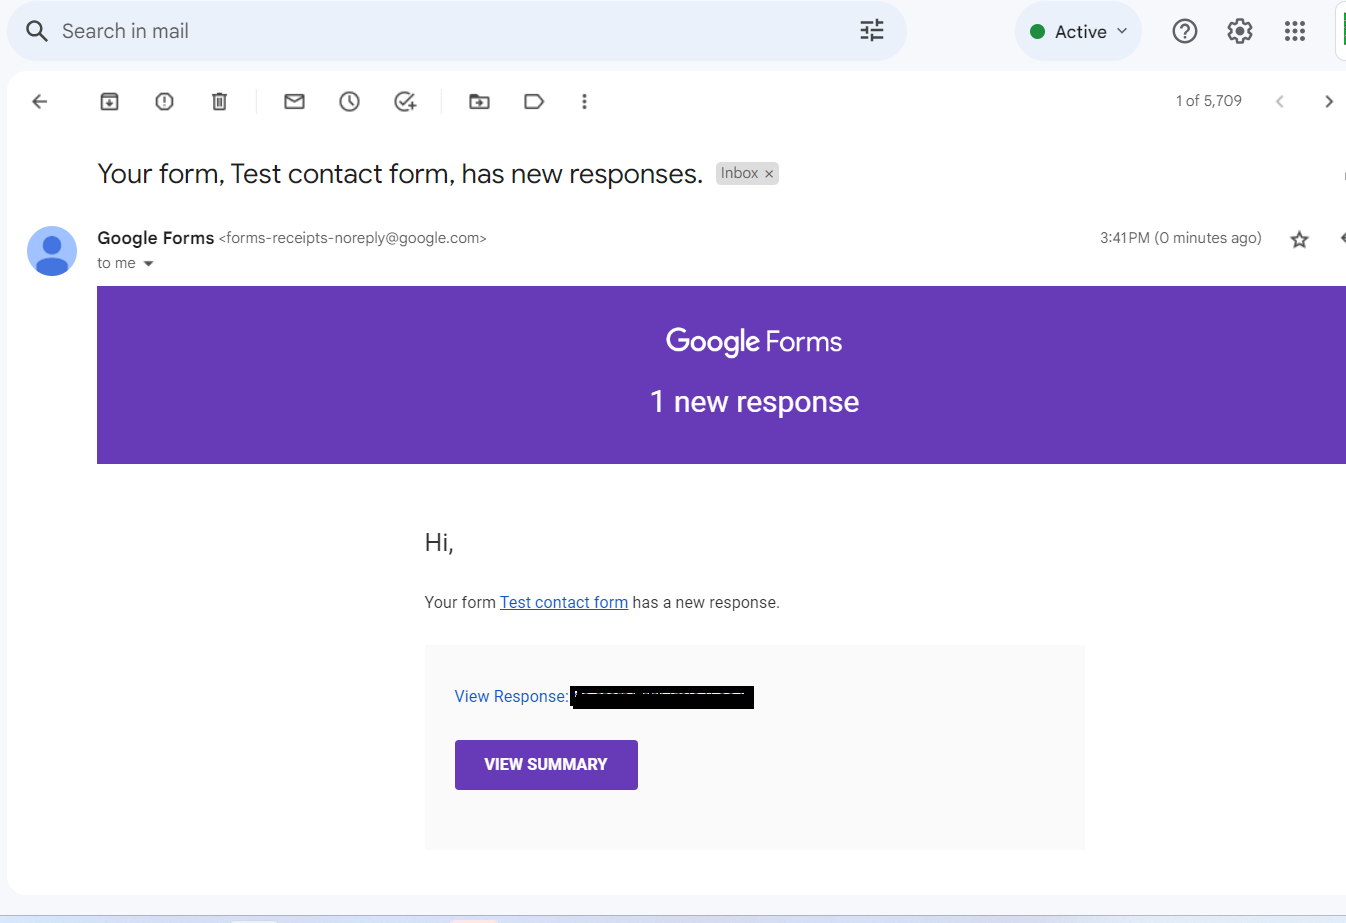
- Email similar to this one will be sent to the form creator. Click view answer to check the answers.
-
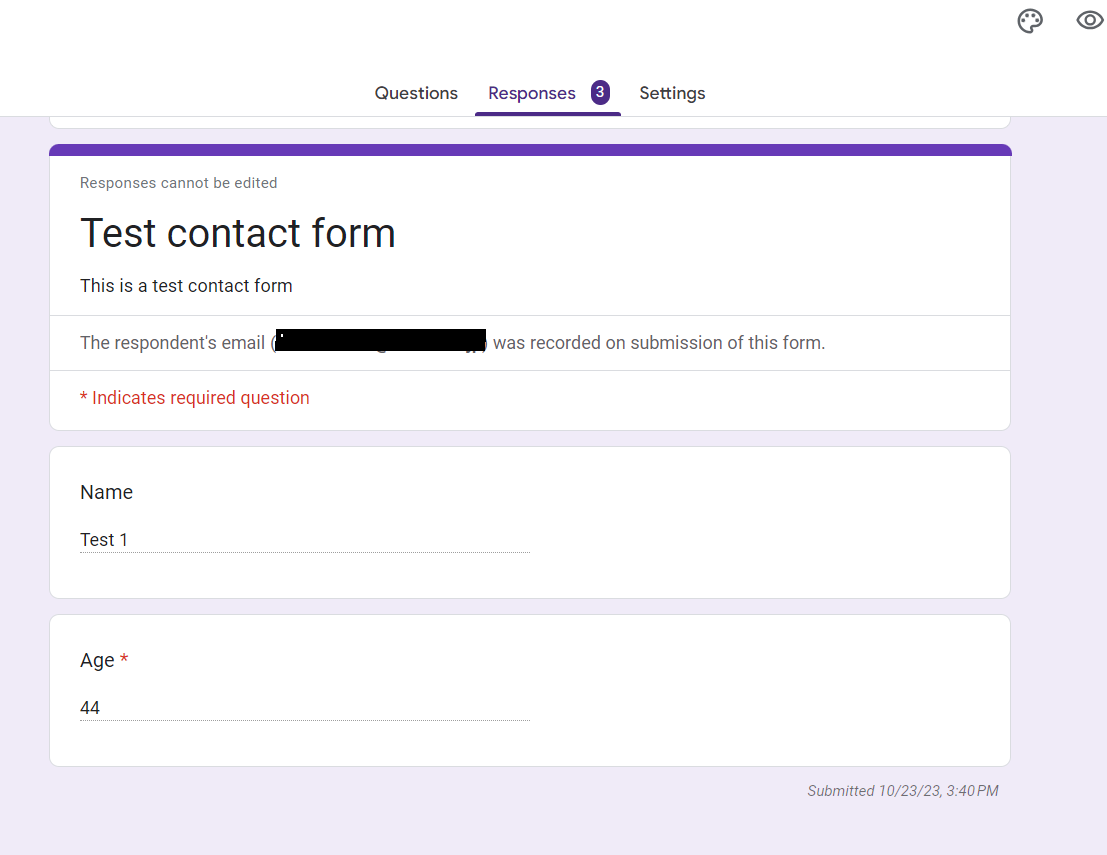
When you click you and view the answers.
But it is not possible to reply from this screen.
Please use a dedicated email client such as thunderBird to reply.
6. How to limit the responses to certain group such as Mie University staff, and students.
Applications can be limited to Mie University faculty, staff, and students.
You can limit access to Mie University faculty, staff, and students by clicking on "Settings" and turning on the "Restrict to users from Mie University and its trusted organizations" option.